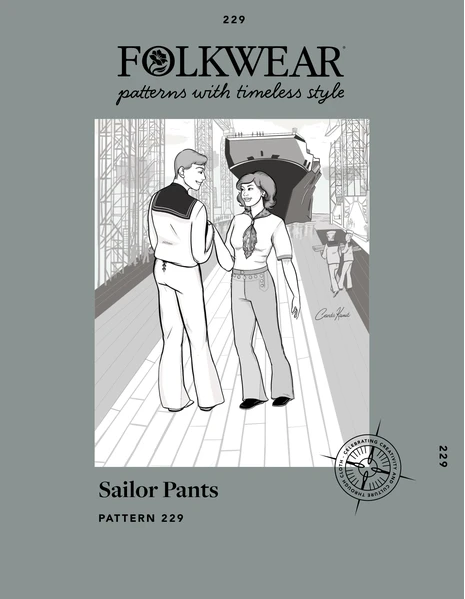
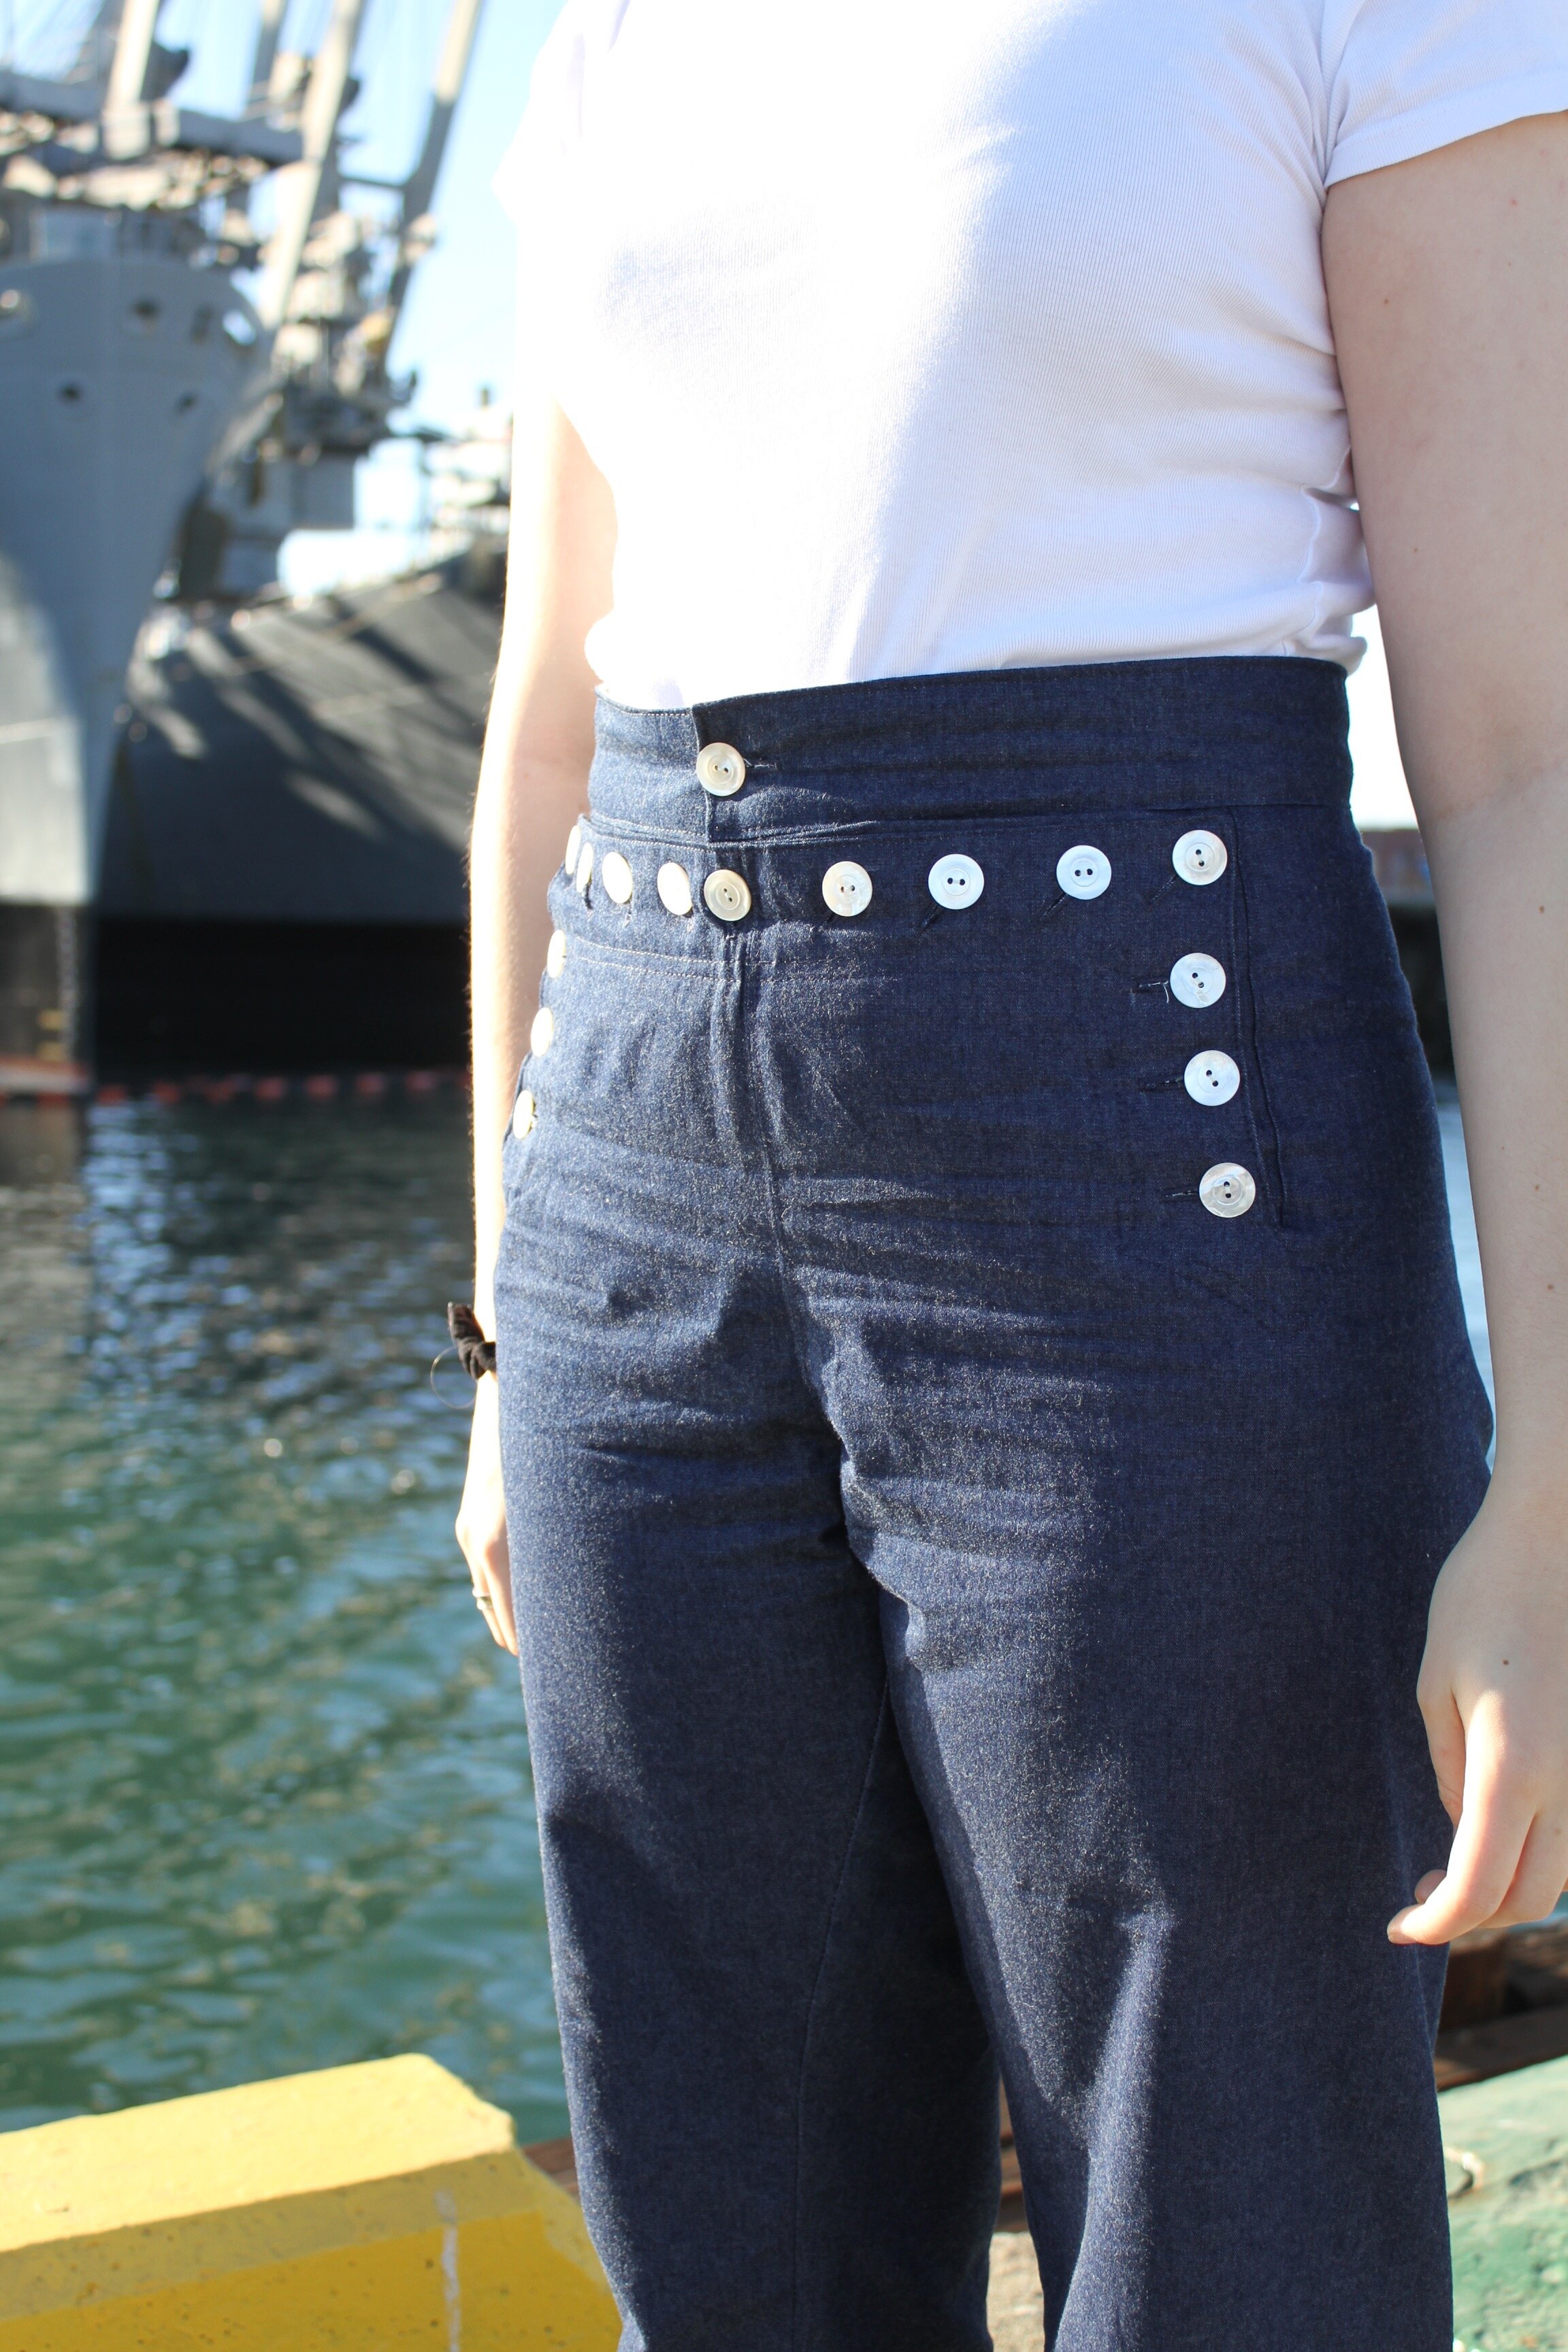
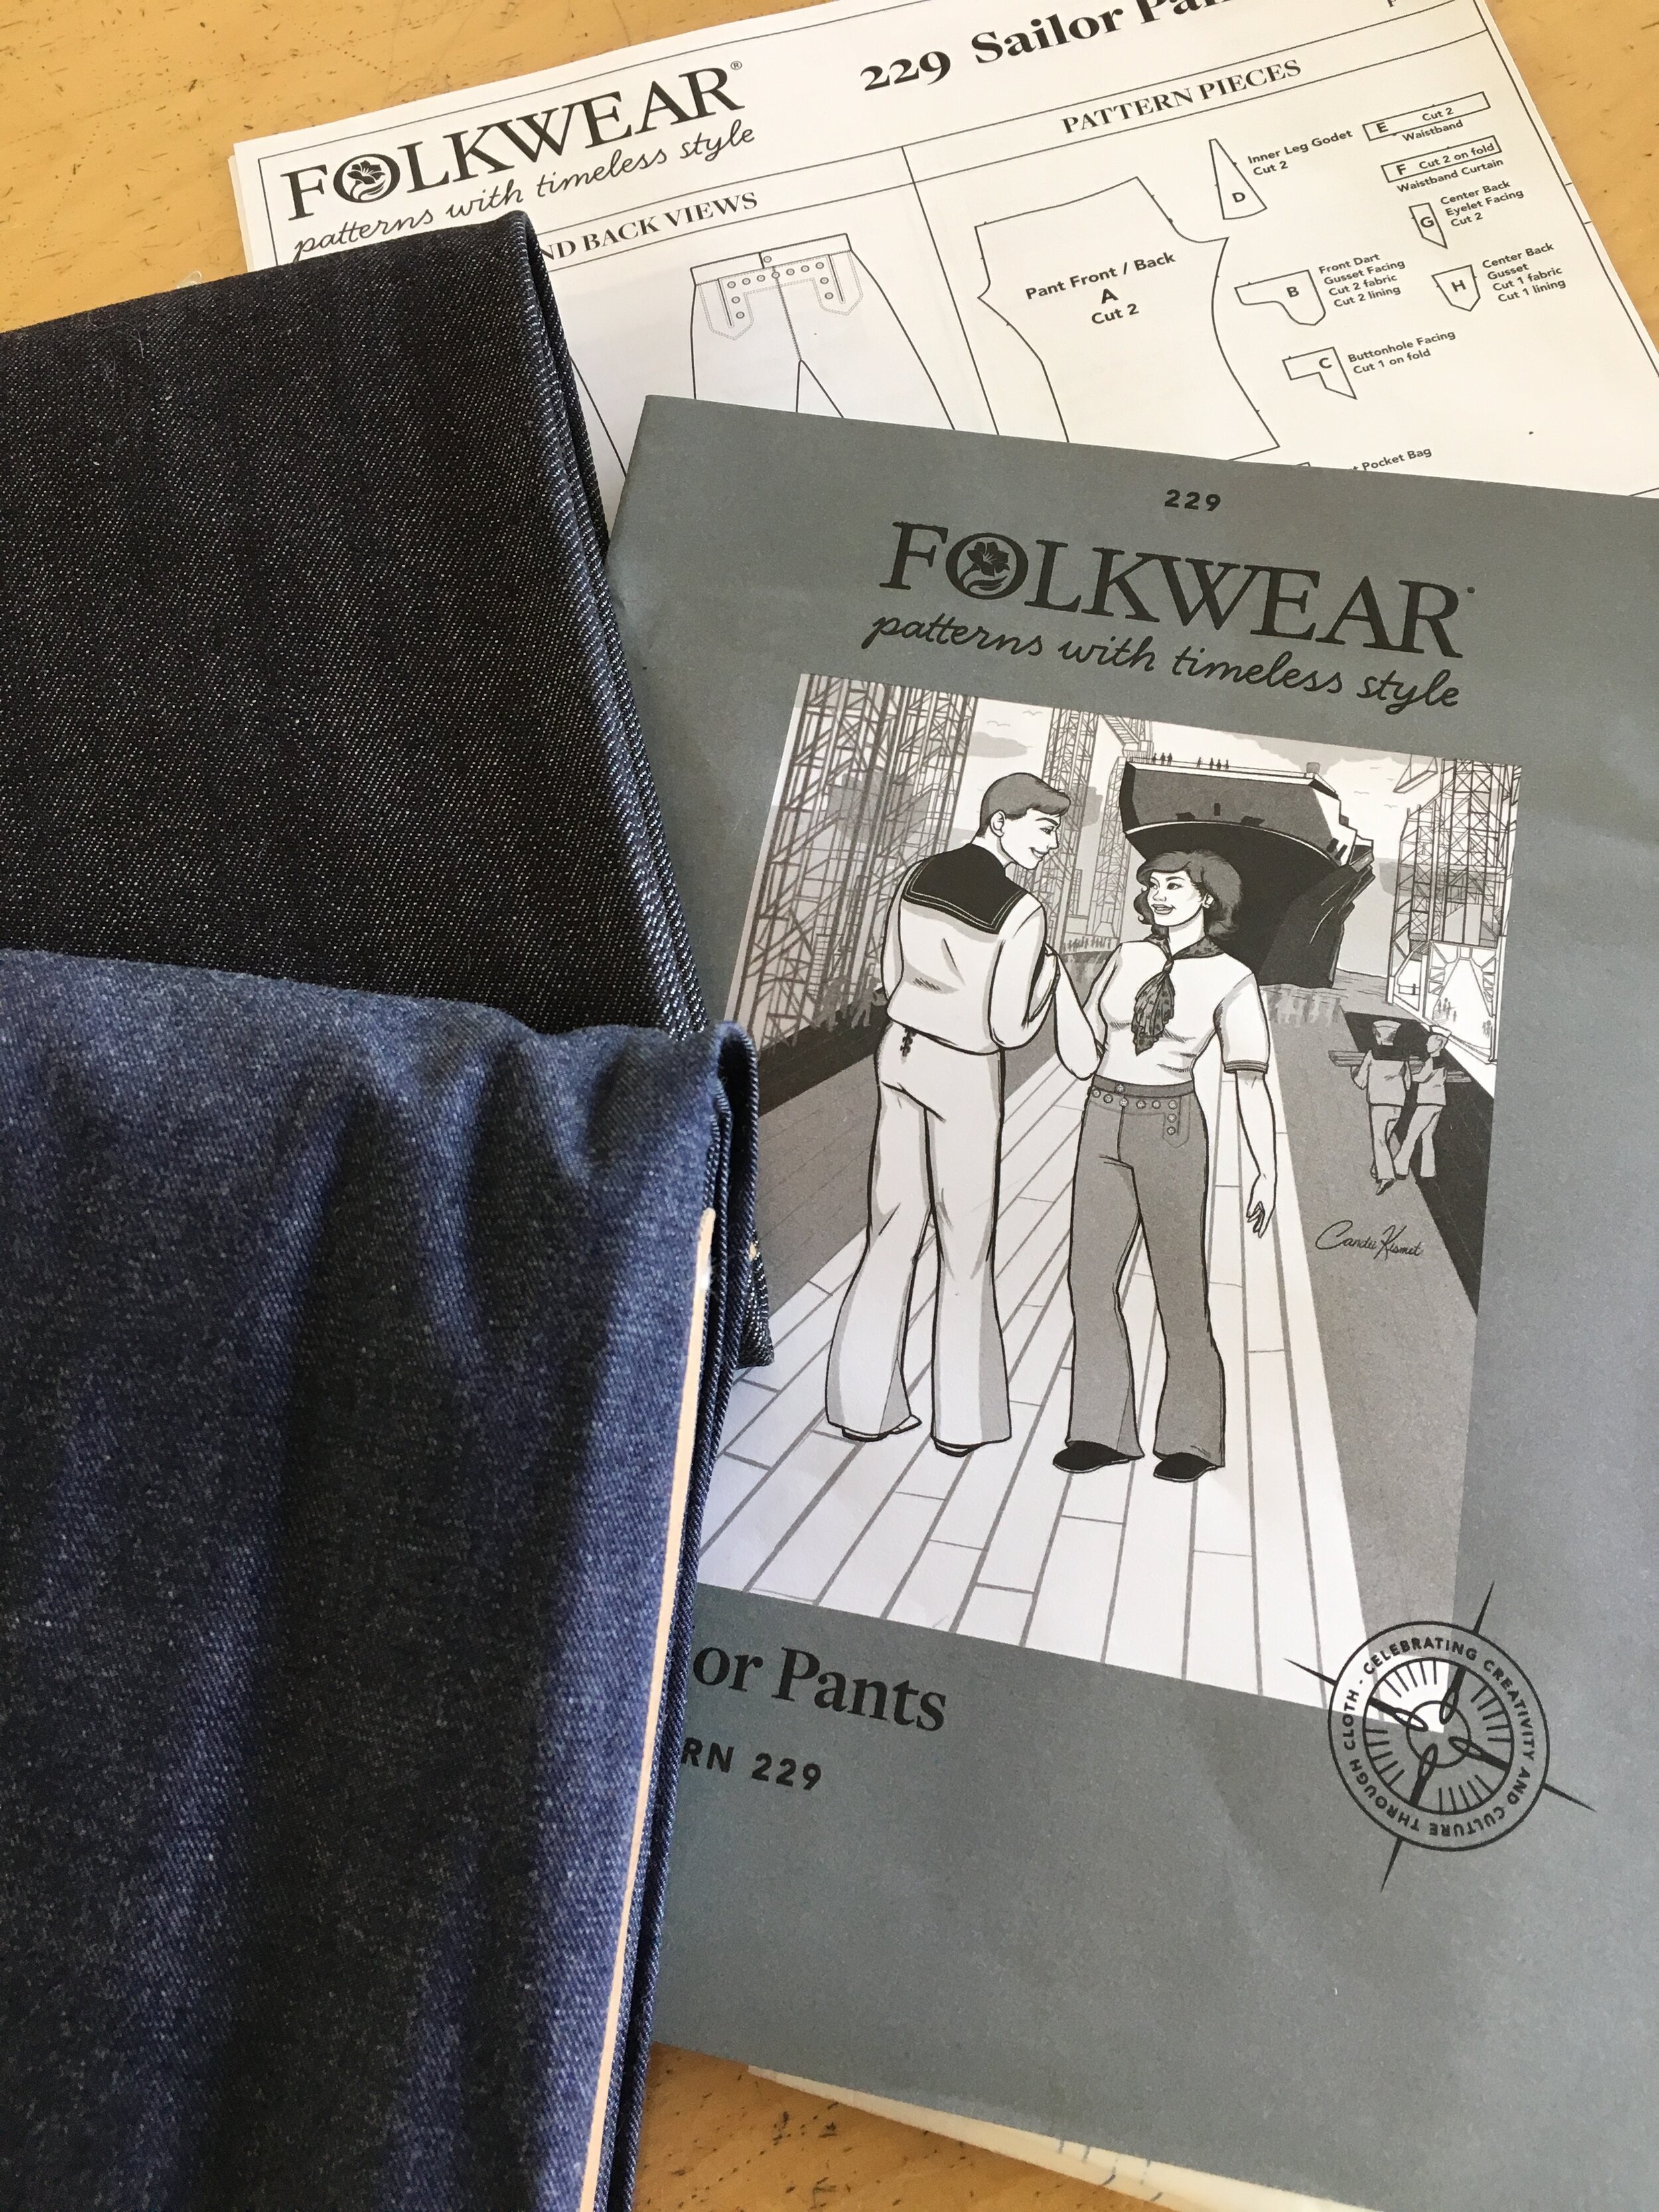
When Folkwear Patterns reached out to me to try out their new Sailor Pants Pattern, I was beyond excited. I love everything nautical and thought new sailor pants would be a great addition to my Fall wardrobe. The pattern design is very cute, being cut from an original pair of US Navy issued Vintage Sailor Pants. The design has the classic button front with laced up back waist, flared legs (with a gusset) and some darling hidden pocket details.
The construction of these pants is somewhat complicated and I decided to do #allthethings which meant the the back welt pocket and front coin pocket were must dos and not “Optional”. This takes a bit longer (of course) than leaving off these details, but well worth it for the total effect.
I used a lightweight Japanese denim, pinstriped cotton lining (for back of button panels, back waist gusset lining and waist curtain) and vintage shell buttons. The back lacing is finished with 3/8” wide cotton twill tape. I might change it to be navy blue twill tape, later, but for now, it totally works.
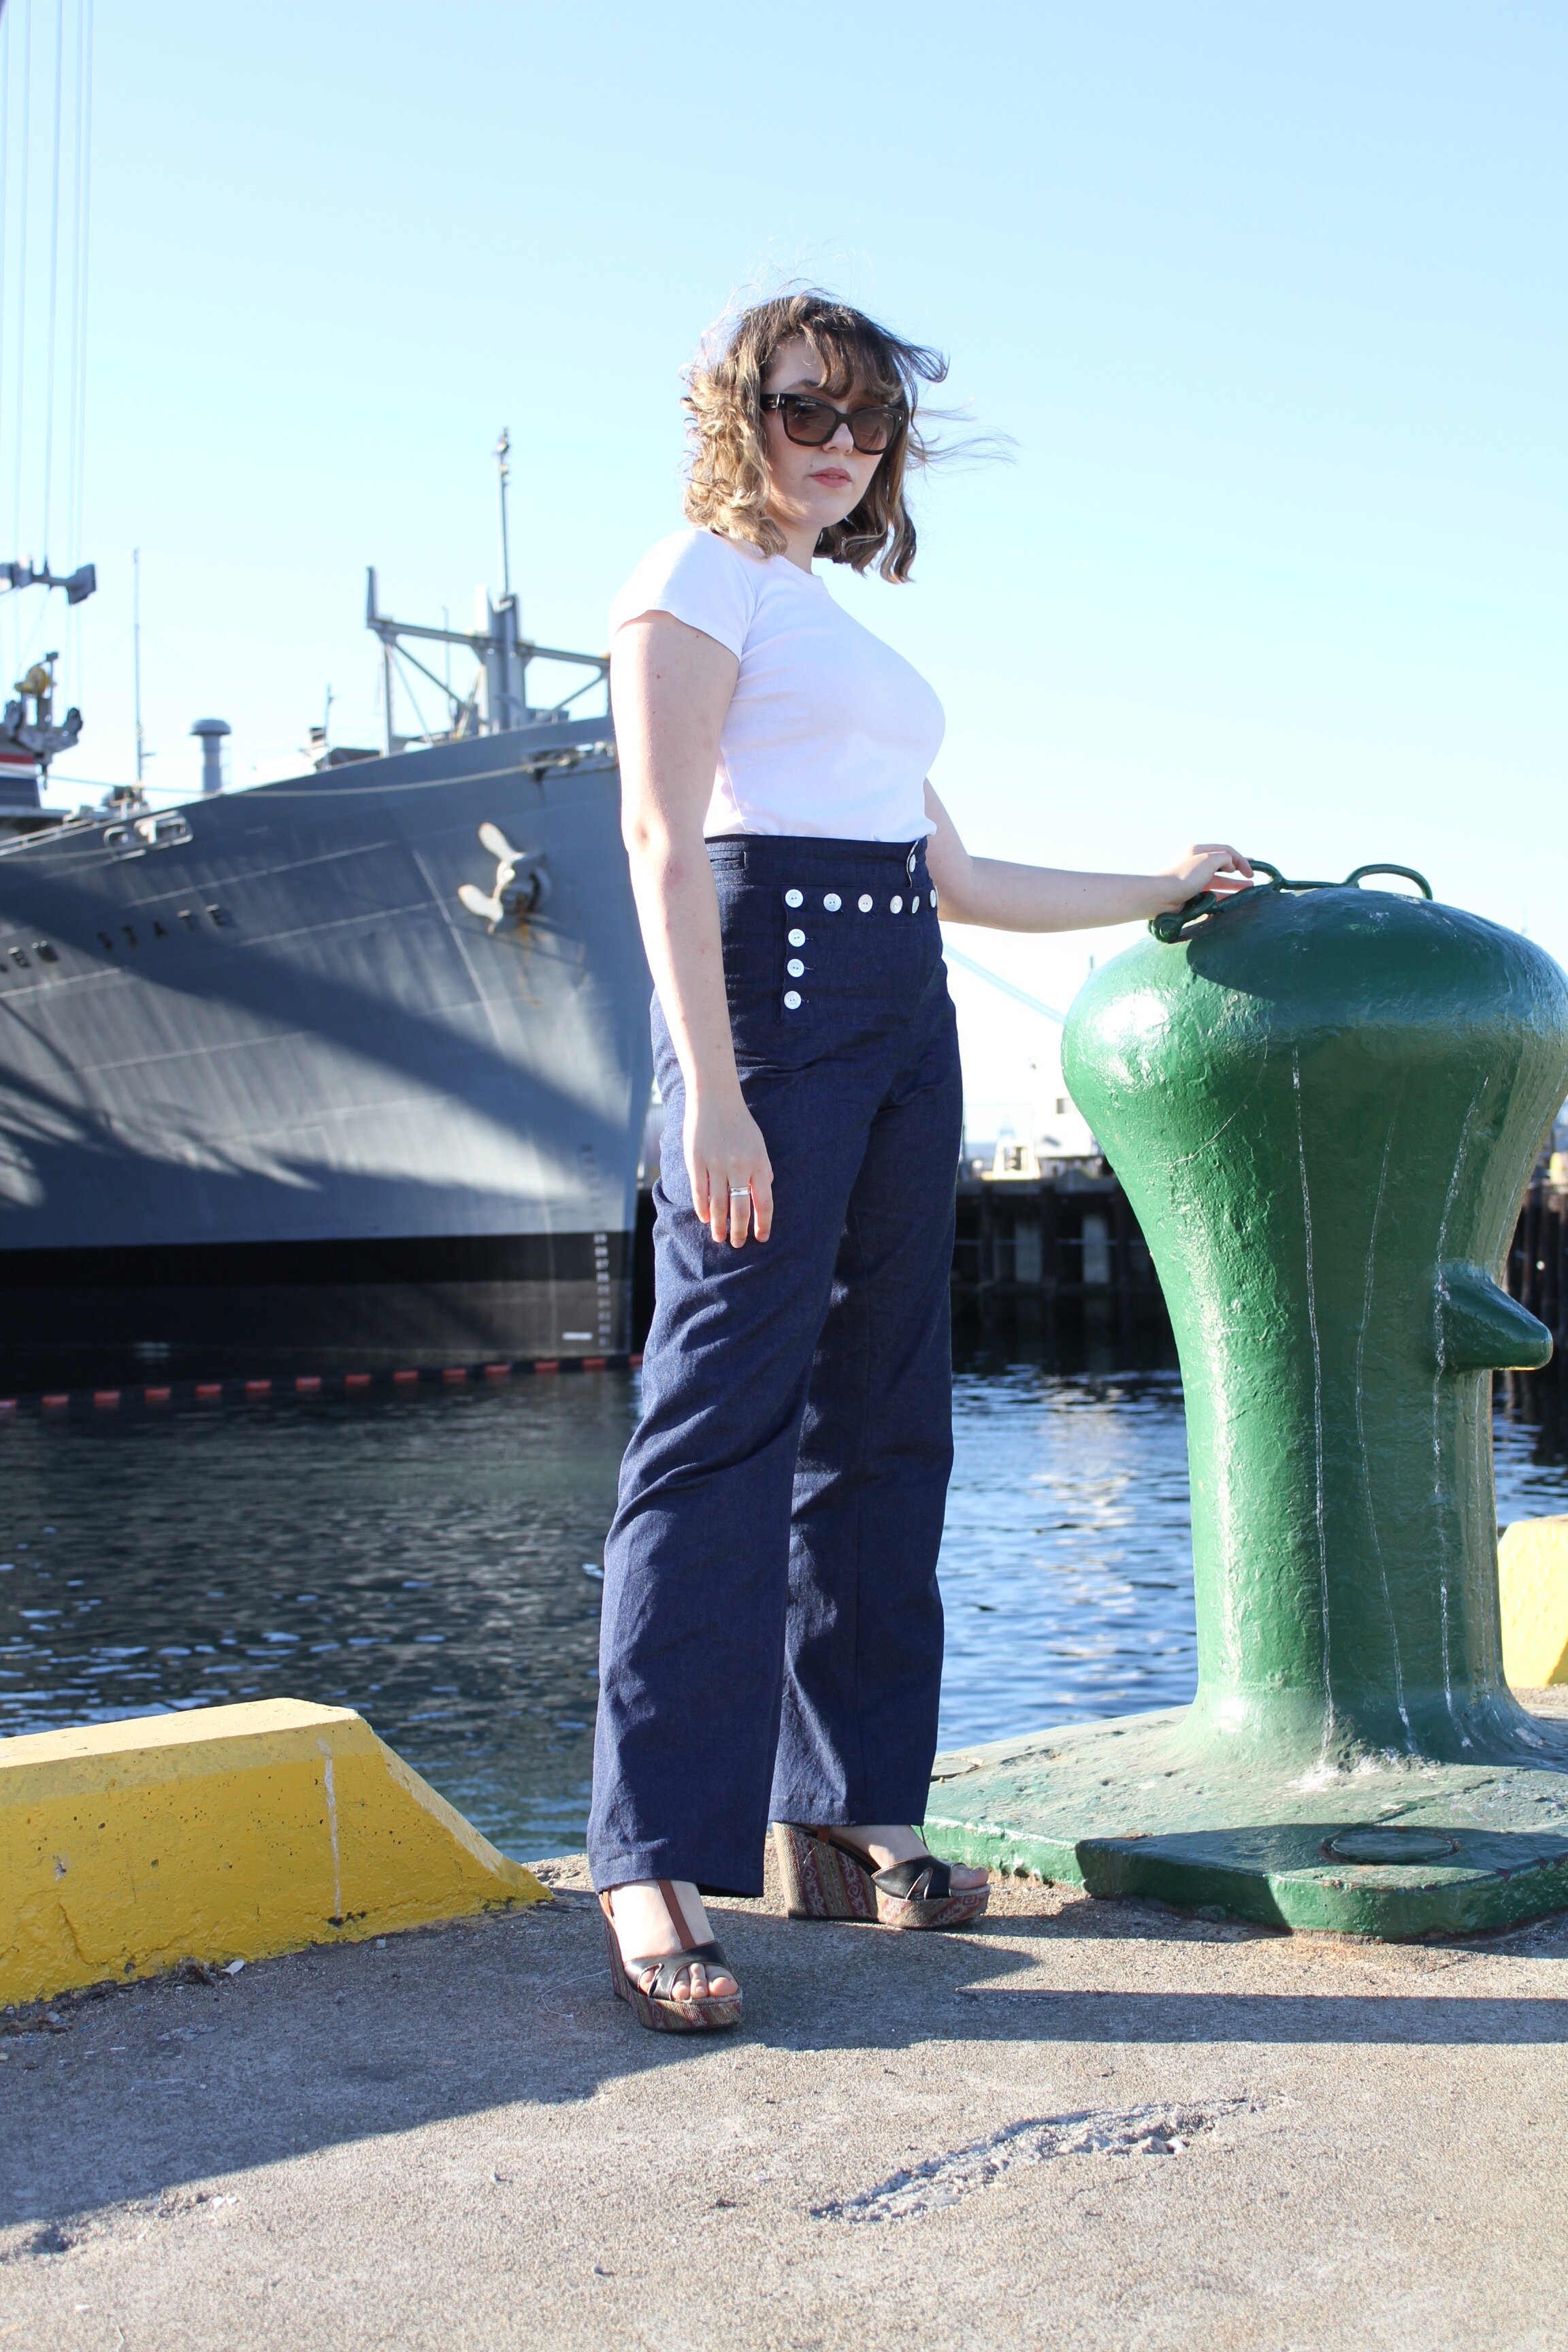
As you can see by the photos, it is not me, in them. It’s my beautiful daughter Emma photographed here on Alameda Point, near the USS Hornet, the aircraft carrier that picked up at least one of the Apollo capsules. Alameda is so full of history. It’s one of the many reasons I love living here.
These pants look so cute on Emma. I originally made them for myself, however, I did not measure the hip, on the pattern itself. When deciding on sizes, I was supposed to go with the larger sized based on my hip and the smaller size based on my waist. Normally, when this happens, I’m able to blend the sizes, but for this pattern, since it’s a one piece pattern, and there is a LOT GOING ON construction wise, in the waist, it was difficult to figure this out. So I went with the smaller of the two sizes and it didn’t quite work out for me. I’ll make it again in the next size up with adjustments and waist darts (I think). The Upside, is that they fit Emma pretty perfectly. I did need to take in the waist a bit and added two darts on either side of the lacing, after it was already sewn up.
the overall look I was going for was more of a “Louisa Durrell” sailor pant. If you’ve seen the series The Durells in Corfu, you will understand what I’m talking about. If not, go watch. It’s on PBS Masterpiece and totally worth every moment. So funny and the costumes and characters are the Best! Anyway, that being said, I wanted more of a straight wide leg reminiscent of the 1930’s instead of a flared bell bottom more appropriate to the 1970’s, so I omitted the inner leg gusset.
I’m almost there! The legs hips and thighs could be wider and the waist a smidge smaller, so there is a little bit of work to do. For a first try, I’m super pleased. No mock up and my daughter has a new pair of pants!
I’ll put all the details below. When making my decision about fabric, I opted for the lighter weight non-stretch denim. I’m happy with that choice and would do it again. The heavier weight would be too stiff without enough drape.
Here is a detail of the coin pocket which is stitched into the back waist. I think I will make it a little smaller for my next pair and I might move it a little closer to the back opening.
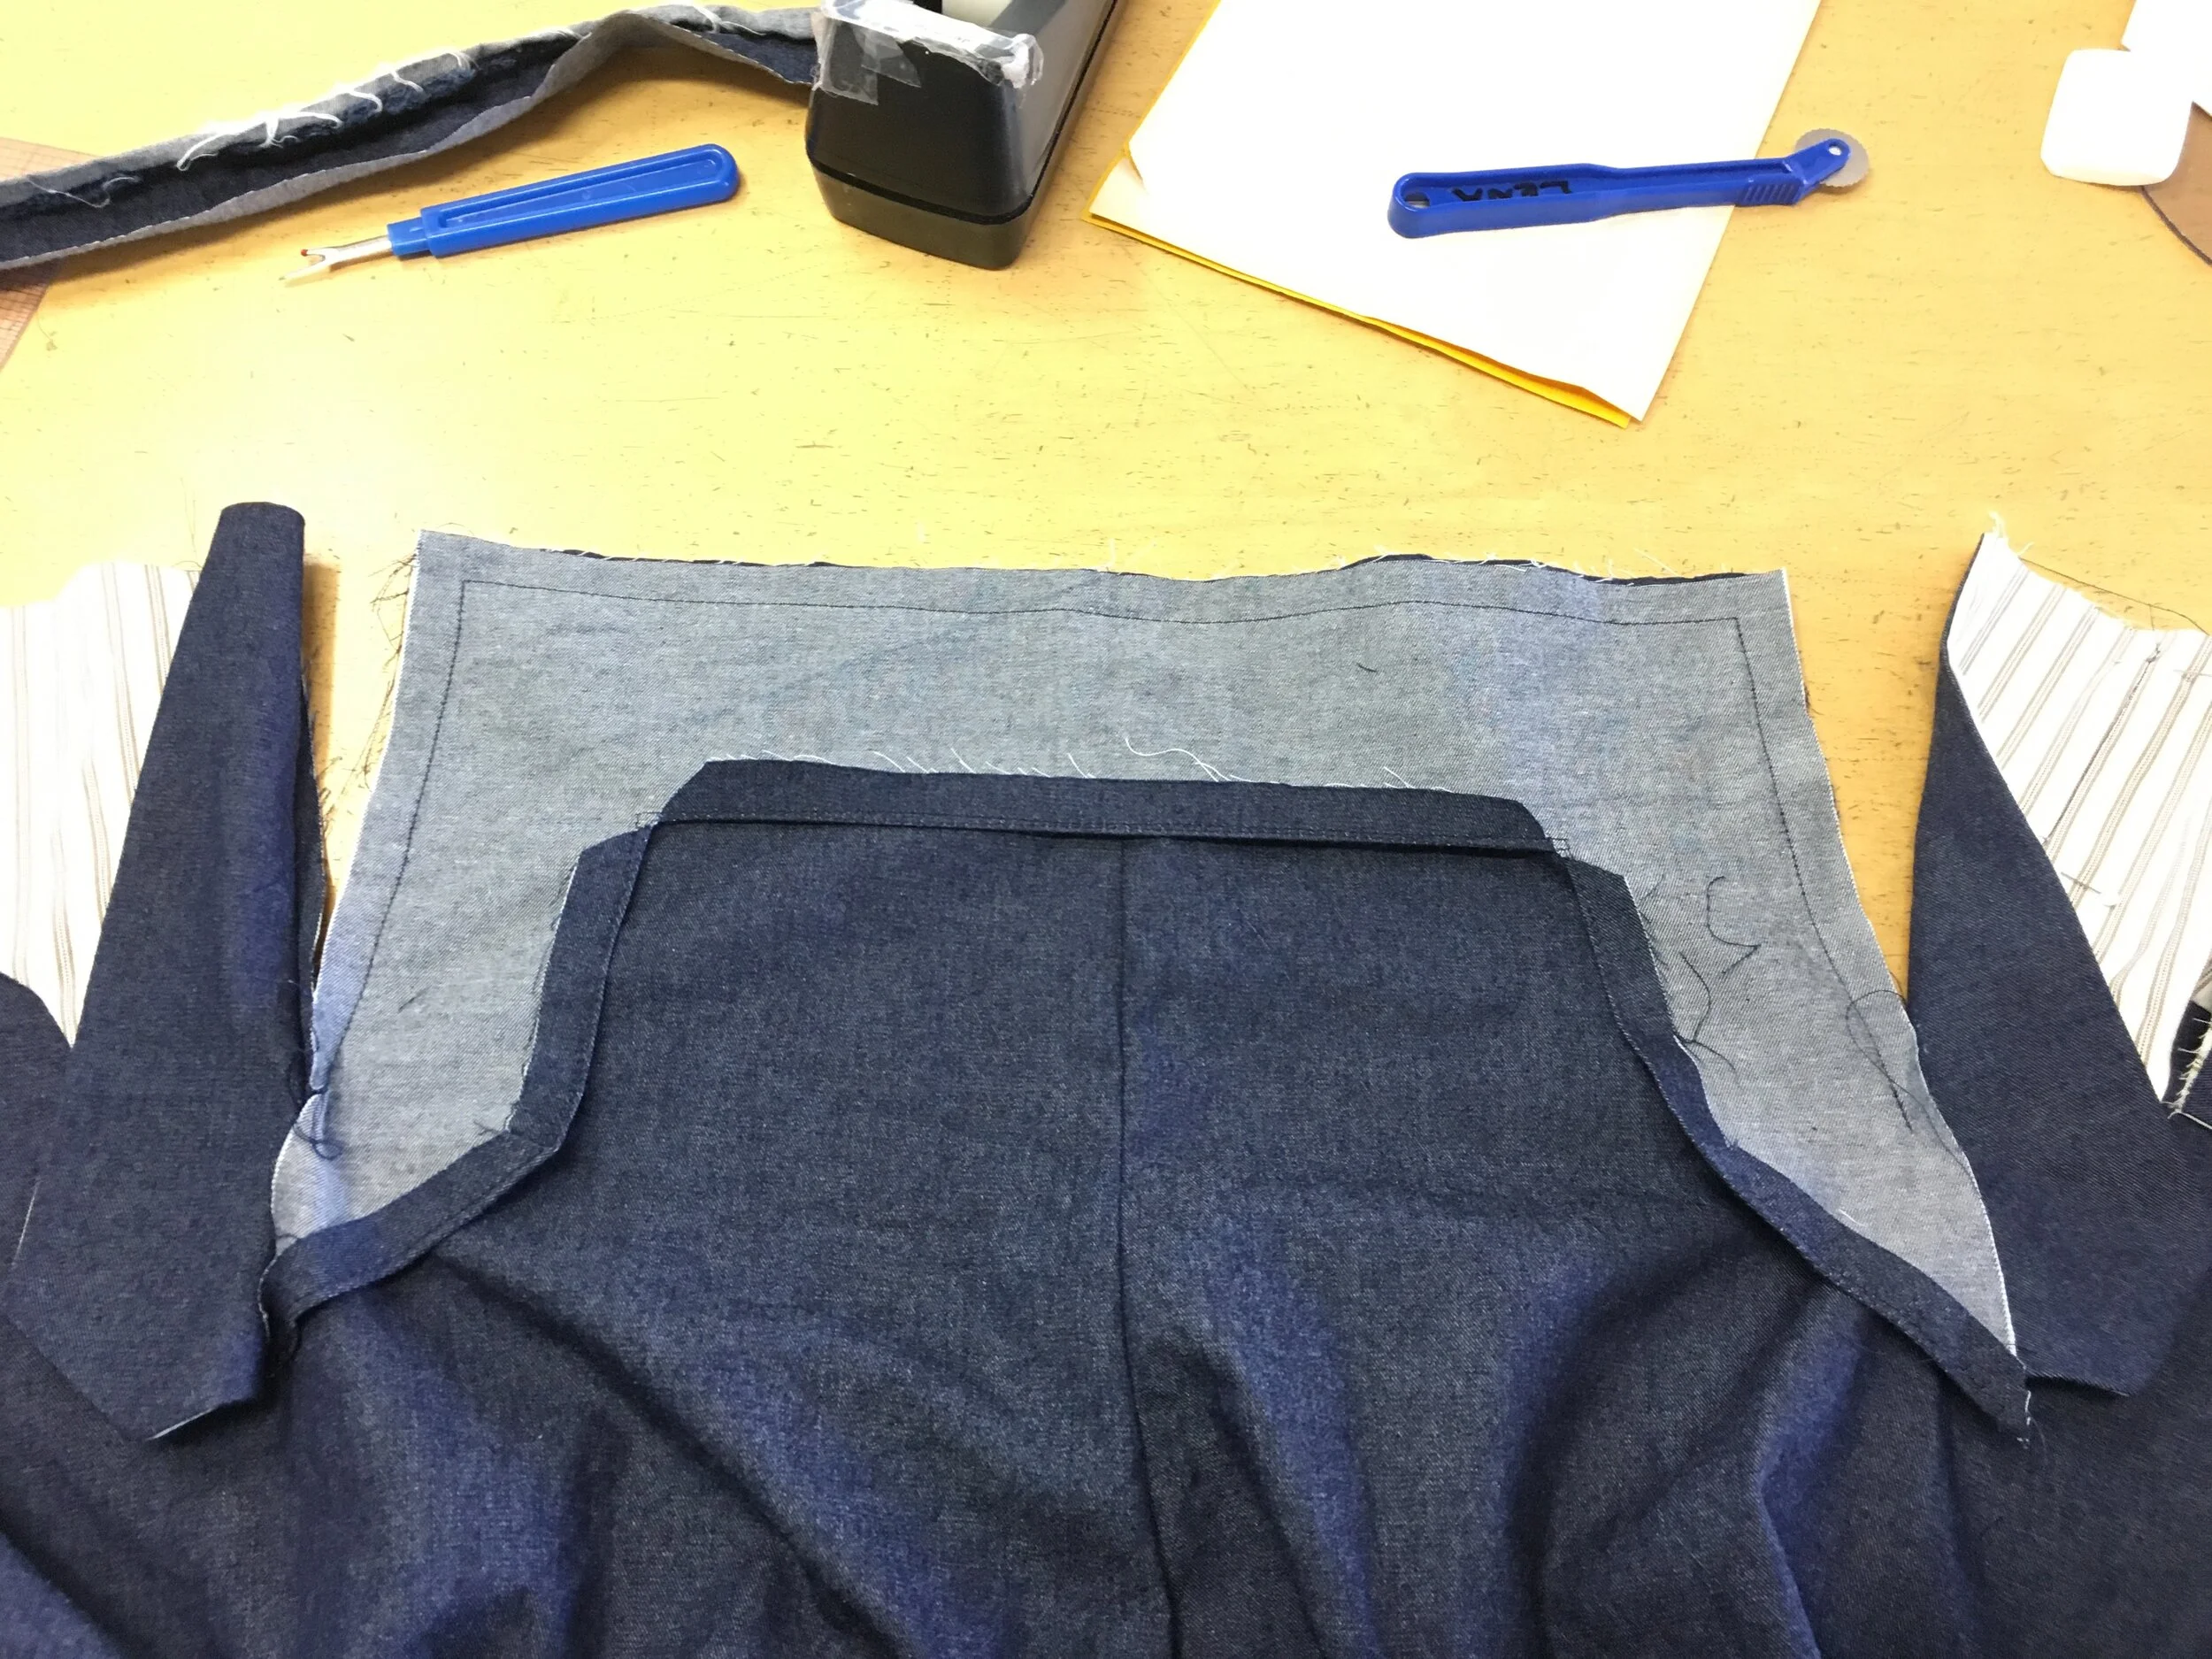
The drop front construction was complicated as I said before. The instructions were comprehensive, but I had to read them through thoroughly and could not skim (like I normally do) because each step was vital to the next. The views above show the way the front panels are attached to the dart on the front pants to create the button panes. It’s genius and I even used a similar method for some regency breeches that are currently in progress.
Here you can see how the front buttonhole panel is finished after the button panels are sewn on. After it is turned right side out, and the waistband attached, there is a lot of topstitching coming your way, so be prepared.
Overall, I really enjoyed making these pants. This is definitely an Intermediate level pattern and not for the beginner. Also, because of their UNISEX nature, and if you are curvy, I would recommend starting with a mock up.
Here are all the details:
Model - My daughter Emma
Pattern - Folkwear Pattern 229 - Sailor Pants
Fabric - Lightweight Japanese Denim - You can find in my Etsy Shop
Vintage Shell Buttons - Bingus Pingus Art on Etsy
Until Next Time, Happy Sewing!
xo Jennifer
