I started this whole birthday escapade because I was invited to enter something in the California & National “Make It With Wool” contest. I knew I wanted to make a spencer and and therefore a whole outfit because I didn’t currently have a dress to go with the wool I had chosen. Below I’ll take you through the process of making my gown and eventually, my spencer jacket.
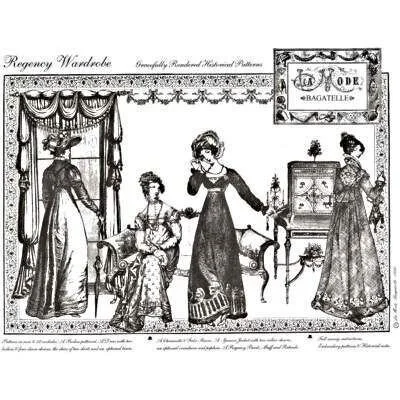
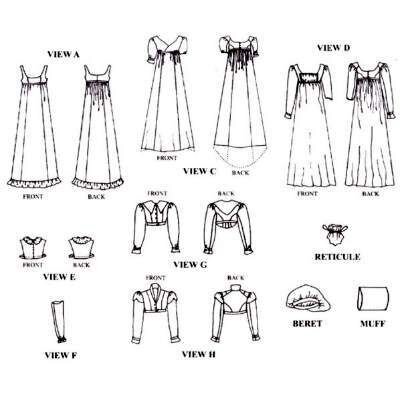
I started with a the Regency Wardrobe pattern from La Mode Bagatelle. I had found it over the Summer at Lacis during our Vintage Sewing Retreat. I have been wanting to make more regency clothing and bought it because it included a bodiced petticoat, two dresses with sleeve variations, a chemisette pattern, two spencers and false sleeves as well as a pattern for a reticule.
My dress fabric was very sheer so I needed a bodiced petticoat to wear under it. I mention the bodiced part because petticoats from that era often just had straps attached to a skirt and the petticoat started under the bust. Historic undergarments are so fascinating.
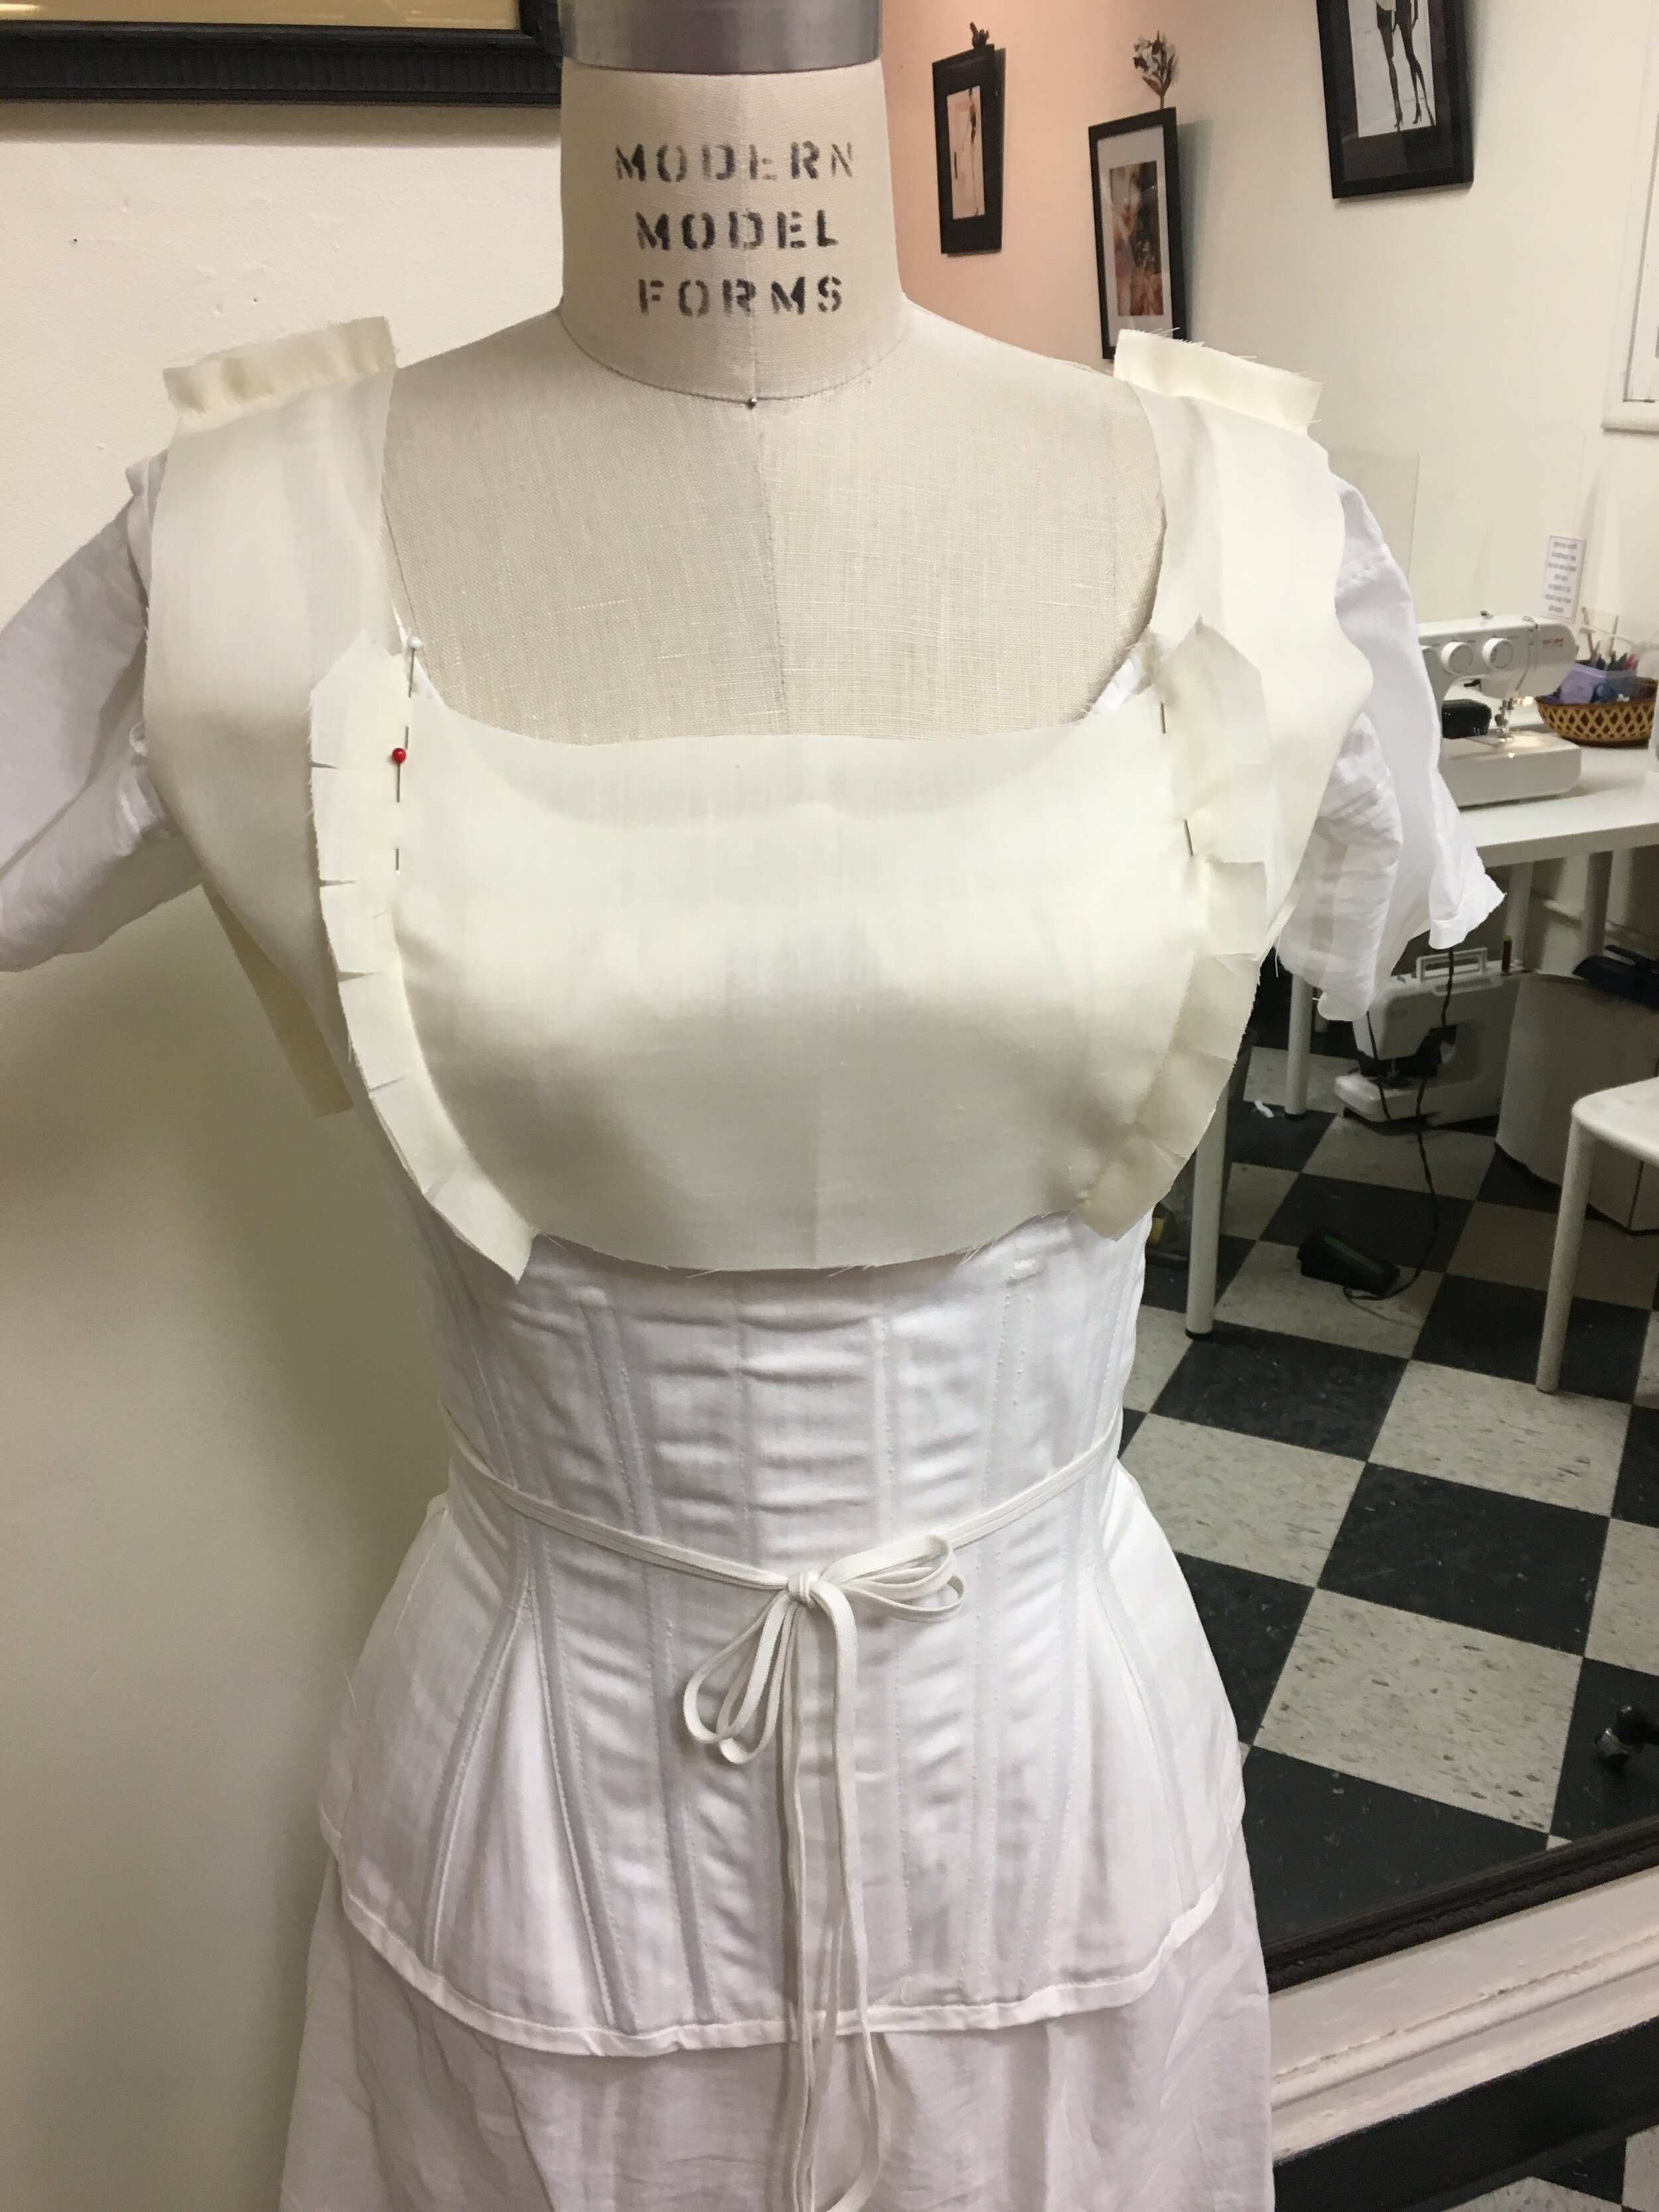
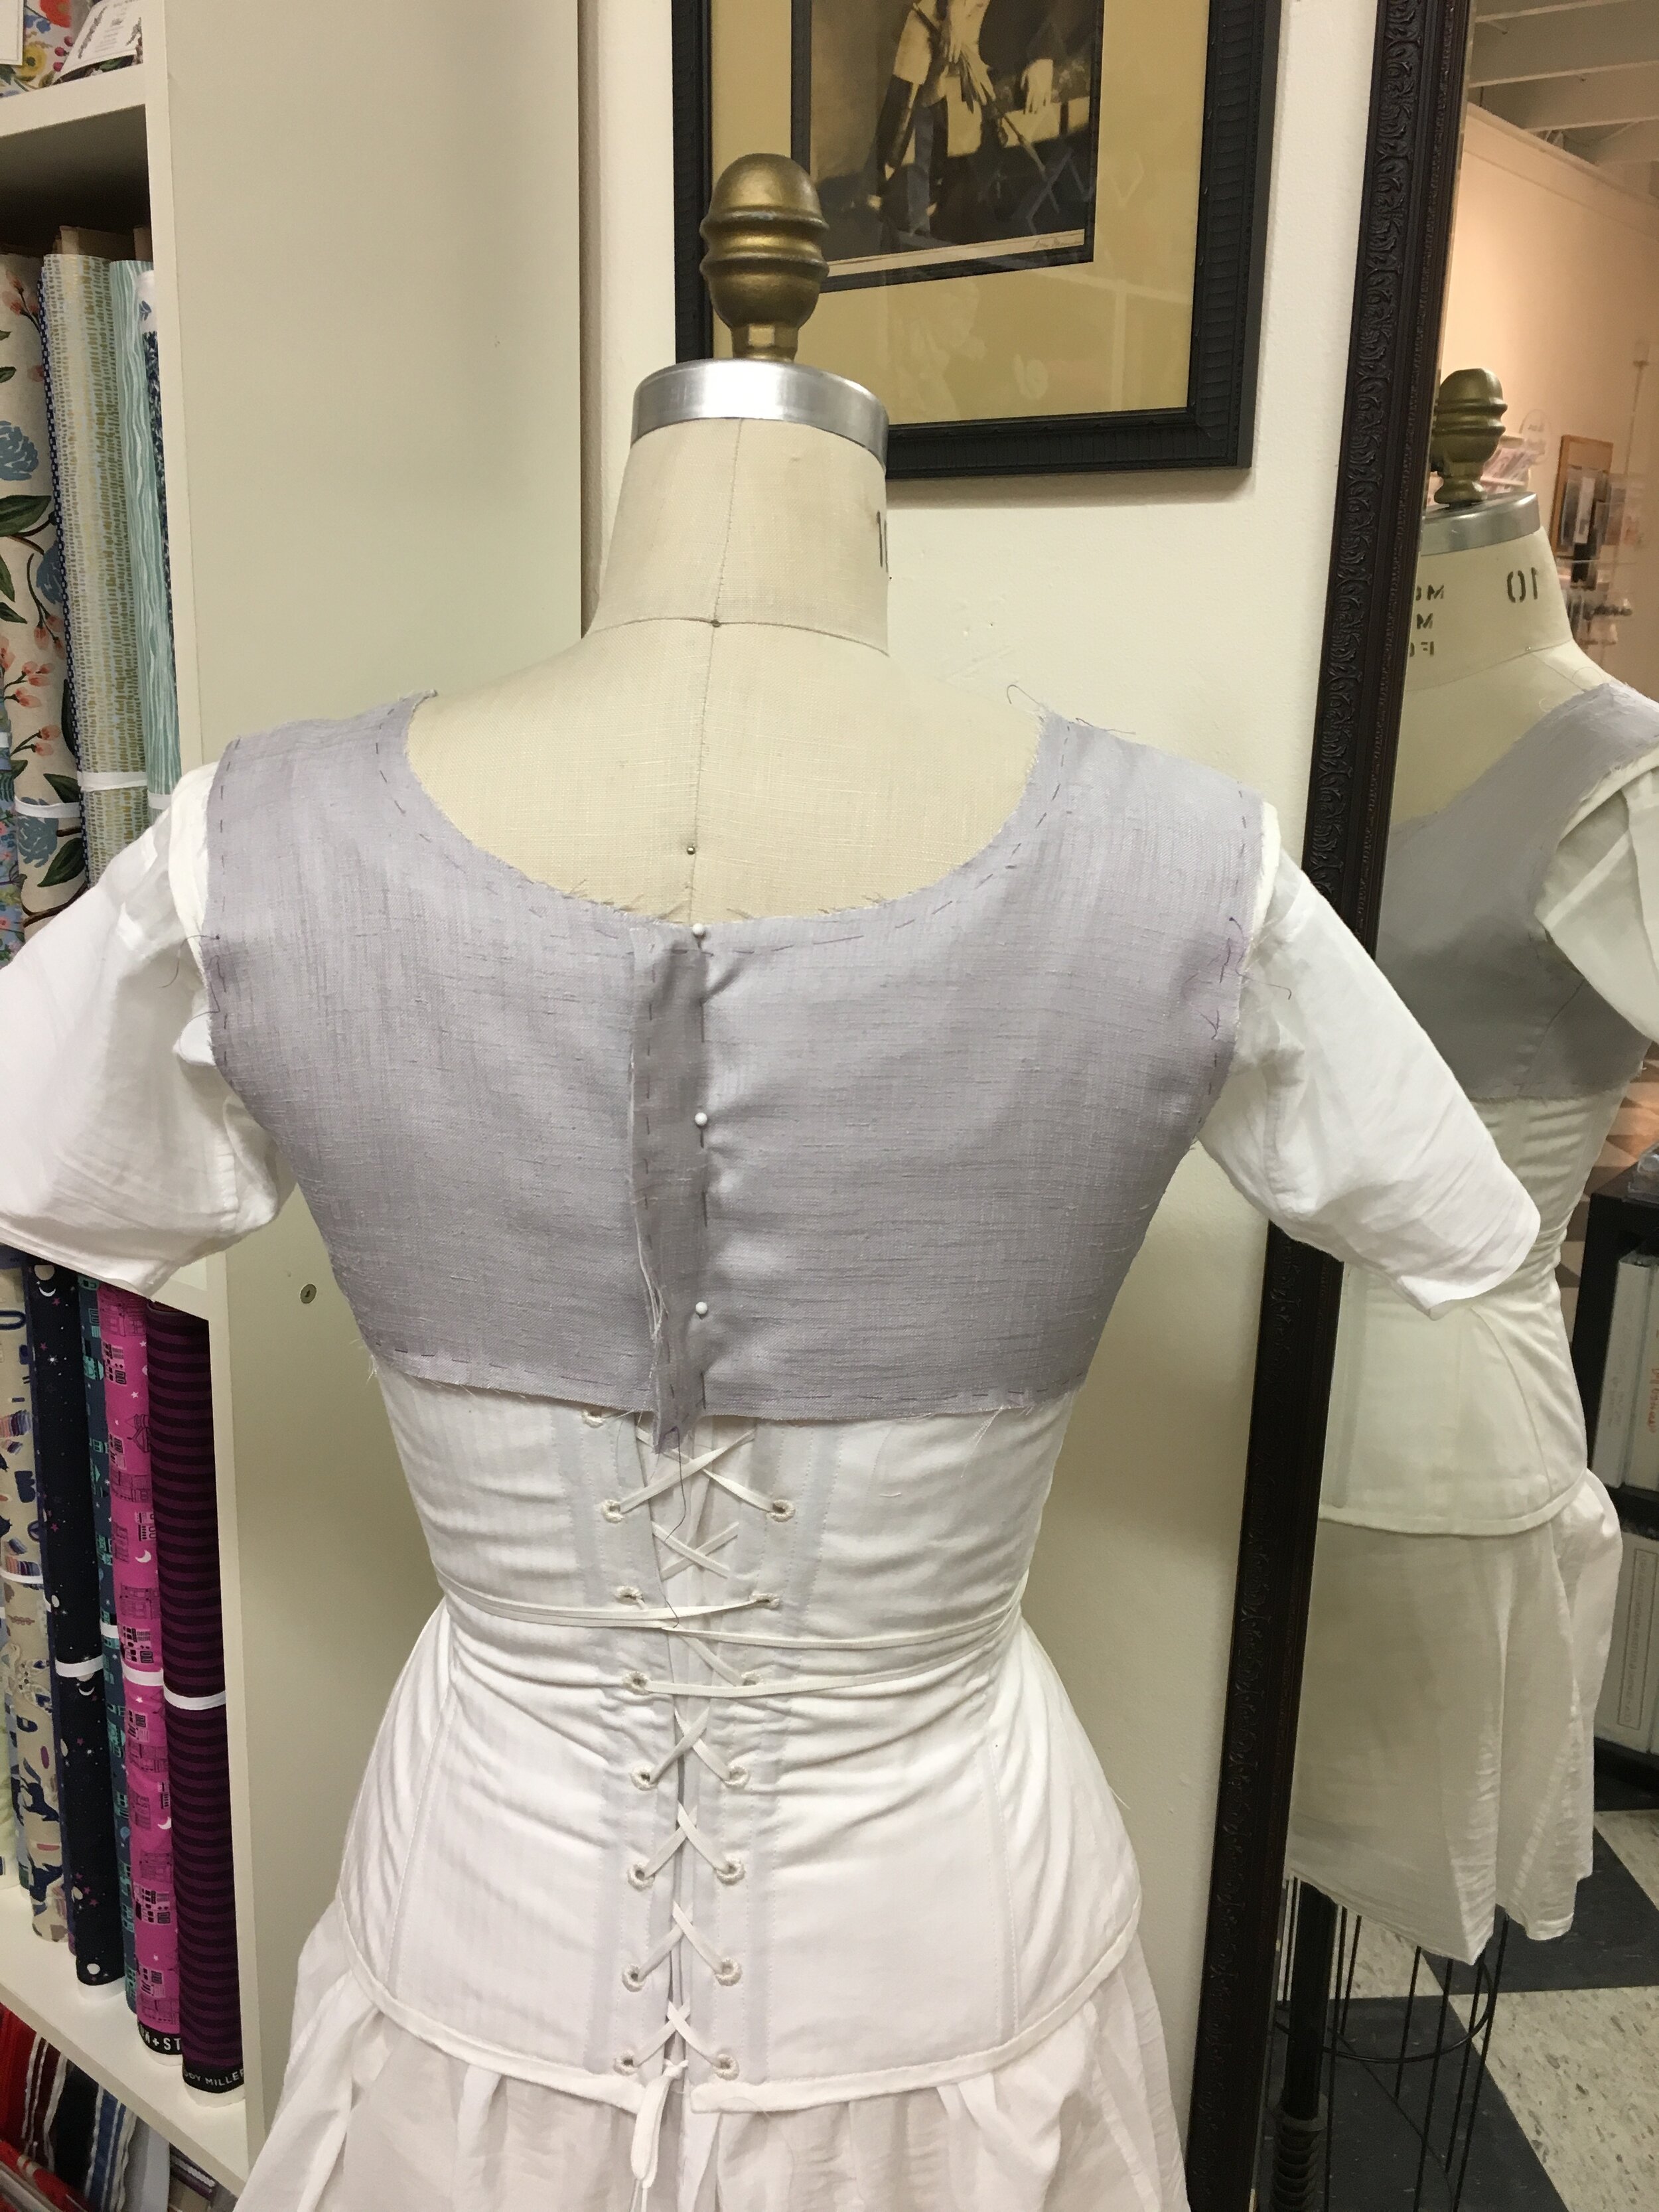
I threw my shift and stays onto the dress form, lacing and stuffing to my body measurements. Then I did a tissue fitting and realized quite a bit of changes needed to be done before I cut it out in the fashion fabric. Four muslin mock ups later I fit the bodice as you see above and felt that I could move on. Sometimes it’s tricky to be busty.
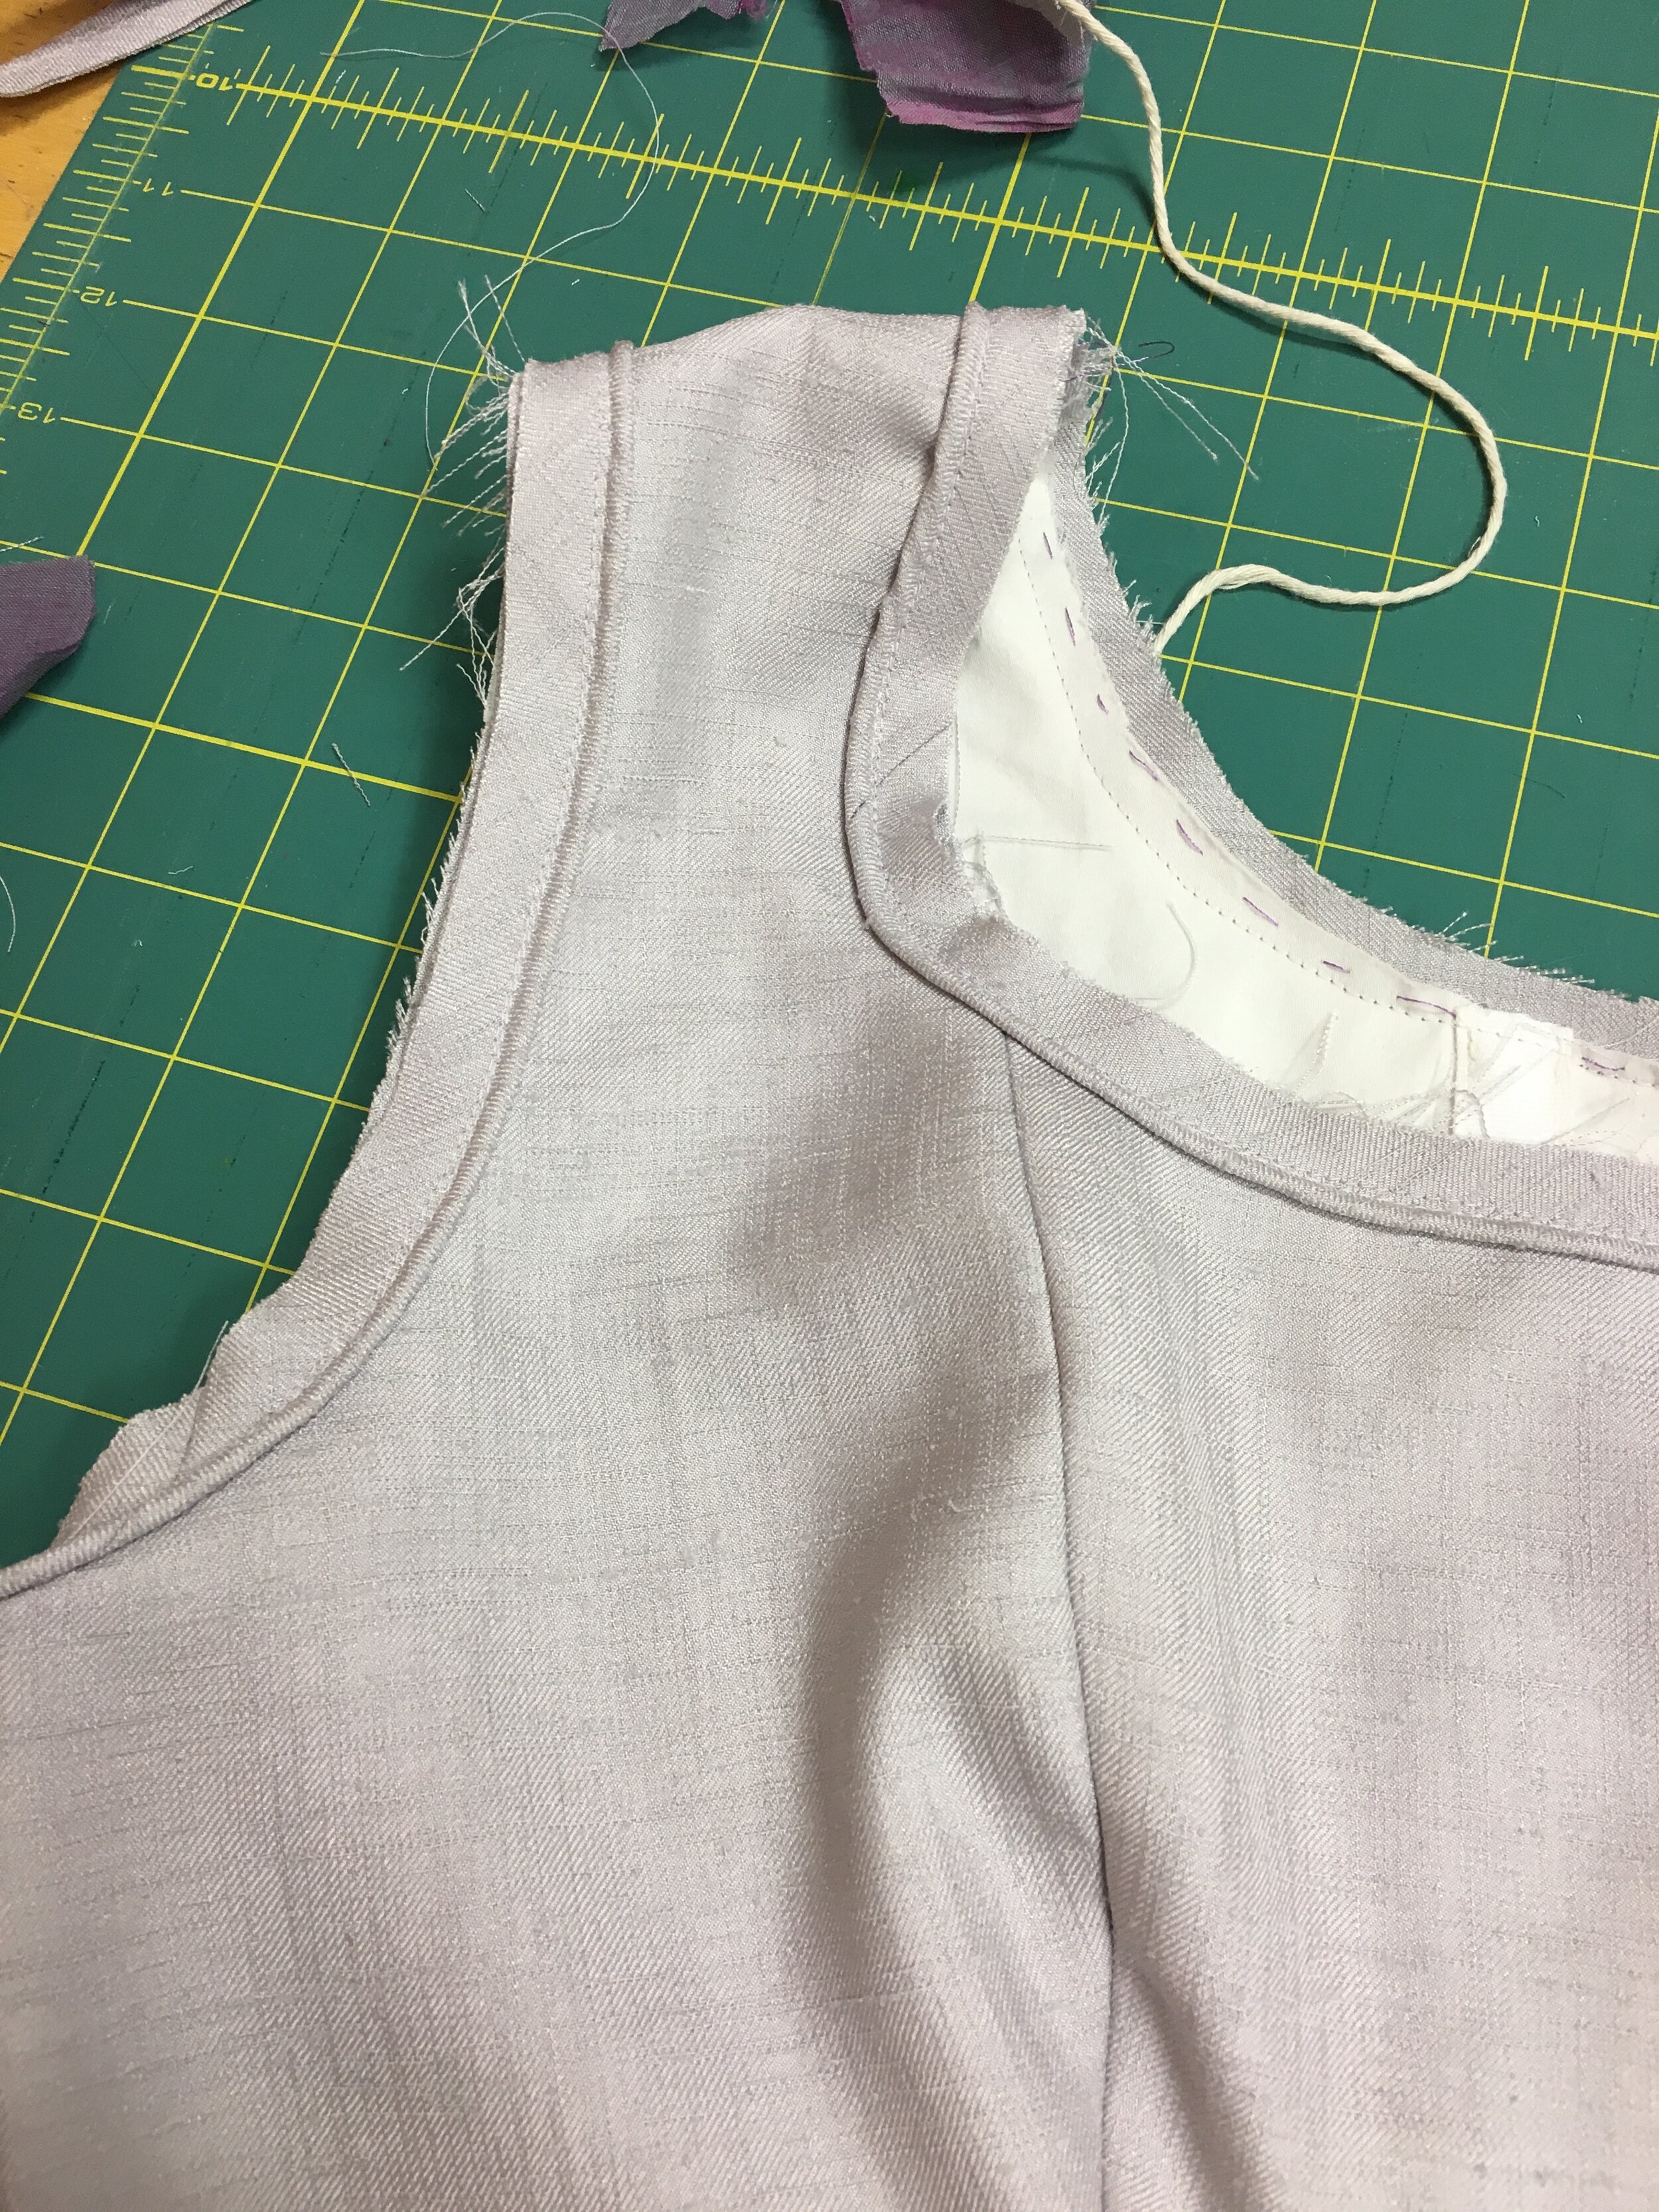
I flatlined all the pattern pieces and then finished the edges with self piping. I did this so that I could properly fit the neck and armholes to my body. When I tried the garment on in the fashion fabric, there was quite a bit of gaping. with piping, you can pull the cord inside the piping to get a better fit. You do this before you secure the piping with stitching. The bodice was then lined with the sheer cotton fabric I used for the cross front dress.
The skirt of the petticoat was made up of several angled, rectangular pieces sewn together and gathered at the waist. It’s then attached to a waistband that is sewn onto the bodice. The same treatment happens on the dress. For the dress, I had similar bodice issues as I did with the petticoat, so I adjusted the pattern accordingly, adding length to the front bottom edge of the bodice so that it would cover my bust and not hit right in the middle.
I sewed the cross front body dress primarily by hand, felling all the seams and being very delicate with my stitching. I was feeling very “authentic” which was fleeting, as the skirt pieces were sewn with french seams, on the machine. Fittings happened in different stages of construction. The bodice was fitted after the sleeves were sewn in but before it was attached to the waistband. Then the garment fitted again to determine the back opening as well as the overall length. I hemmed the front neckline and put a cord inside so I could pull/fit the bodice more easily. The back opening on the gown was finished with machine buttonholes and dark colored shell buttons and the petticoat was finished with hooks and eyes. I definitely need help getting into this.
In the photos of the pattern above, you can see all the different garments. I think I forgot to mention it comes with a beret and muff as well. I’m embroidering a reticule at the moment so hopefully you will see that soon. the pattern also includes transfers for embroidery designs which is super great. They give you enough to make it either down the front of a skirt or around the bottom edge, or perhaps even the neckline. I might have to do that on my next dress! It’s well worth the $50+ price tag.
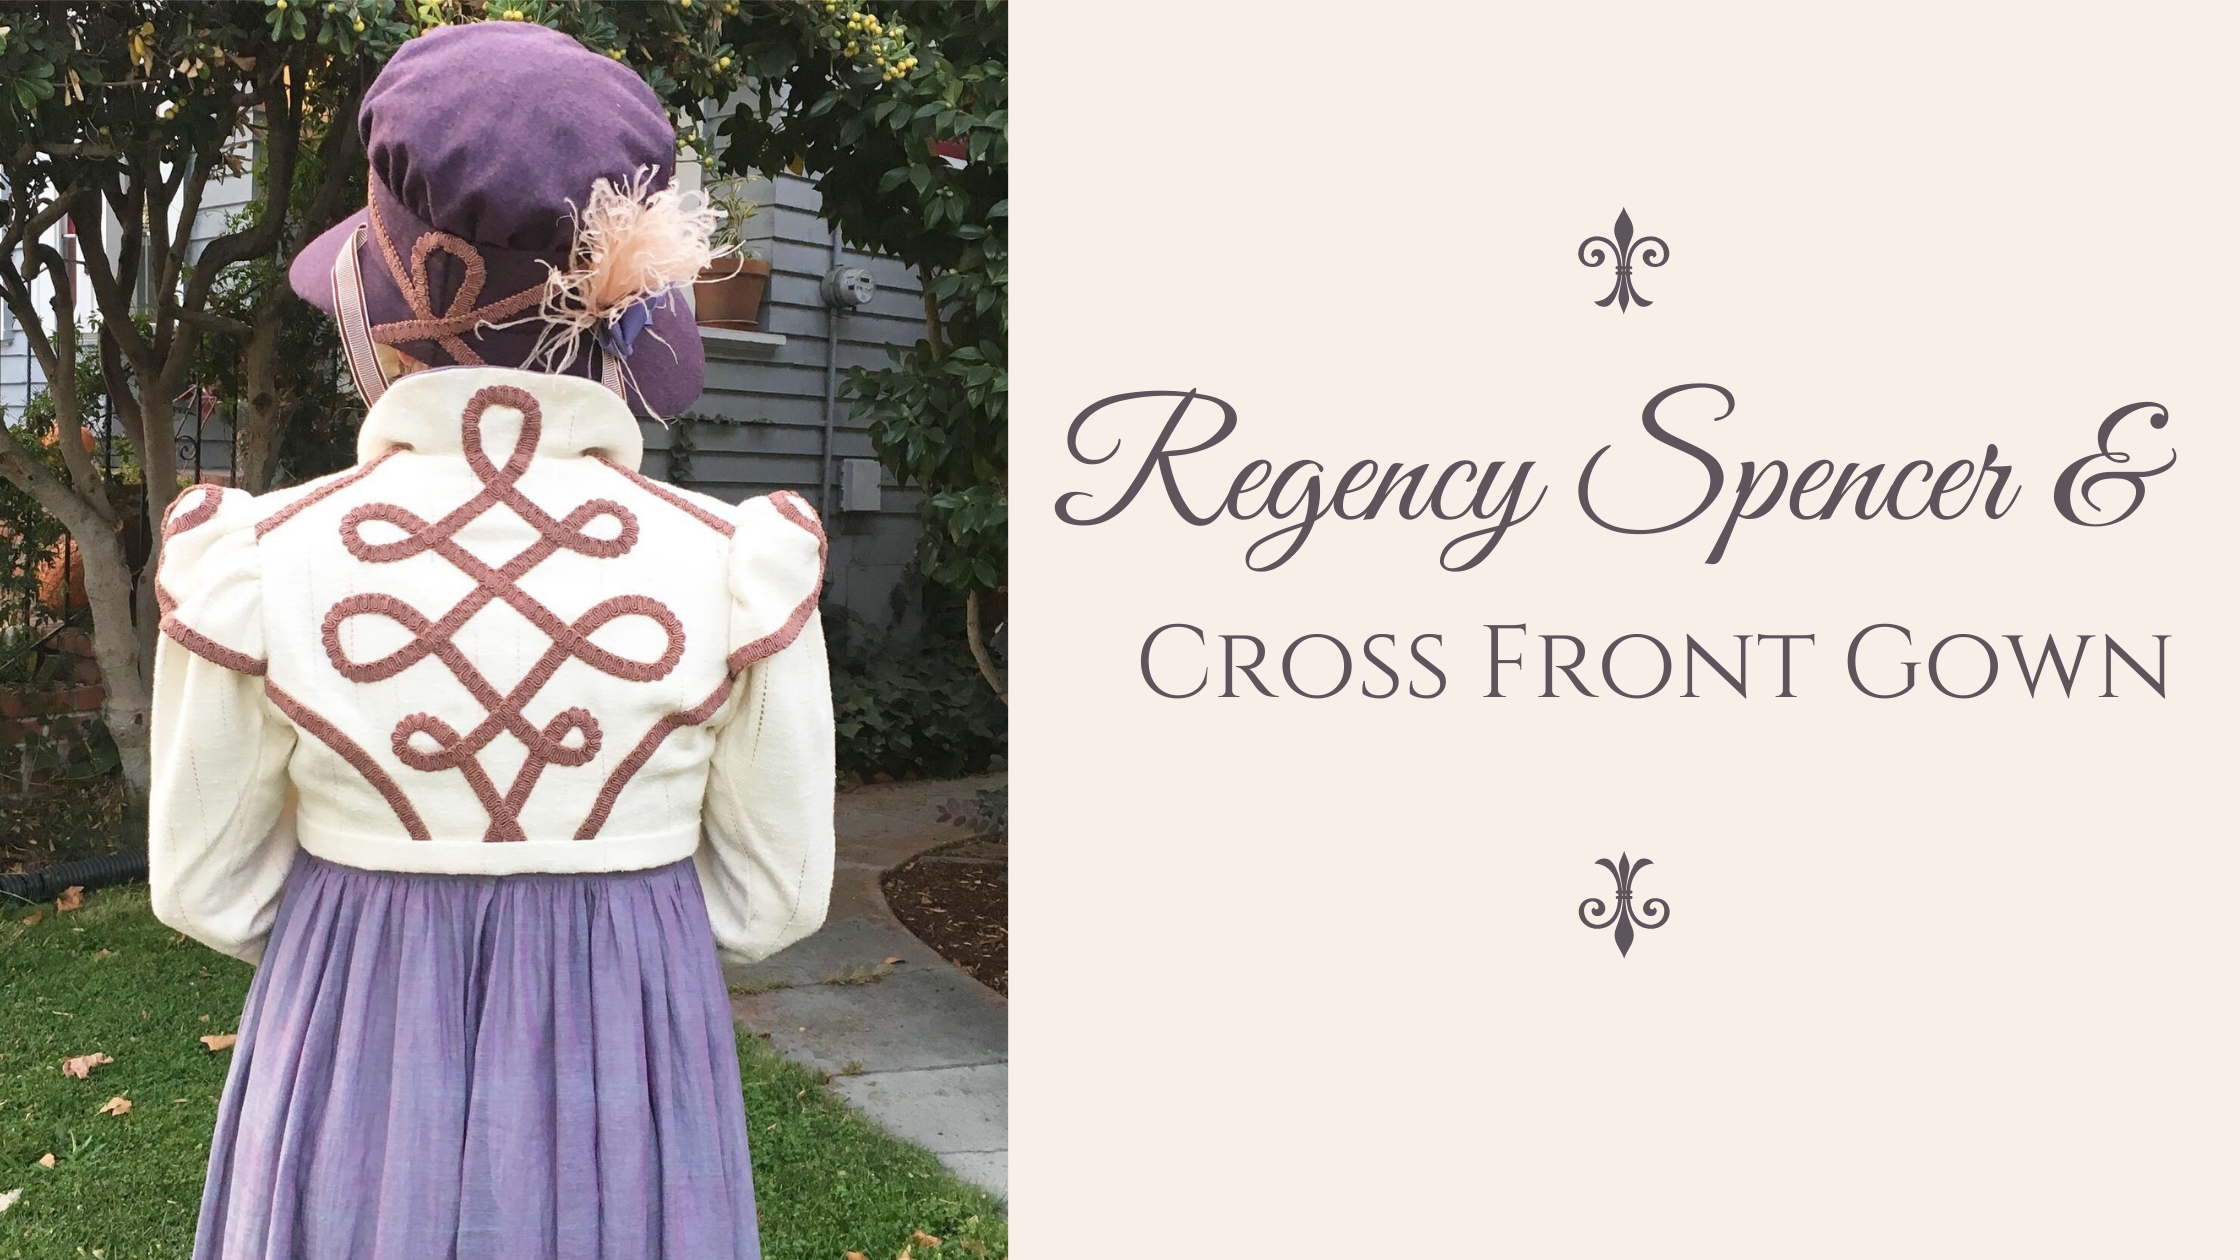
The spencer pattern needed very little adjusting. I did a mock up in muslin and then cut it out in my fashion fabric. The jacket and sleeve puffs are lined in pale pink poly crepe, the top collar and sleeve band linings faced with silk charmeuse that coordinates with my dress. It was really hard to photograph the wool of the jacket. It is cream colored with lavender, rose and plum threads running throughout. It’s really pretty close up and coordinates very well with my dress.
In wanting to spice it up a little bit and because I currently have about 1000 yards of gimp trim, a gimp motif was in order. I drew out a design on paper and then followed this as I pinned the gimp in place on the back of the jacket and then onto the collar and sleeve puffs. It was all stitched in place by hand. I used covered buttons for the front opening and sleeve bands.
Here you can see the finished ensemble including 1 of 3 bonnets I made for my party. The other two going to different attendees. If you want another bonnet post, let me know in the comments and I’ll be happy to accommodate you.
Details -
All fabric donated from an estate, excluding the trims on my bonnet and the gimp which was donated from a an upholstery shop closing.
Stays - Me made from the Regency Long Stays pattern by RedThreaded
Pattern - Regency Wardrobe from La Mode Bagatelle purchased at Lacis in Berkeley
Shift - Me made and designed but inspired by picture diagrams I found on Pinterest
Silk Stockings and shoes (not shown) - American Duchess
That’s all for now. Until next time, Happy Sewing!
xo Jennifer

