The “STUFF” in the shop overfloweth. Out of every little corner there is some tool or trim that needs to find a place to live and we have so much right now. I was in the middle of pondering ways to organize all that I have when Pegboarder reached out to me in collaboration. The request came just in time and I accepted the challenge.
Pegboarder is a leading supplier of heavy-duty top-of-the-line custom pegboard and accessories. They sent me a box of 60 assorted hooks and holders along with a paper towel holder/peg board shelf. After receiving the packages in record time, I set out to find some peg board.
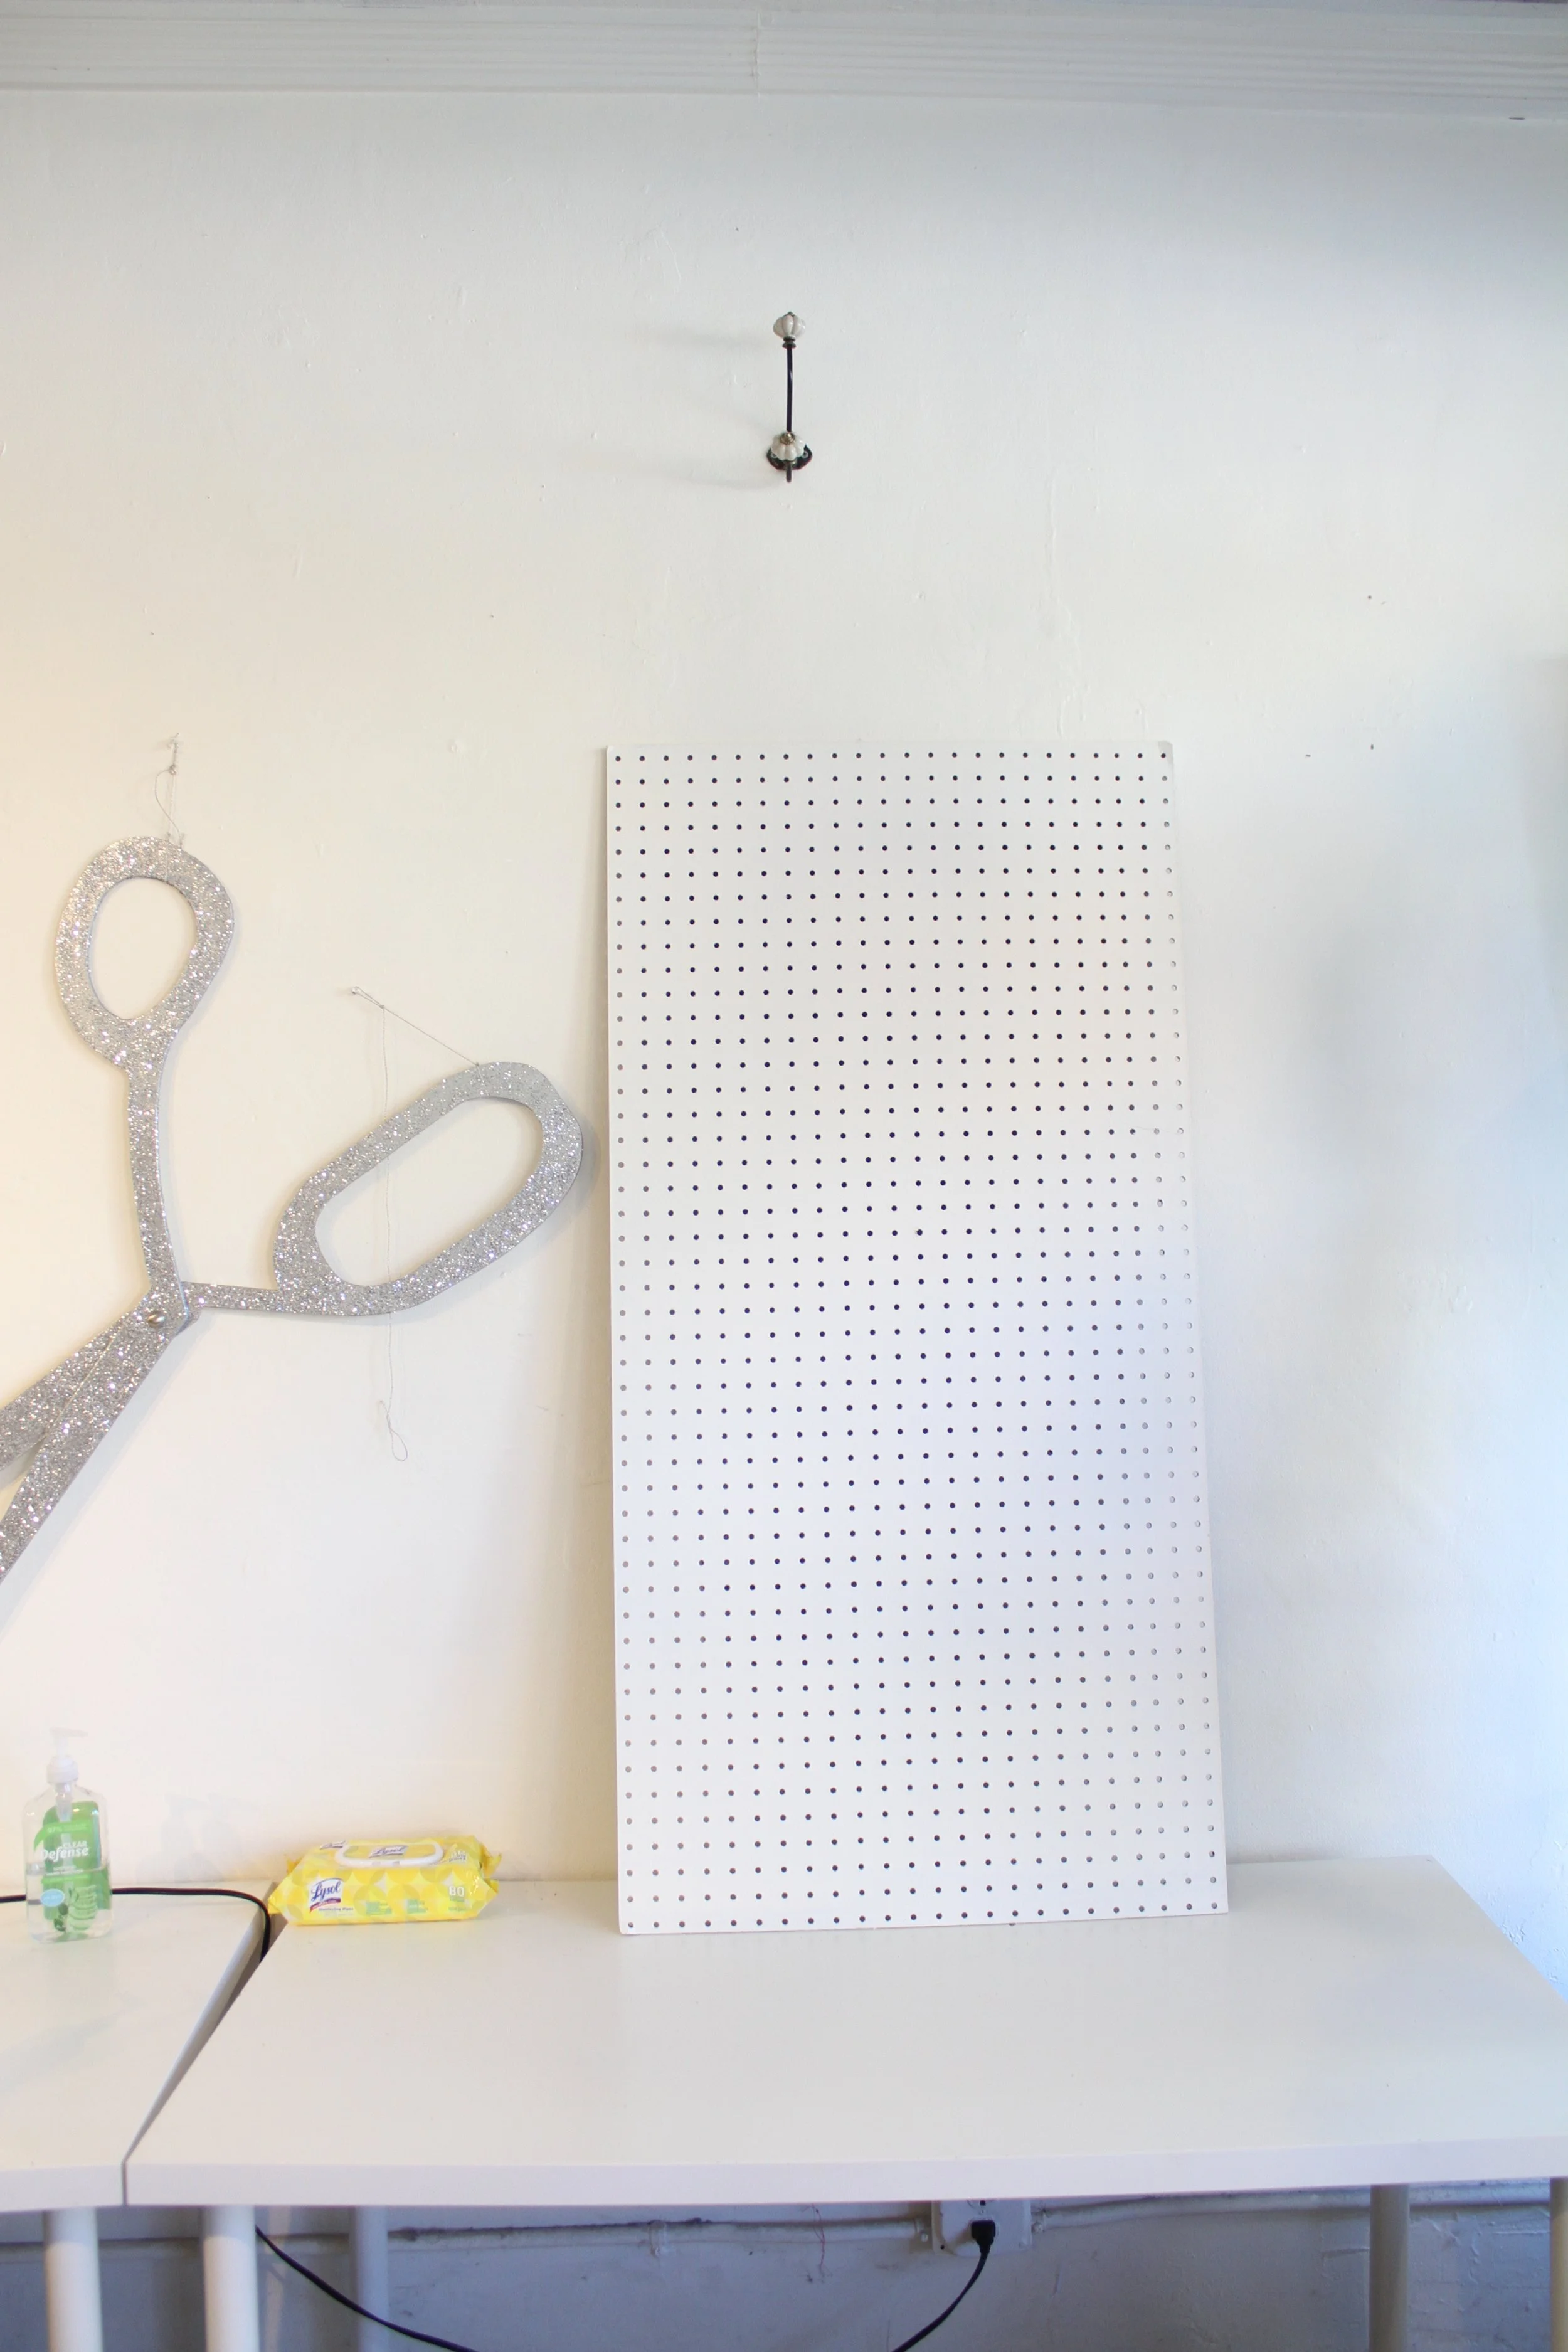
It was easy enough as I found it at my local hardware store. The Sewing Room has very limited space so I started out with a quarter sheet or 4’x 2’ of peg board. Paint was also purchased so that the board would match my walls. The walls are painted a lovely off-white called Mayonnaise by Benjamin Moore. It’s funny to have mayonnaise on the walls, right?
That was the quickest paint job I’ve done in a long time. Two coats of BM Regal covered the board lickety-split. Then it was time to hang the board.
I was advised, at the hardware store, to hang the board with spacers behind the board. The spacers are needed so you can put the pegs into the board. If the board is mounted directly to the wall, there is no place for the pegs or “hooks” to go. I bought and used plastic nuts and screws to mount the board to my plaster walls. Finding wood to drill into was somewhat challenging, but I did it. And all with just a hammer and a screw driver. I started the hole with a hammer and finished with the screw driver. Yes, I’m that kind of scrappy.
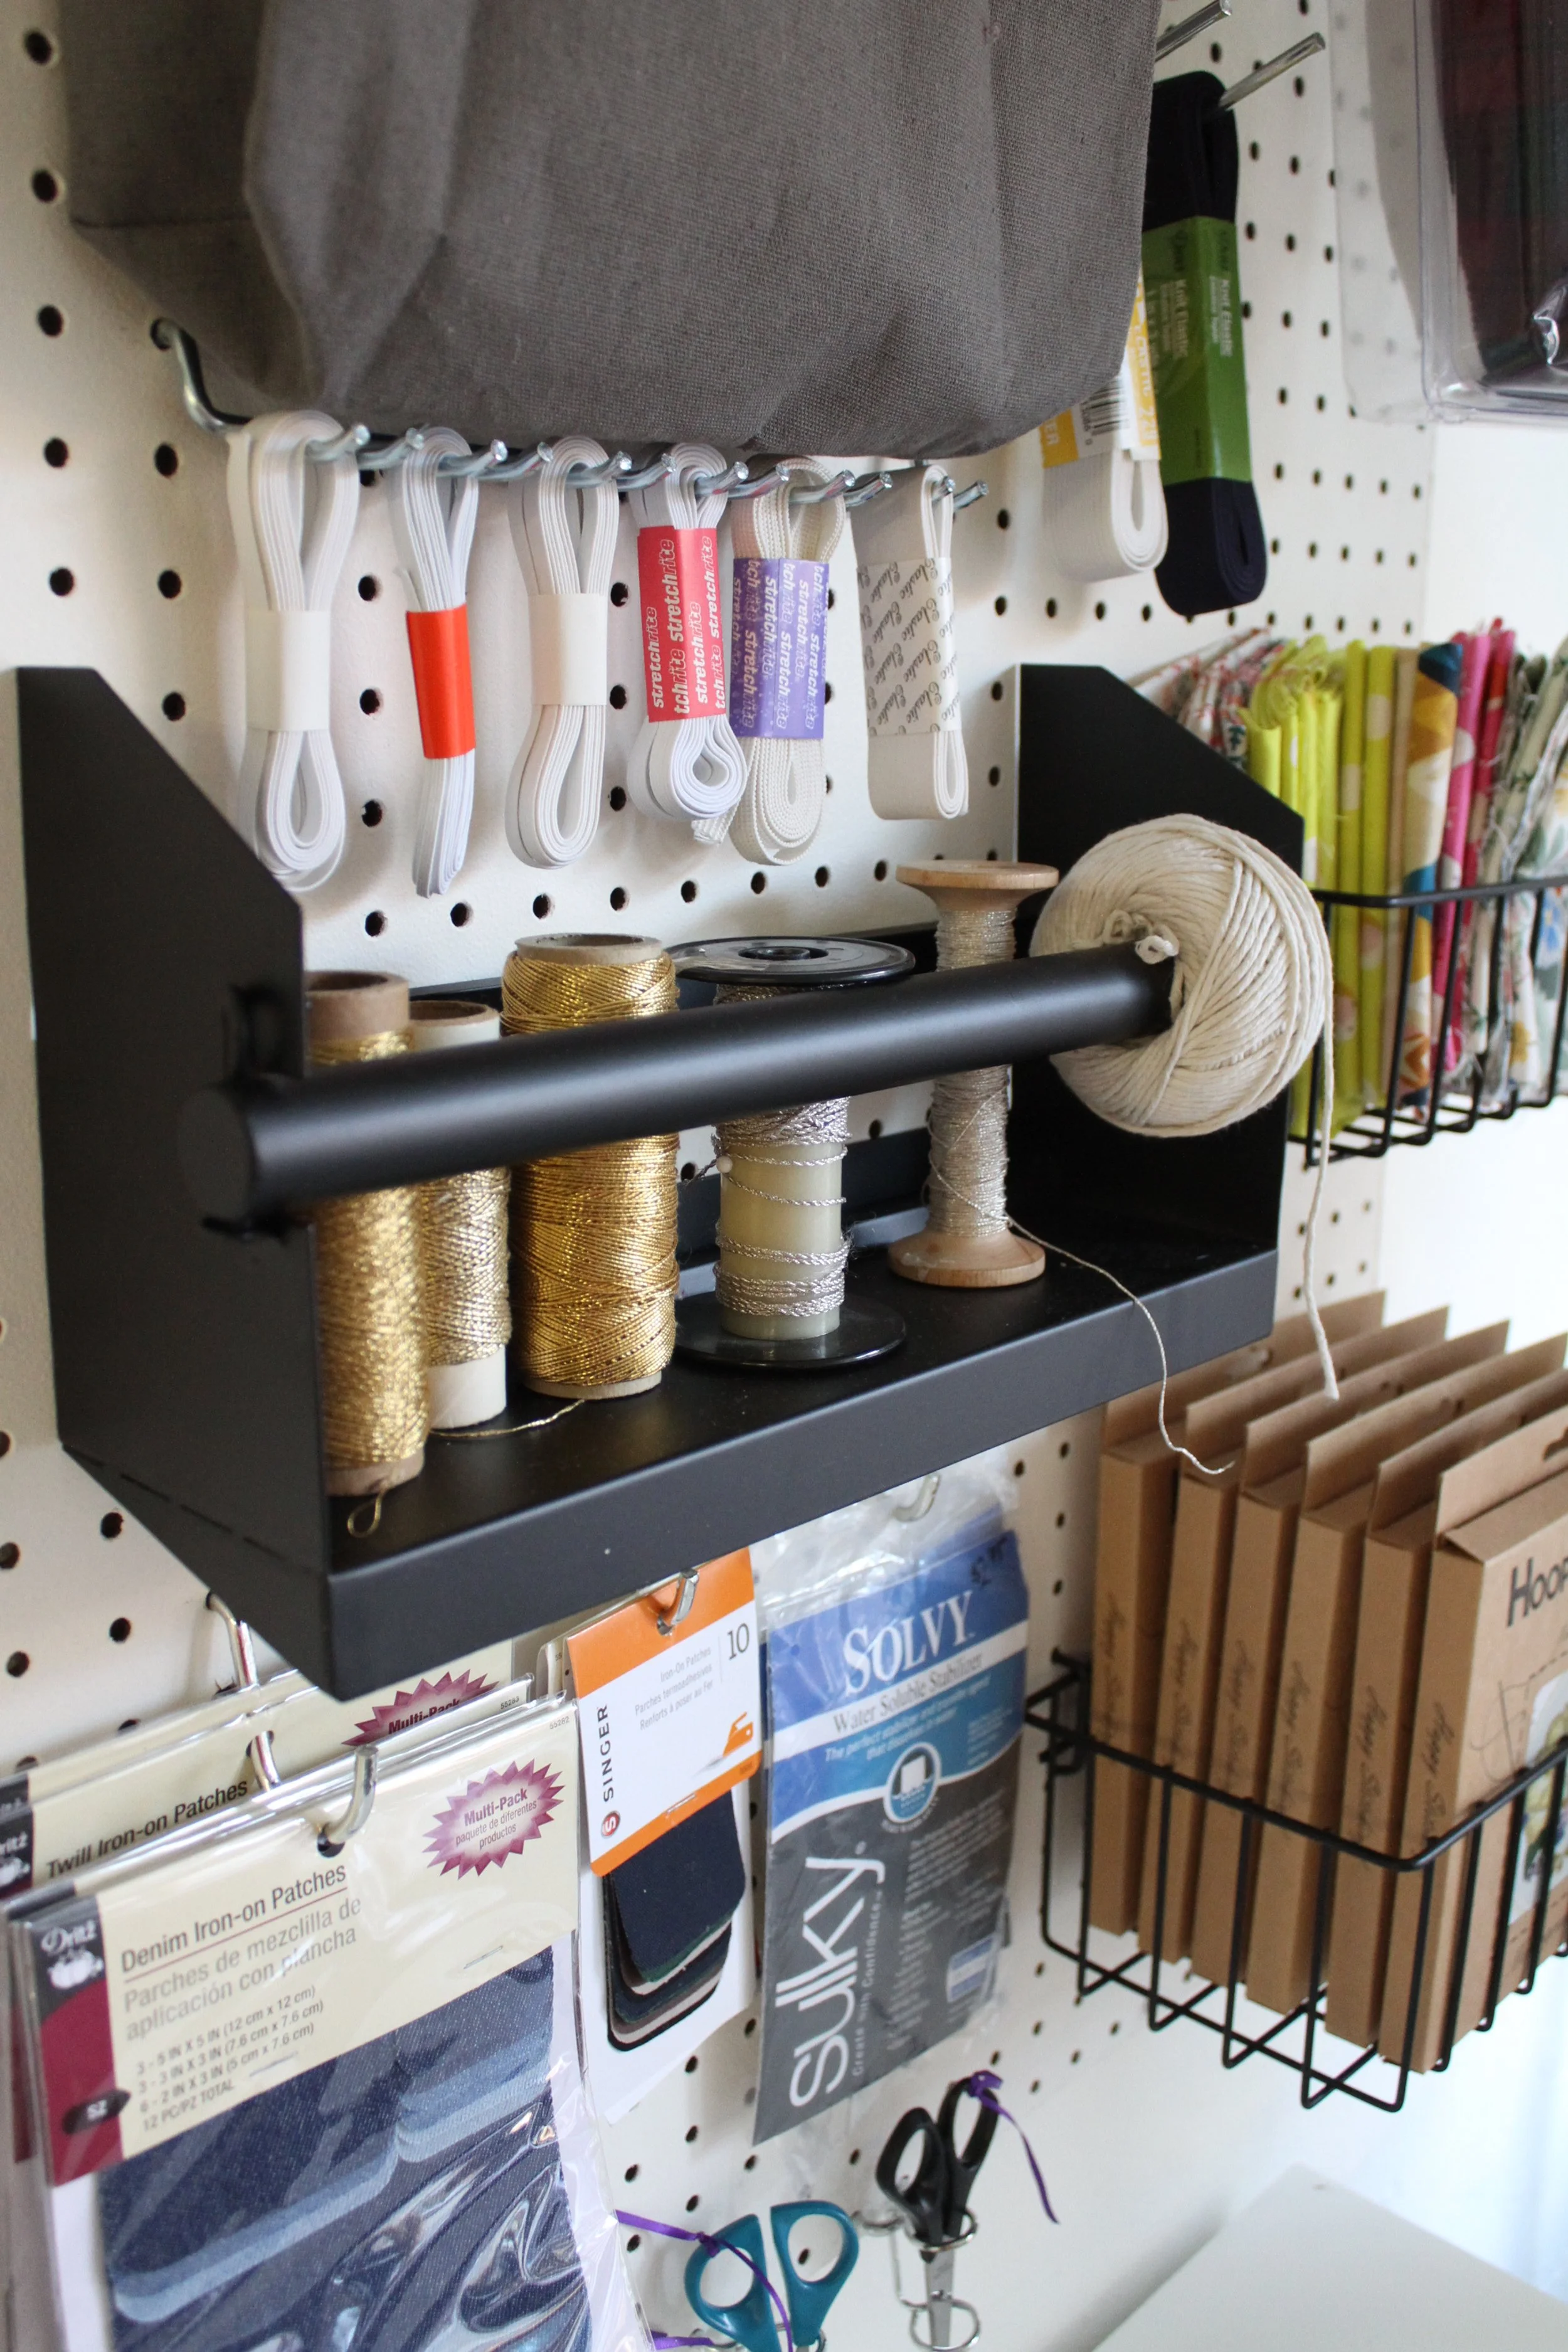
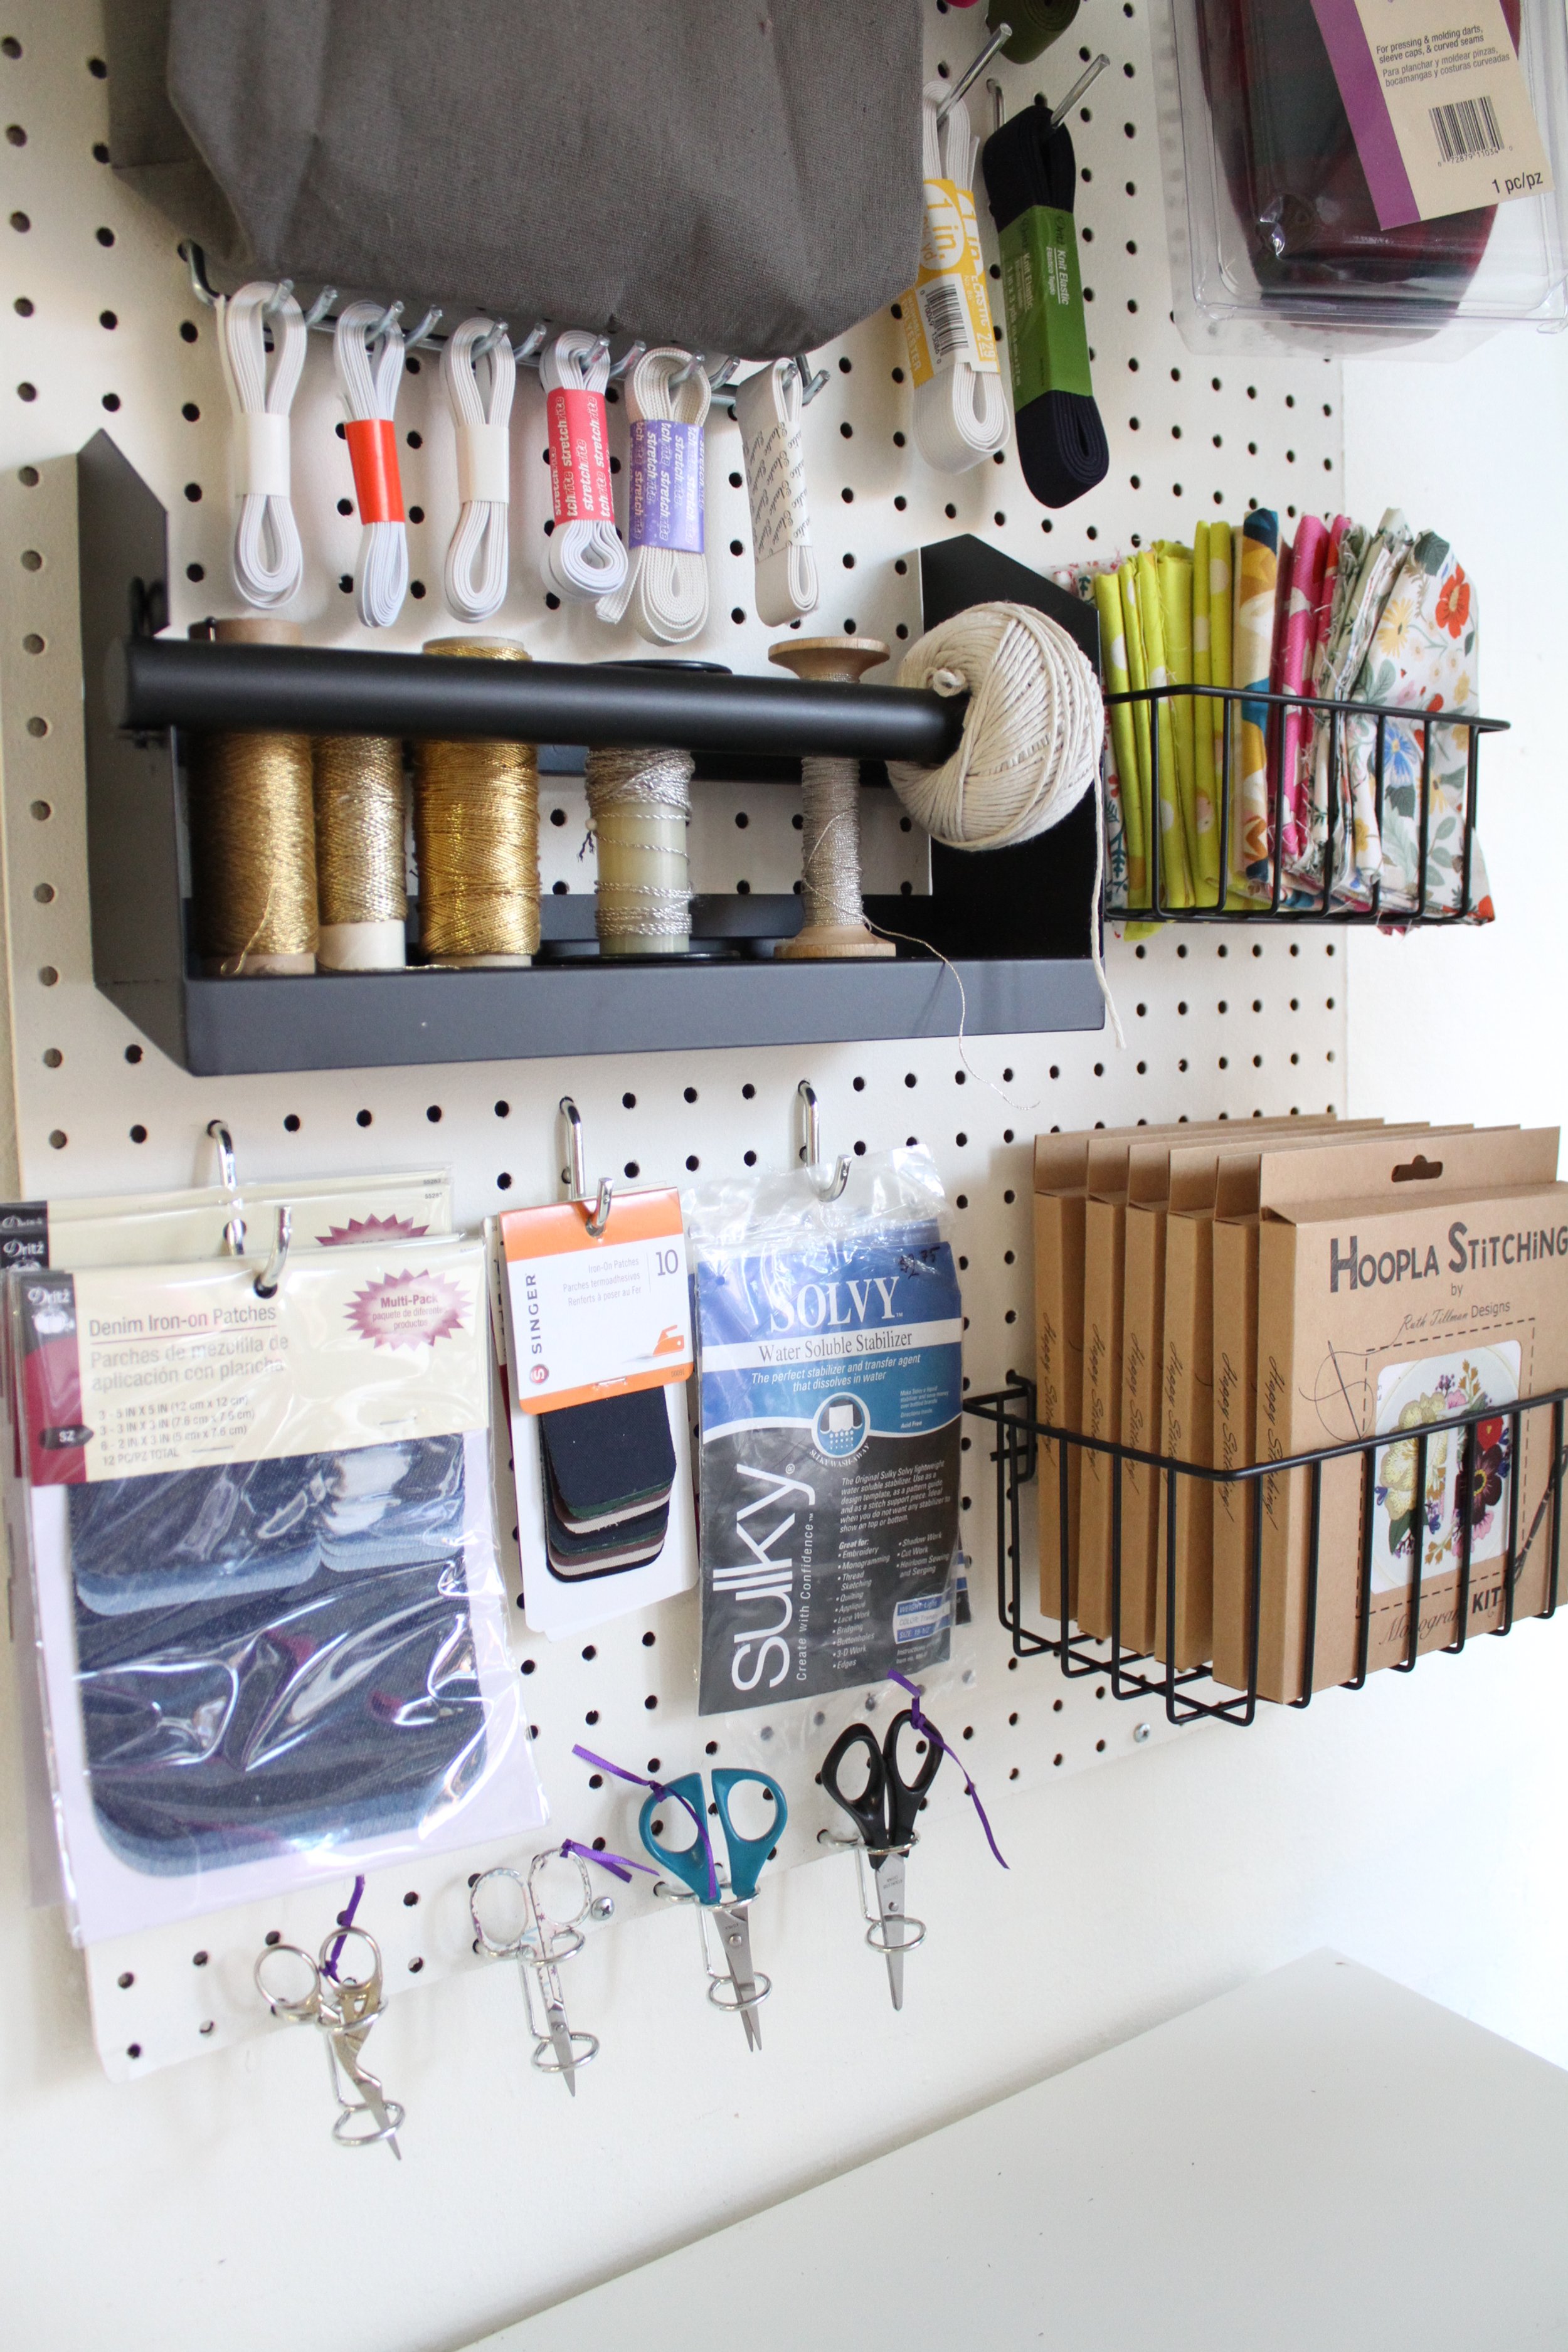
I mounted the towel rack and baskets first. The towel rack/shelf is upside down. since I don’t use paper towels in the shop, at least not in a display or storage capacity, I decided to make it a shelf with a twine holder.
The baskets are super straight forward and mount into the board very easily. They are great for holding all sorts of things. There were 3 baskets in different sizes included in the kit plus a fabric basket as well.
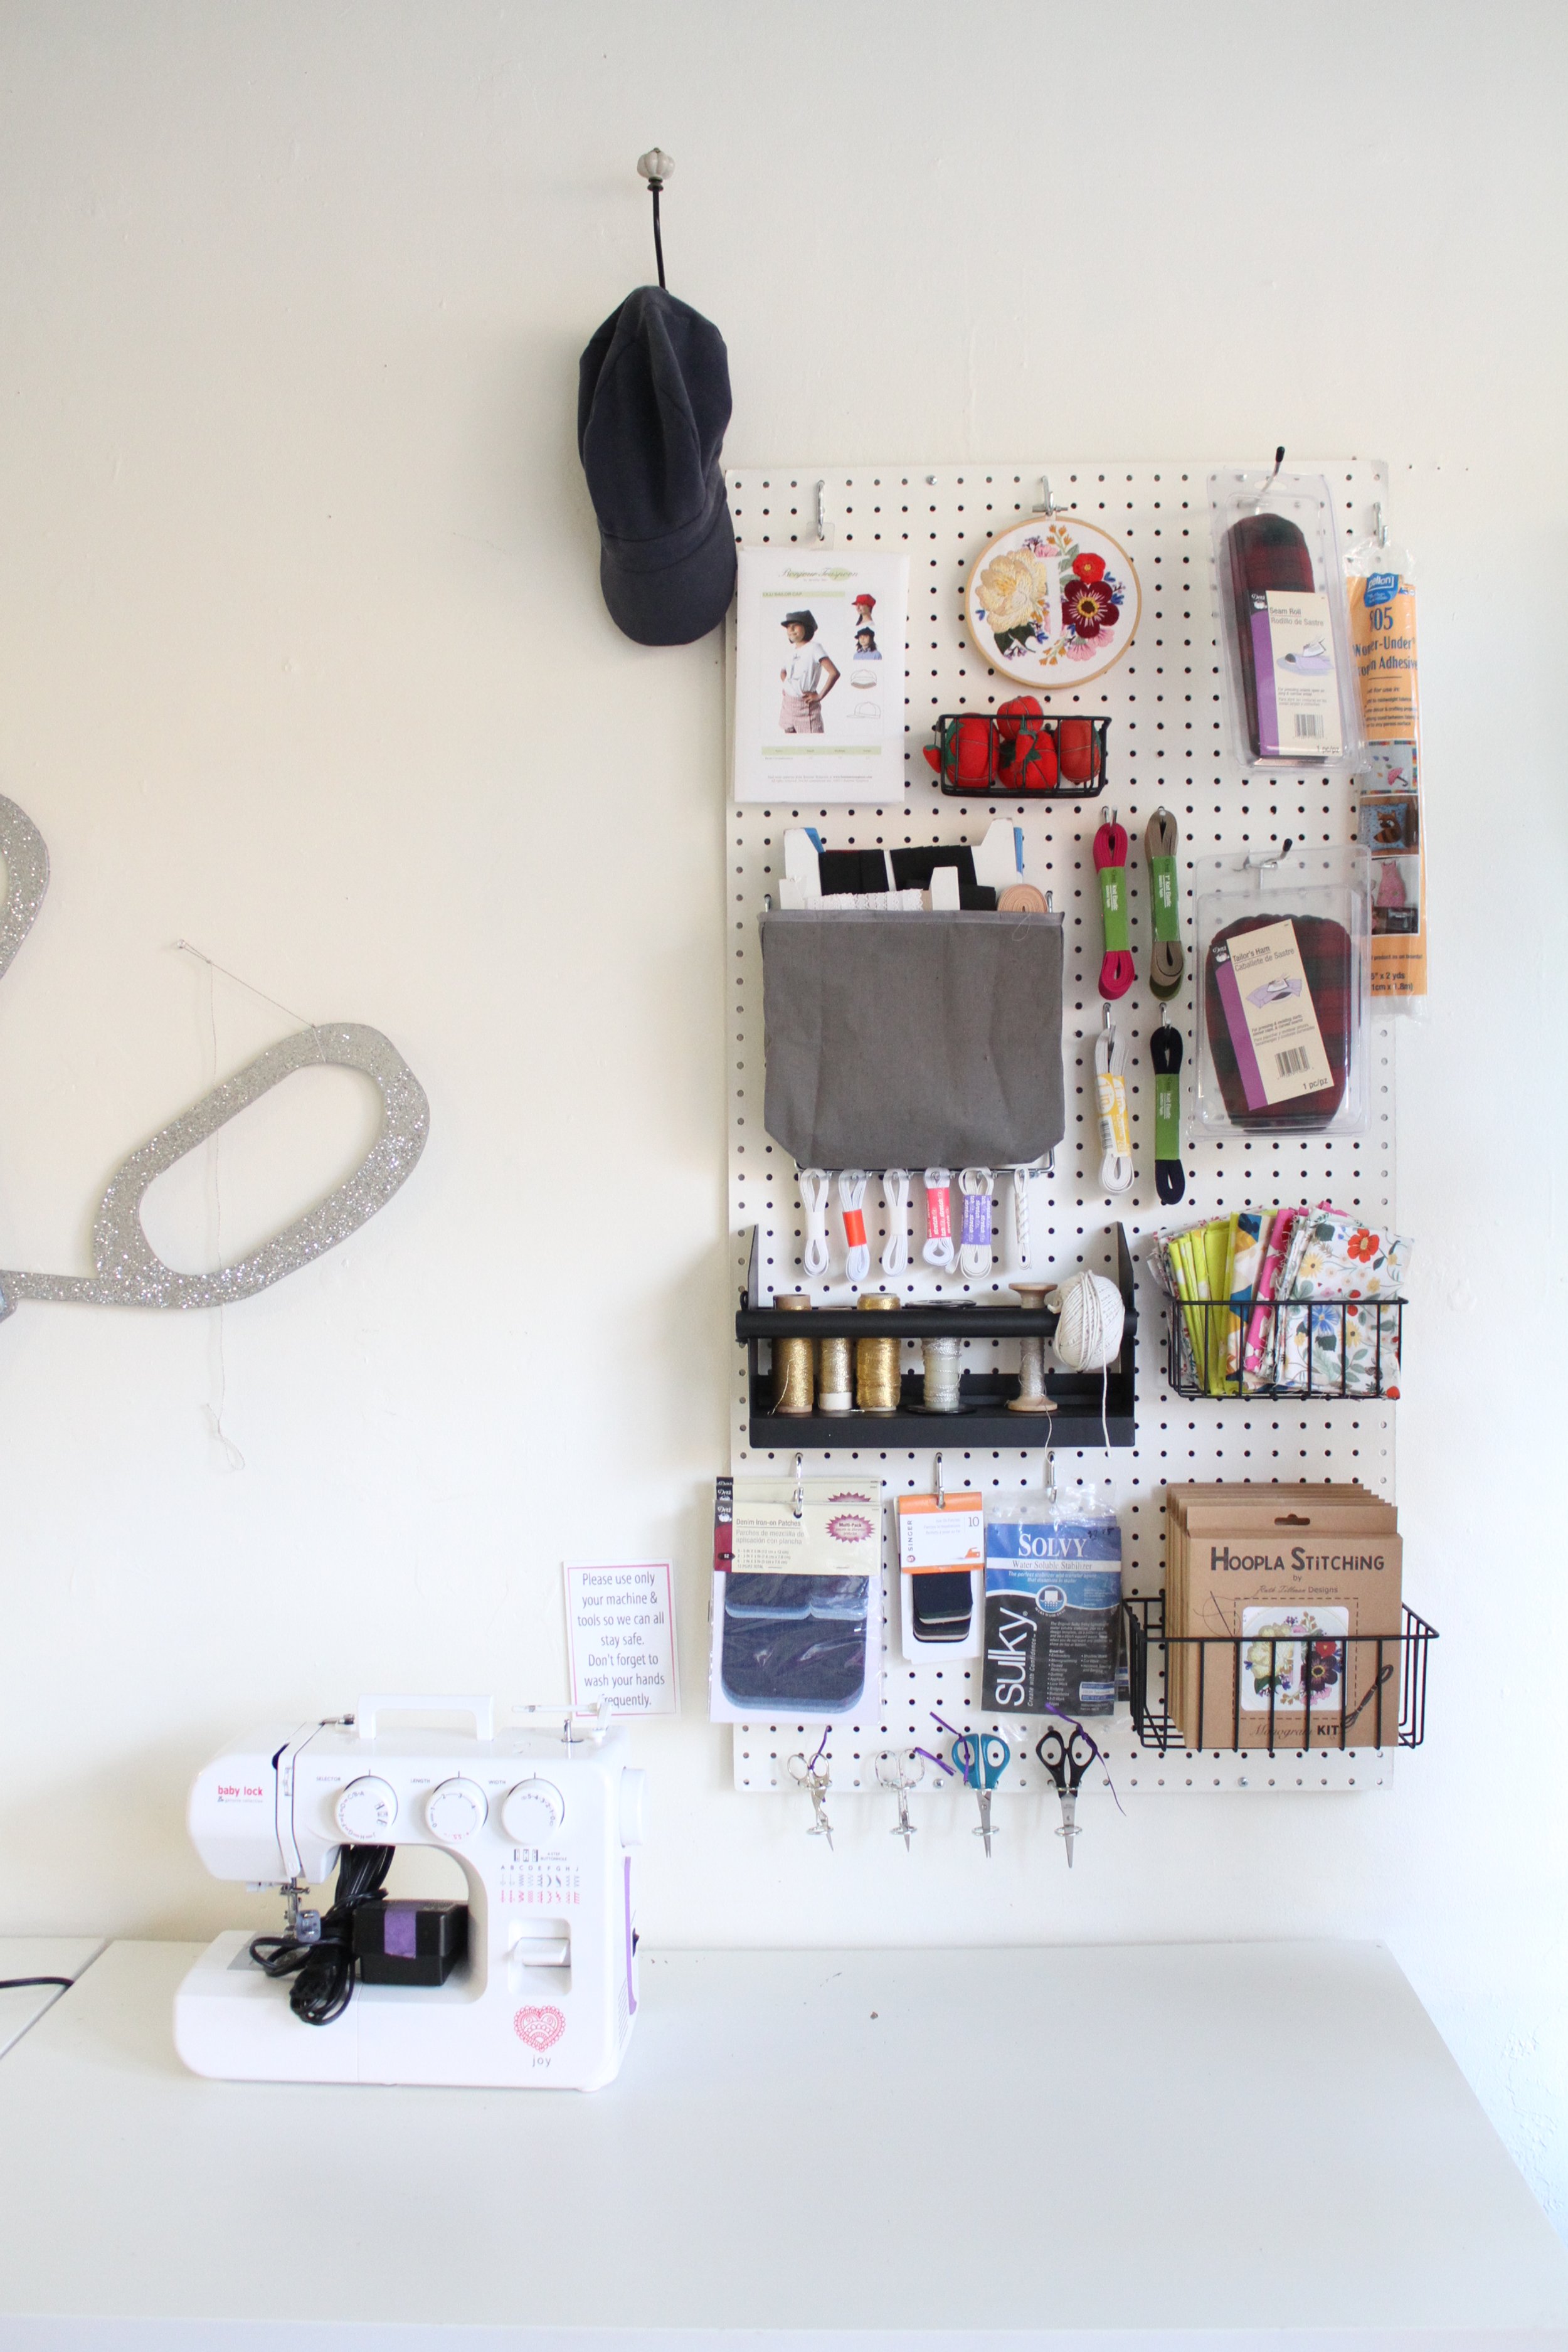
I love all the assorted hook & peg sizing. There were pieces in the kit that were long enough to hold the pressing arm and ham. These are not easy to hang on the wall, so that was really a bonus. I had both of these pieces stuck in a cabinet and now they are out and really visible, which I imagine, will help with sales.
I’m going to use this board primarily for product display so the pegs, hooks and baskets came to the most use. By the time I finished putting it all together, I realized I still need more storage and I still have lots of pegboard accessories left over. There were also 5 or six scissor holders and several wrench holders as well that will definitely get used on another board. I think I can squeeze in one more peg board somewhere else on the same wall. The pegboard cost was under $12 for the quarter sheet, so it really is an affordable way to organize the sewing supplies we have in the shop.
I’m really happy with the Pegboarder/Madd Tools pegboard kits. Their custom printed pegboard looks pretty amazing too. I might just have to get one that’s branded with our logo for the next one. Their products would work great for all sorts of crafty organization. If you are planning to re-organize your wood shop, print making studio, art or craft room, Pegboarder has a system to organize all your bits and pieces.
Until Next Time, Happy Sewing & Organizing!
xo Jennifer
