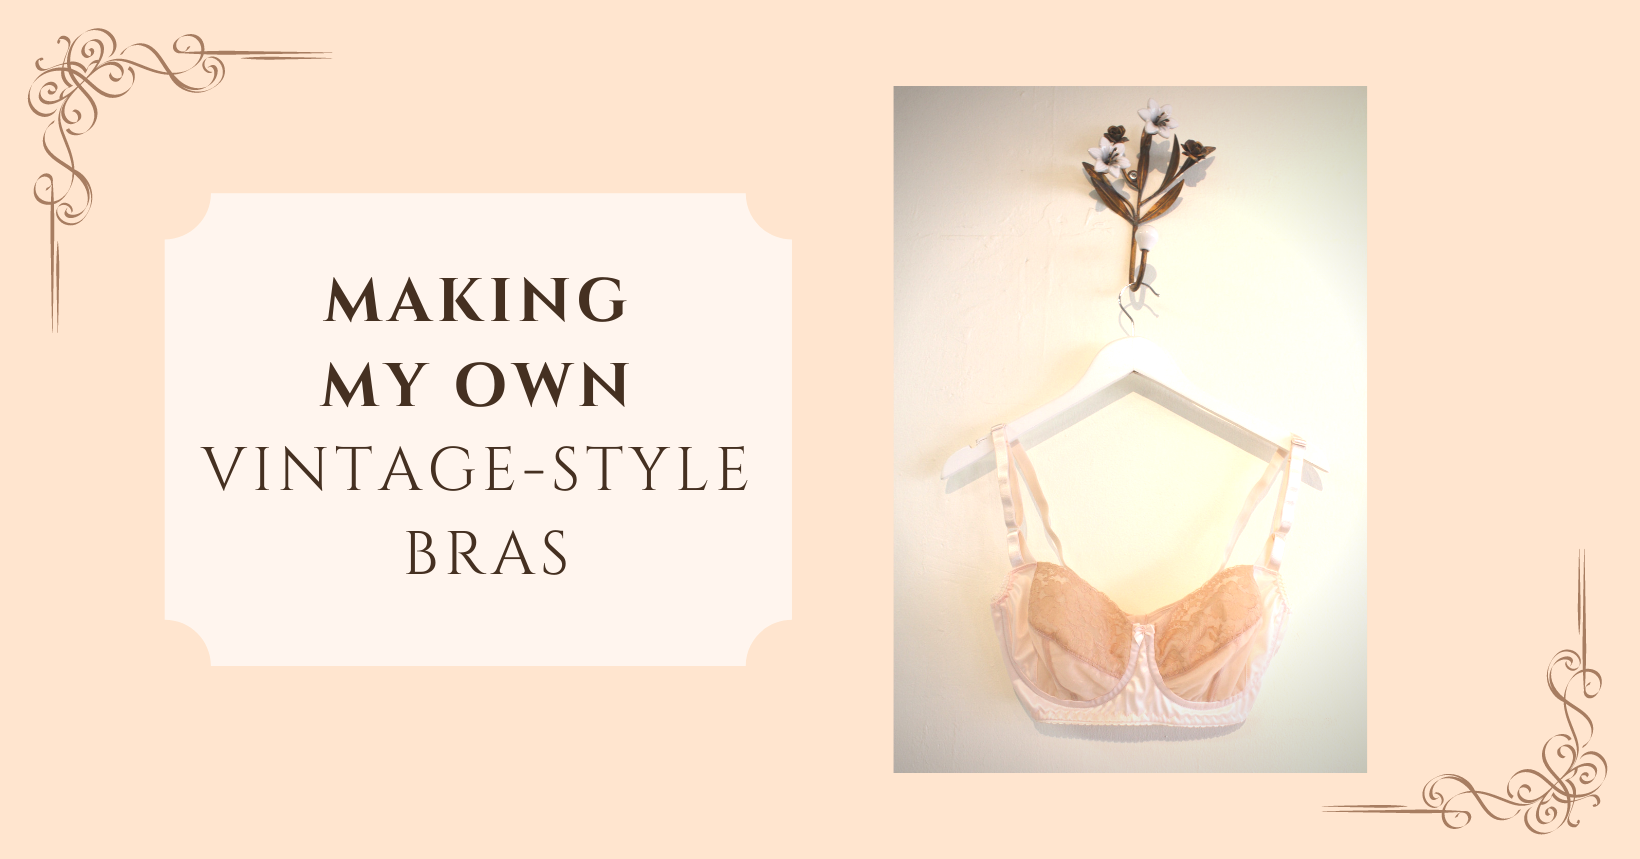
You know when it’s TIME, right? Things are looking a little rough around the edges, elastics are getting stretched out and the color has become just a touch on the dingy side. Well, that time arrived for me not so long ago, so I ordered supplies from our Bra Instructor Linda Sepeda, and set my self up to make some pretty new bras.
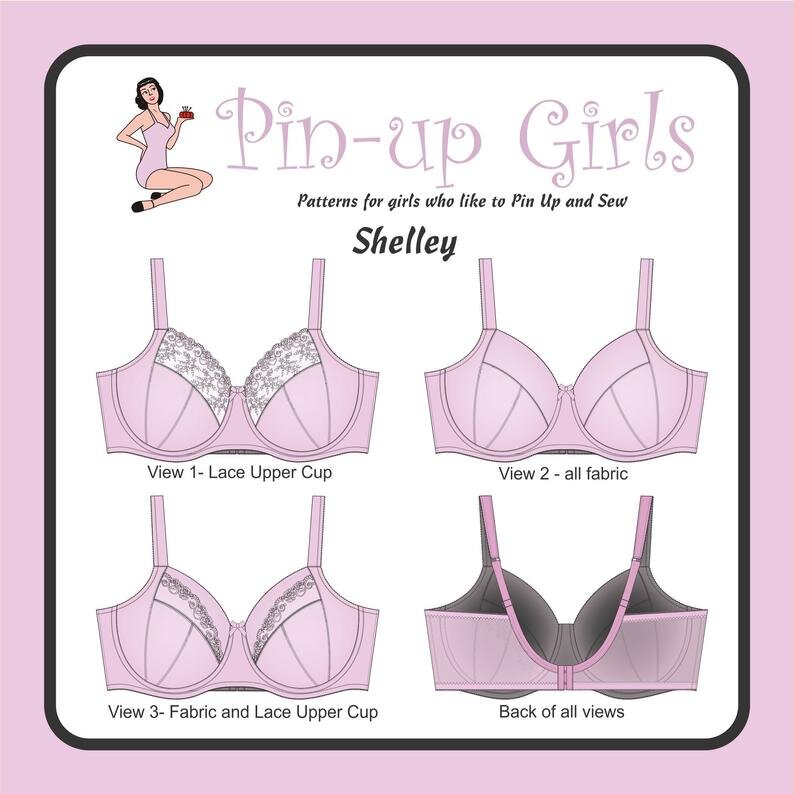
Pin Up Girls Shelley Bra Pattern.
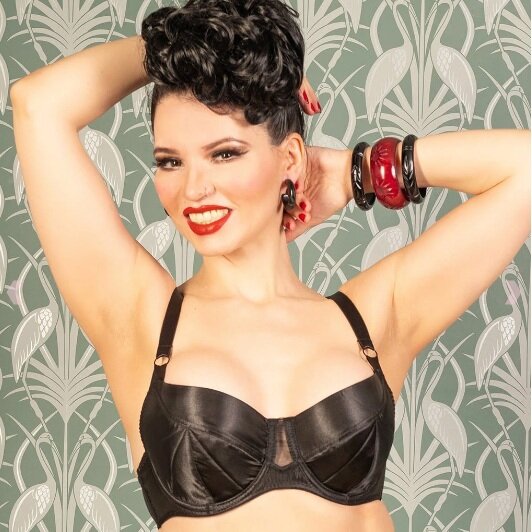
What Katie Did Glamour Bra
Our last bra making class was in 2018, I think. I can’t believe it’s been that long. Linda taught me how to make the Pin Up Girl’s Classic Bra. From There I moved onto the Shelley. But what I really wanted was to add some details that were on my What Katie Did Glamour Bra. I didn’t want to copy that bra exactly, just apply some of my favorite details to make the Shelley Bra a little more delicate.
What I chose to do, was to change the shape of the neckline slightly so that the upper cup had a bit more curve and less coverage, and use the strap detail from the Glamour Bra. Easy Peasy!
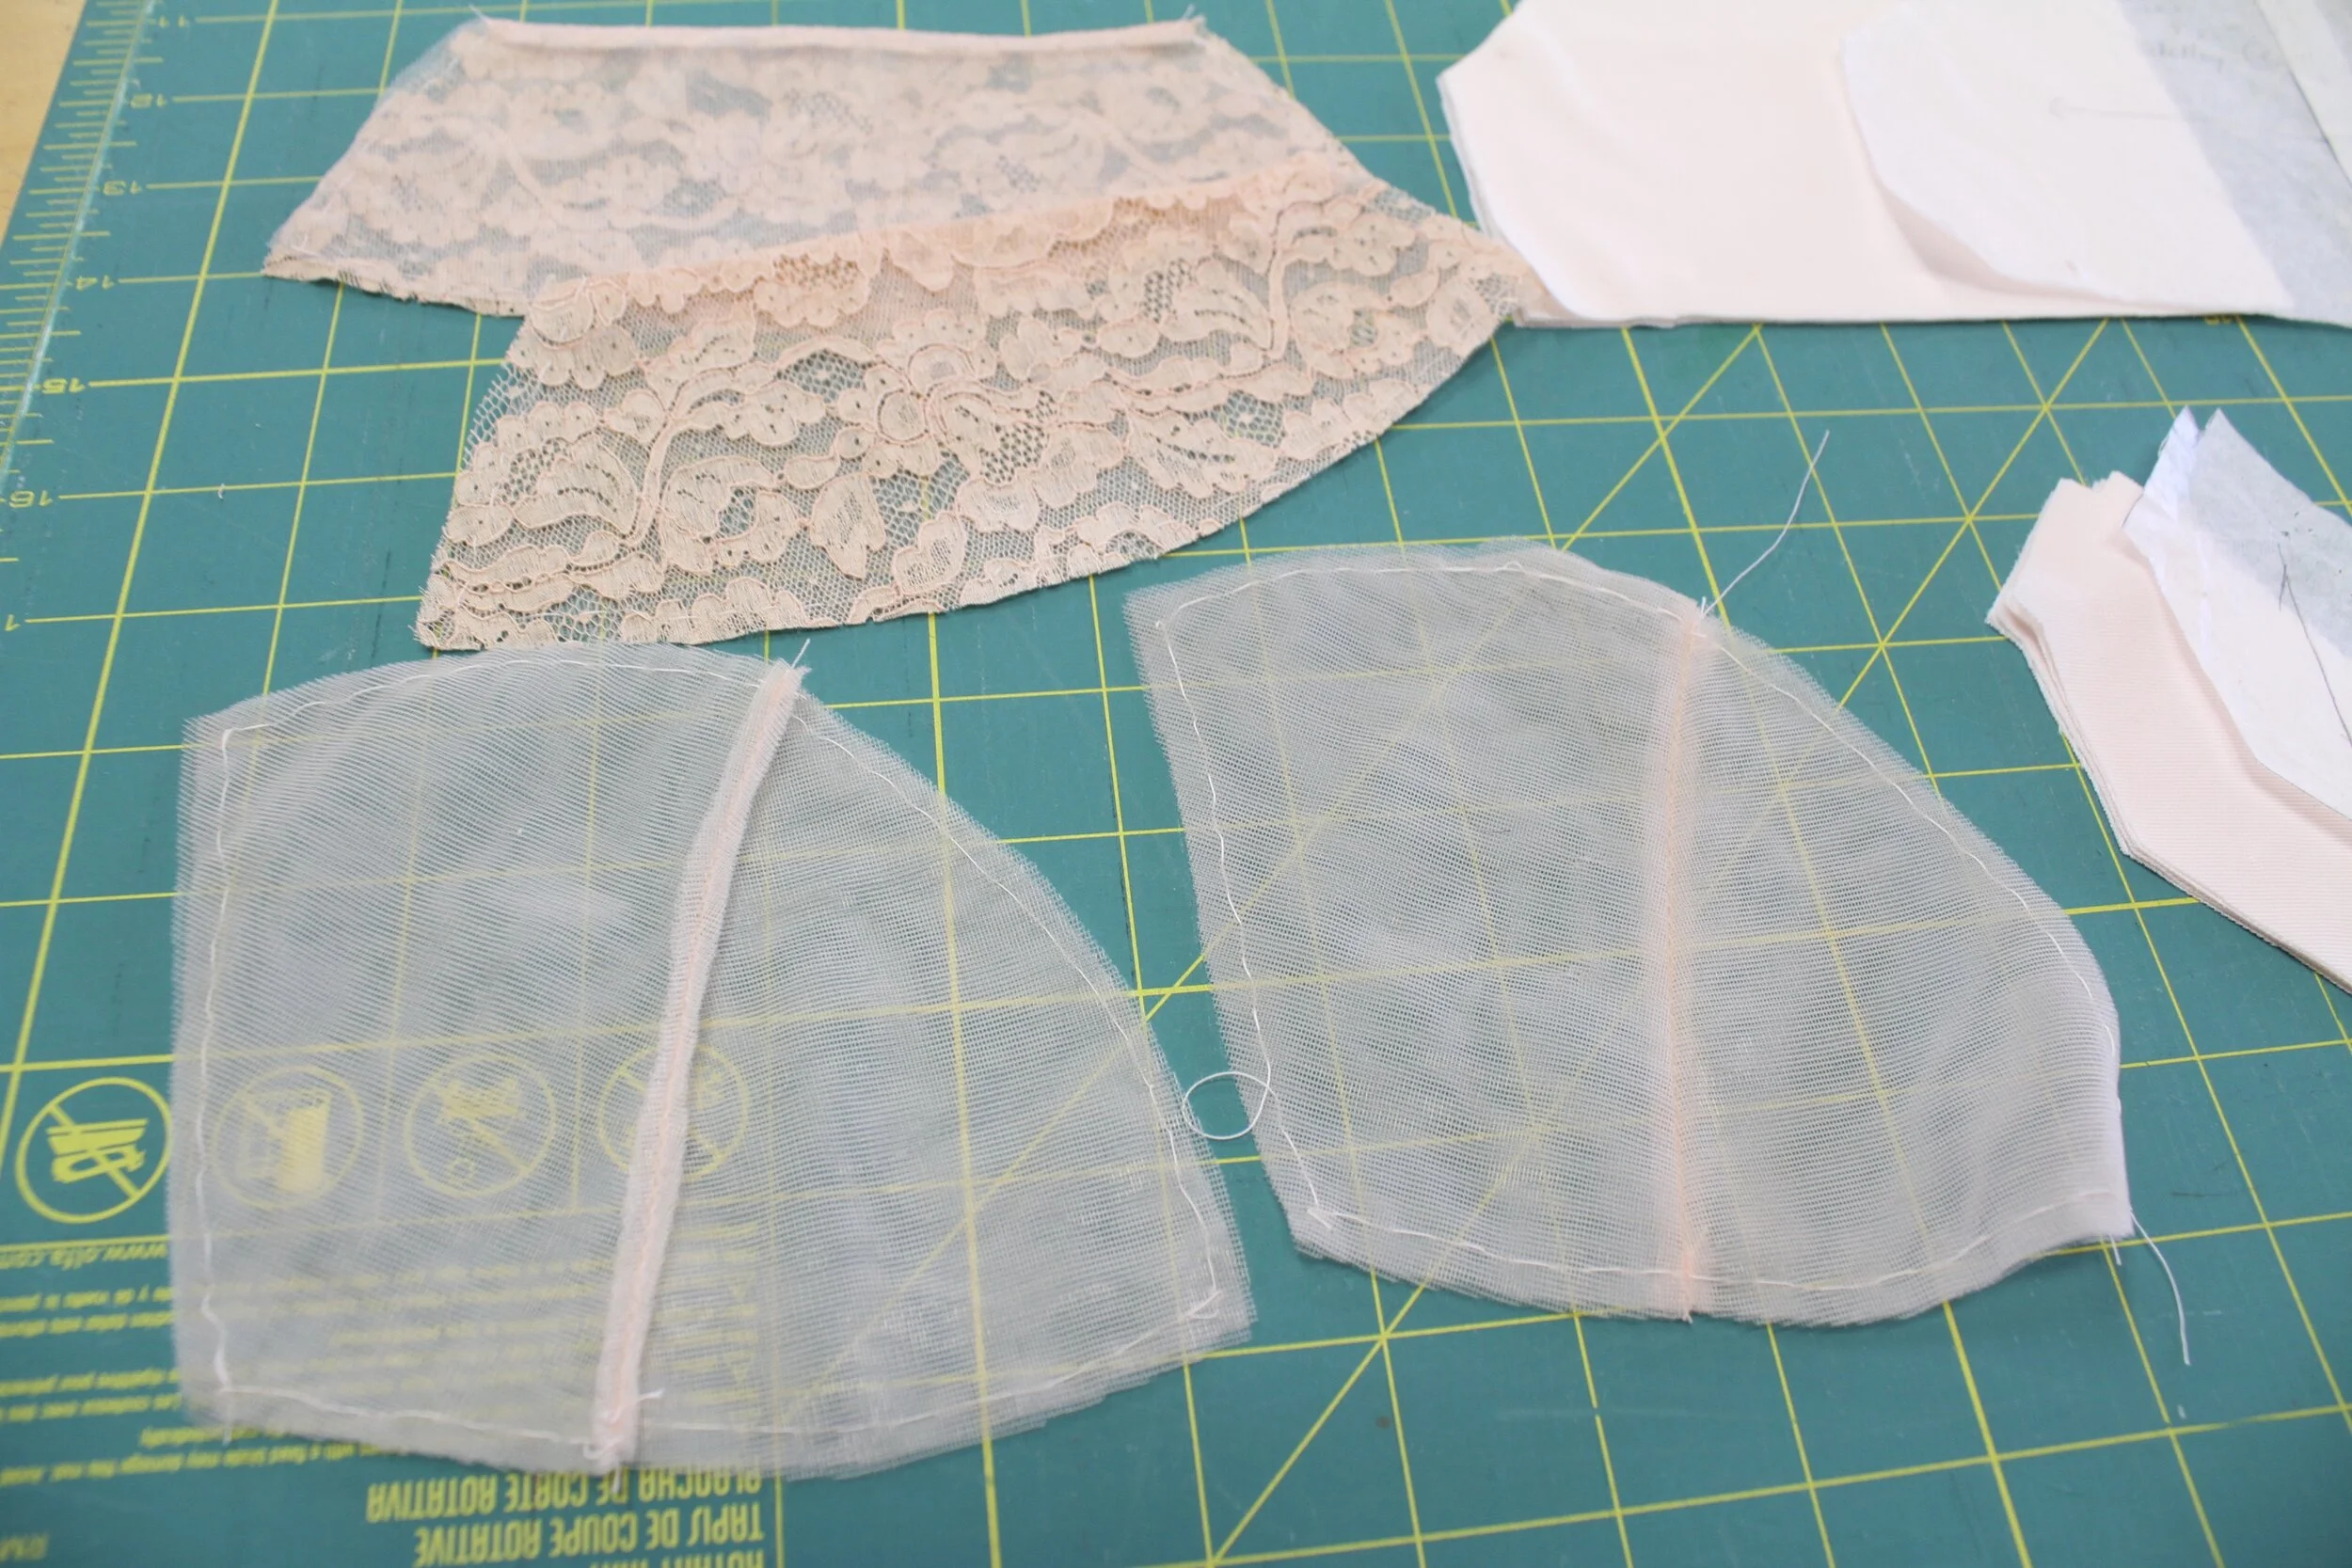
Just like my Panties, I decided to make two bras at once for more productivity. I used bra lining for the cups and a layer of bra lining and vintage lace (from Jennifer Osner) for the upper cups. The side bars & frame were made using duoplex and the back bra was cut from power mesh.
The first thing I did after cutting, was to baste the two layers of lining together for the cup pieces. Double layer gives it a little bit of opacity and more stability. I also used it to line the lace of the upper cups.
Seams were trimmed and pressed and basting on sewn seams removed.
Next a special very fine elastic seam ribbon is sewn over the seam on the inside, with stitching very close to both edges, 1/4” total apart.
The upper cup is then connected to the lower cup and the seam is finished as the lower cups were, with the elastic ribbon.
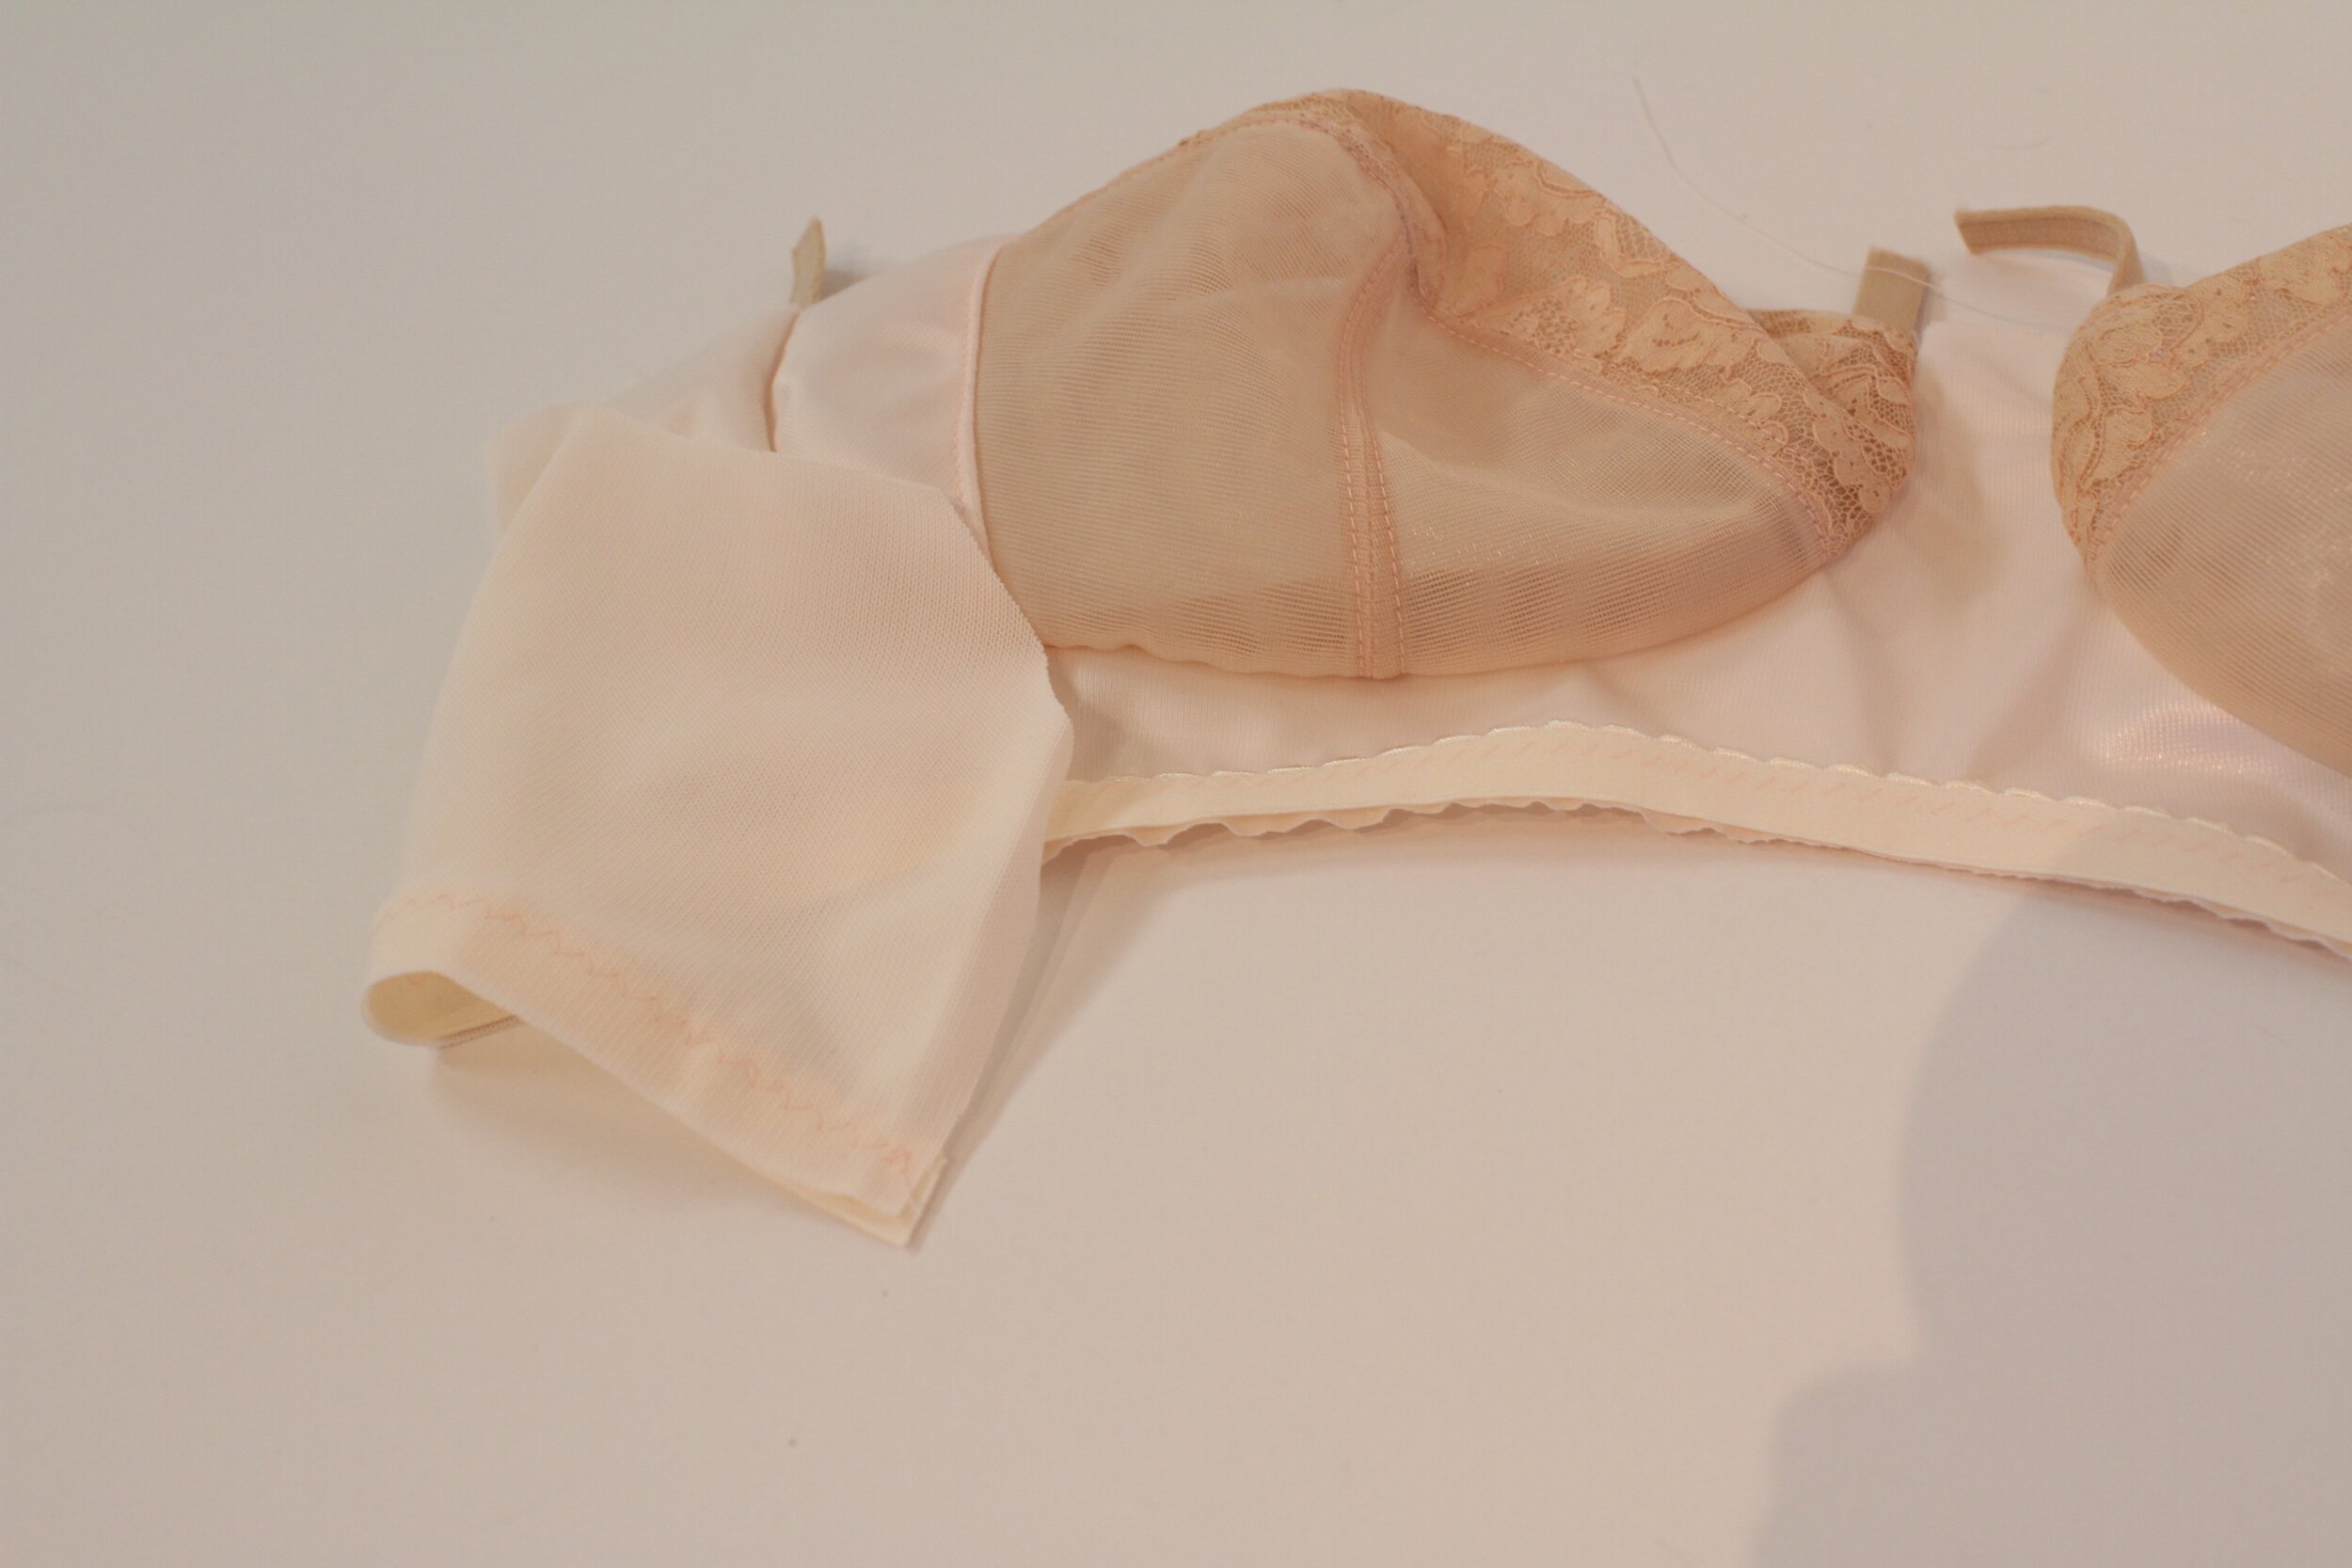
You can see the inside and outside of the cup, before they are sewn onto the side bar.
After stitching the side bar to the cup (not shown), the seam is pressed towards the side bar and topstitched 1/16” from the seam.
The Cups are then stitched into the duoplex bra frame and the back bra is stitched on to the sides of the frame. The seam allowance for the side seams is pressed towards the frame and then topstitched (frame side) 1/16” from the seam.
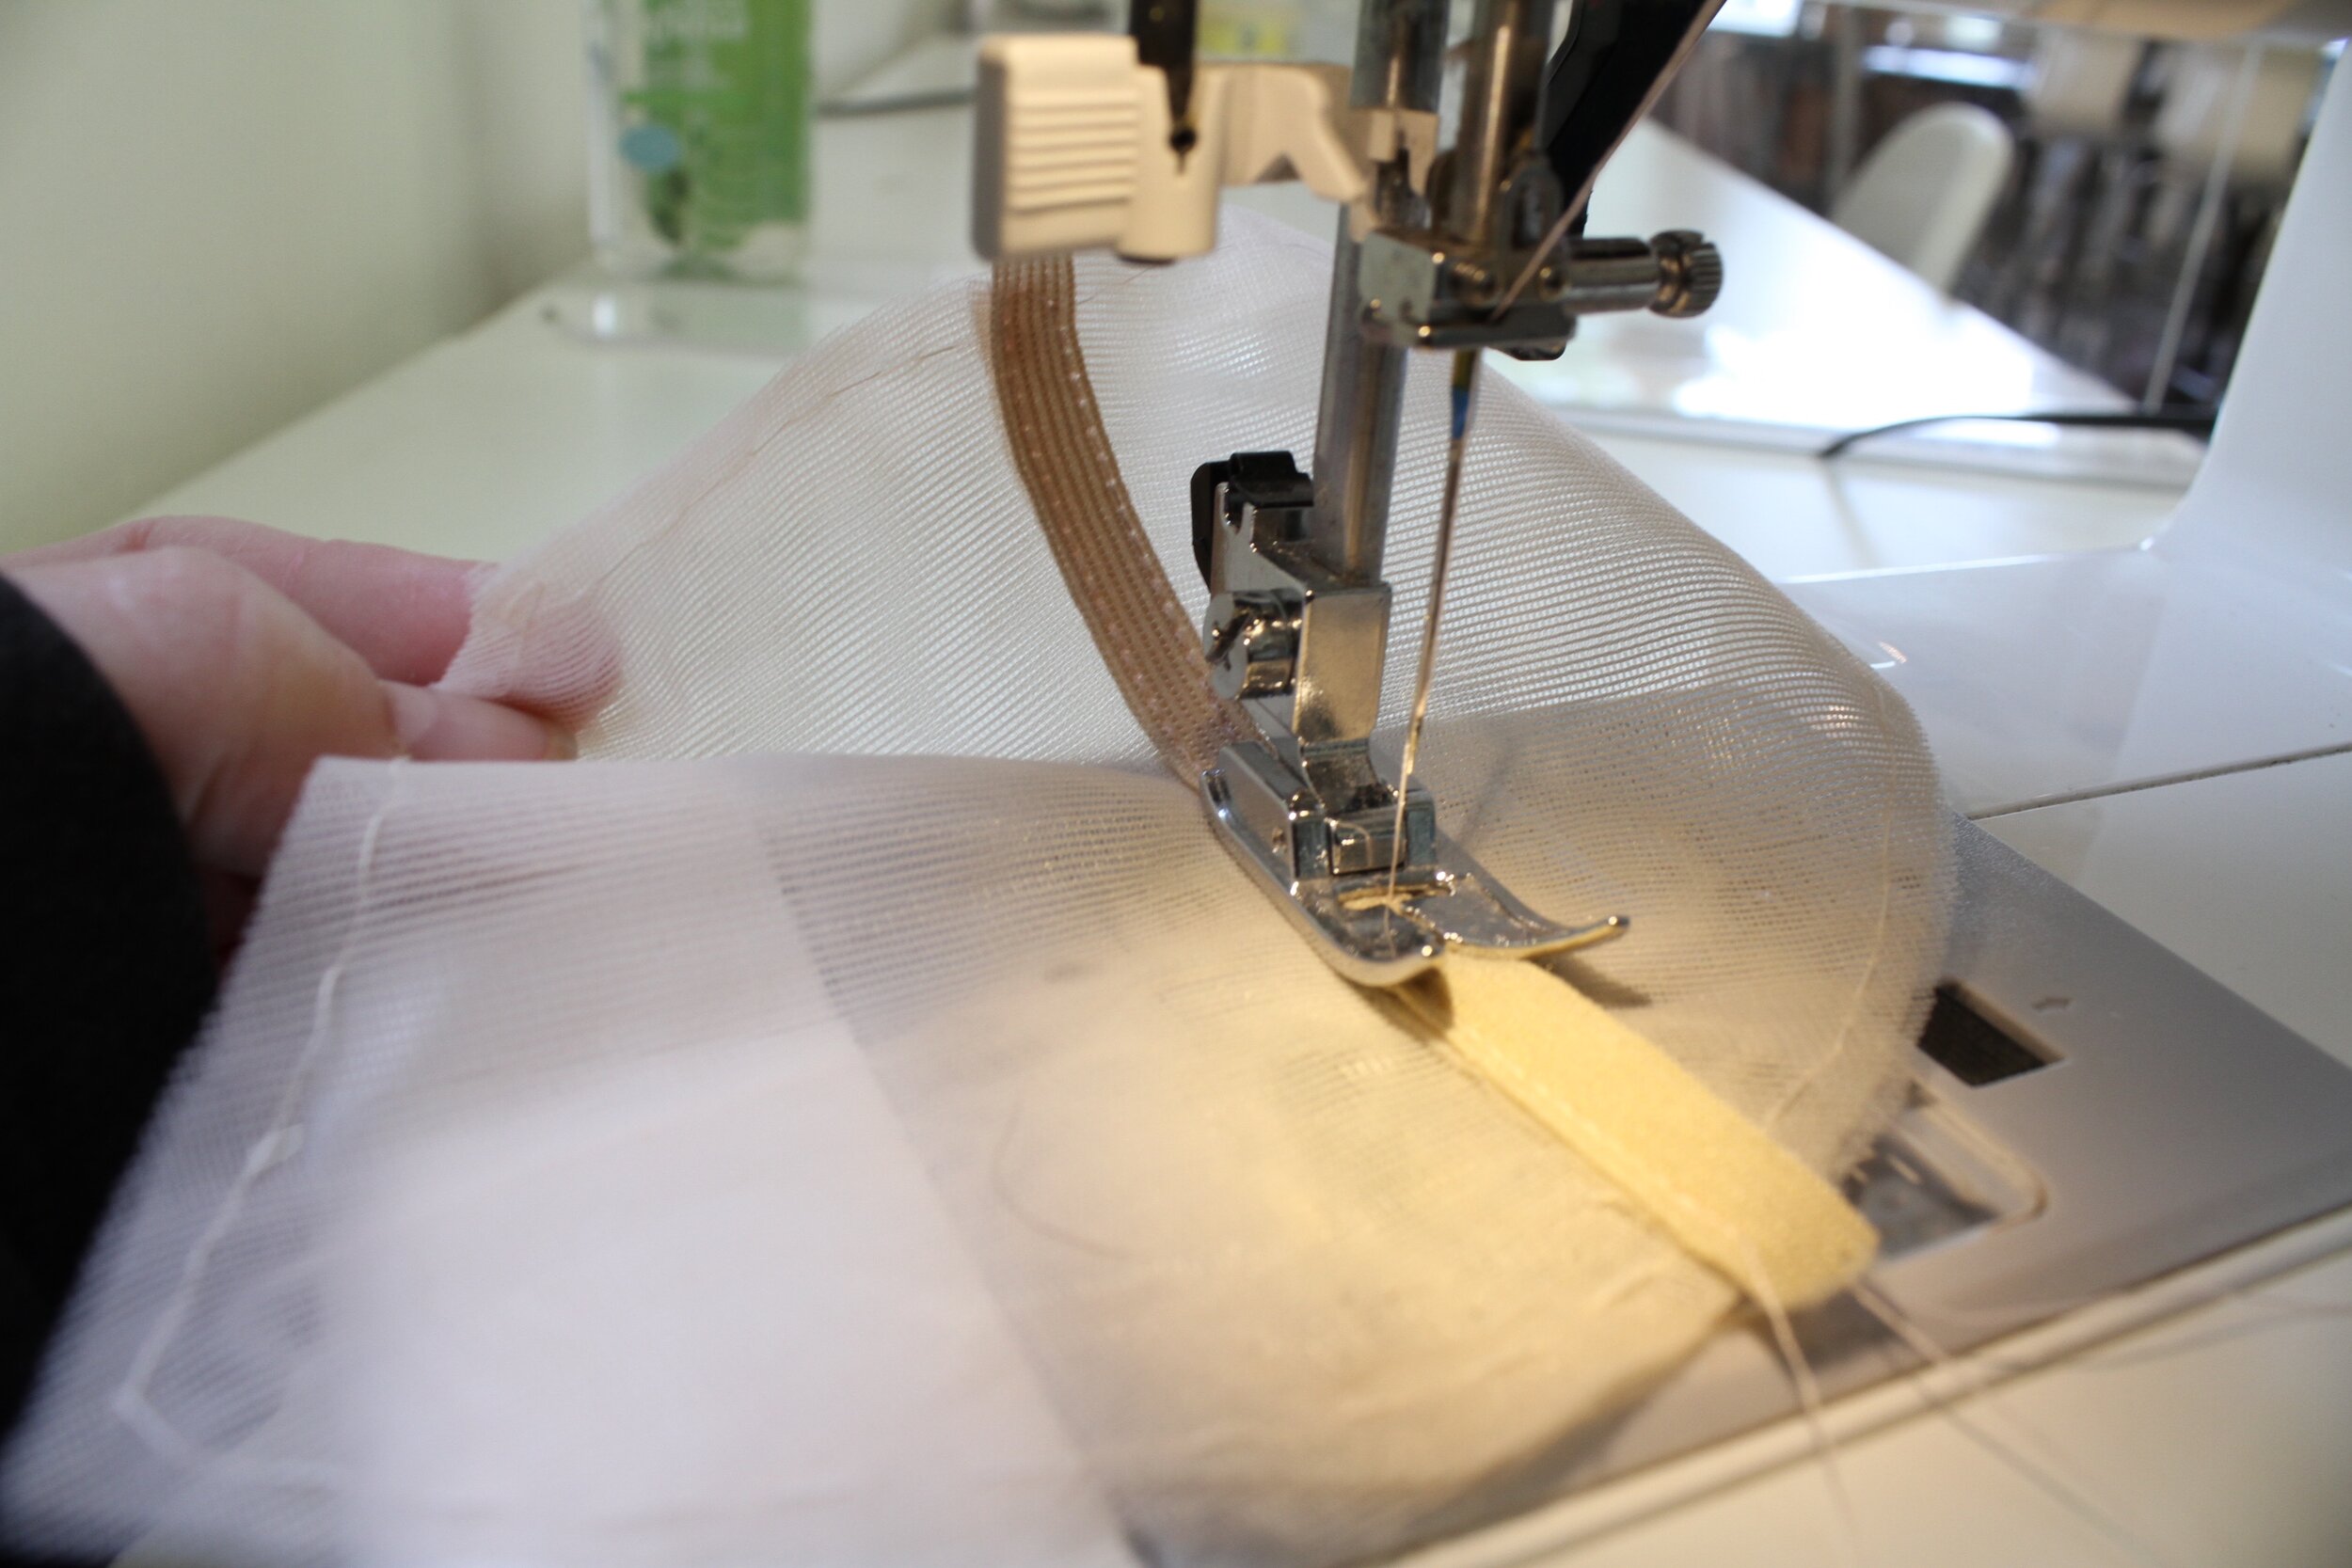
After the cups are sewn into the frame, the wire casing needs to be stitched onto the cup seam seam allowance, butted right up to the stitch line. There is a bit of pressing that actually needs to happen first, to the wire casing, so it forms more of an arc shape instead of being straight.
Make sure you have a couple of inches of wire casing on each end, extending past the bra. These will be trimmed later but will be needed if you want to tuck in your casings instead of stitching them down. Some people to this so they can remove the wires before washing. I DO NOT do that . I am LAZY and just trim and bar tack my casings later.
Now it’s time for the band elastic. I lined up the non scalloped edge of the elastic with the bottom edge of the back and frame, with the brushed side, facing up. It was then stitched with a narrow zig zag, close to the scallop edge of the elastic. You will need to stretch the elastic a little bit as you are sewing, but not too much. The elastic band will end up being slightly smaller than the bottom edge.
After initially sewing the elastic to the bottom edge, turn the elastic to the inside and stitch down with a 3-step zig zag, stitching on the out side.
It was then time to stitch down the wire casings along the outer edge of the casings onto the frame. This part is a little tricky AND you need to start about 1” below the underarm edge, so as not to interfere with the underarm, and stop about an 1/8” from the edge between the cups, making sure the seam allowance between the cups is folded to the inside, first.
The arm elastic is sewn much like the panty elastic I did for the waist in my panty blog. With right sides together and smooth edge of elastic matching up with the edge of the underarm, stitch together using a narrow zig zag. Be sure to stretch your elastic at the underarm area. This will help it to stay closer to your body. Turn elastic to inside and topstitch using a 3-step zig zag on the outside of the bra.
Now it’s time to insert the bra underwire. After inserting, I recommend that you trim your wire casings to just below the edge between the cups. You will then bar tack on both sides to close up the casing. You may also do this at the underarm edge. However, like I mentioned above, some people like to leave the casing open and long and tuck it in while wearing, so that they can take the wires out before washing.
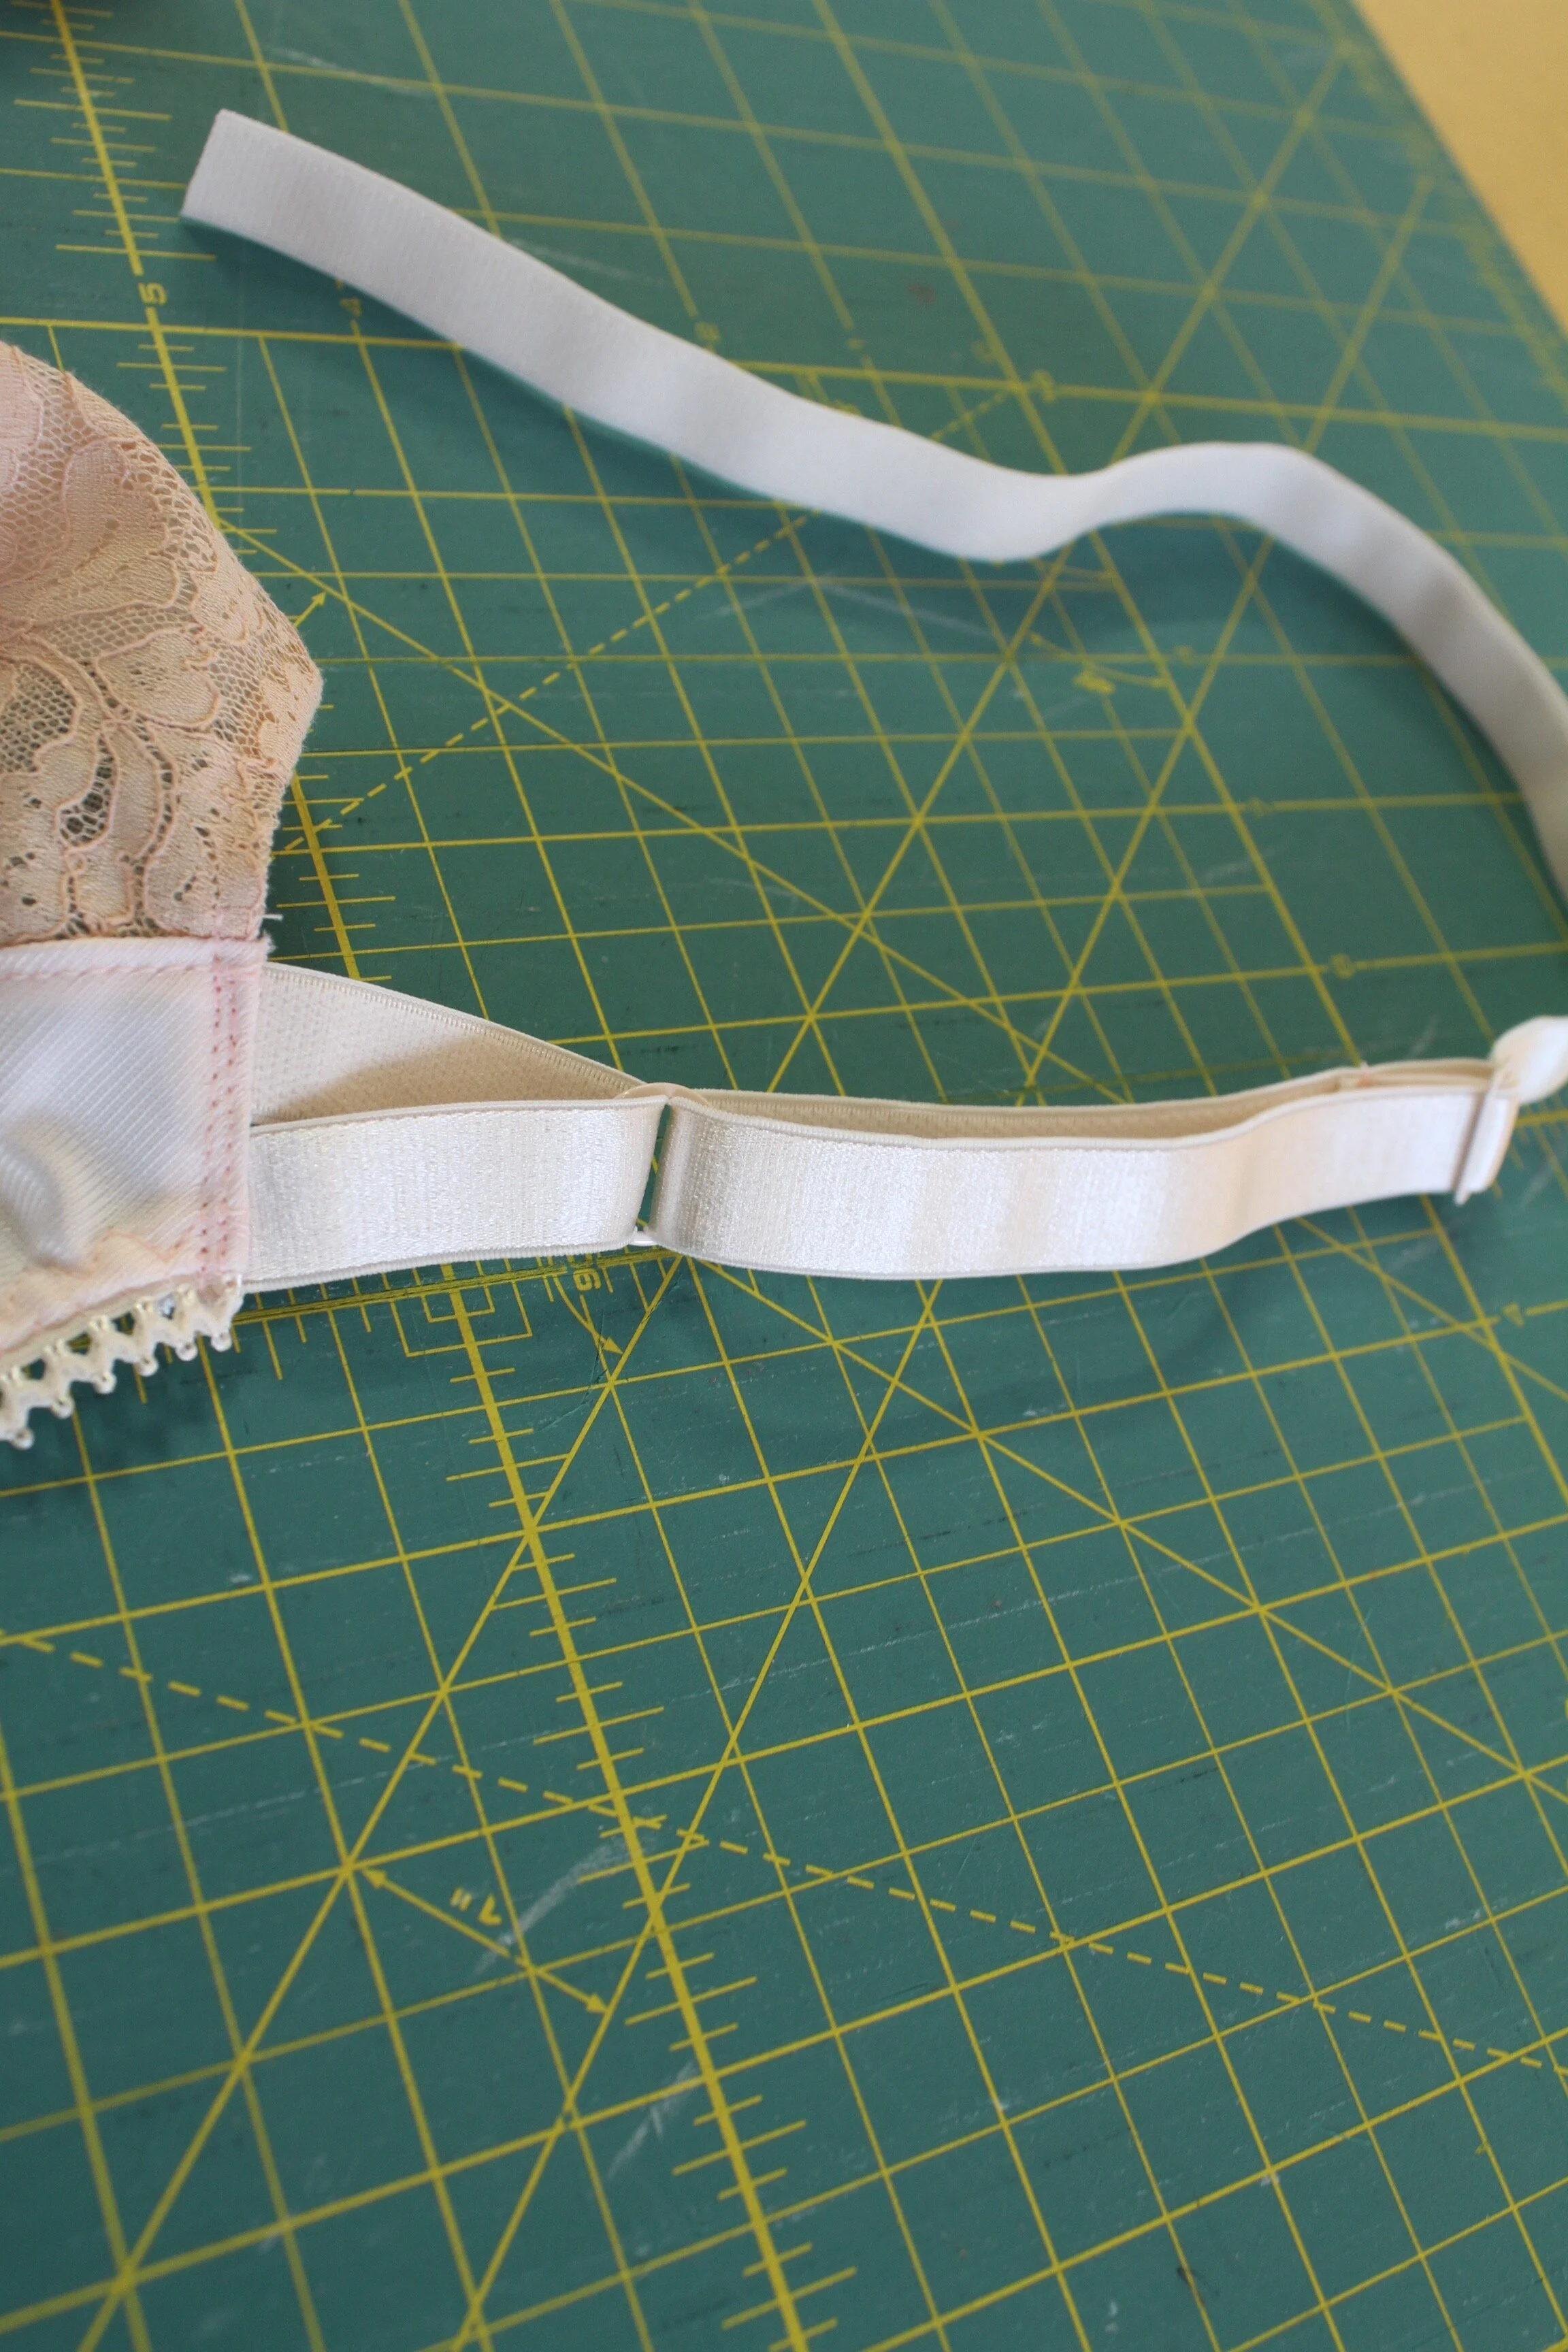
For the first section of the straps, I folded a short length (about 3.5 inches long) with a ring at the center. The ends are then stitched to the strap position at the top of the cups, near the armhole. Then they are flipped up and the seam allowance is stitched down twice 1/16” apart near the edge.
The remaining portion of the strap with the slider connected, is then threaded through the ring and threaded back through the slider before stitching down to itself. You might need to look at another bra to see how this works. It’s bit hard to articulate with words.
The straps then get sewn to the back neckline and the bra clasp is sewn to both sides. The last step is to hand sew a pretty bow to the top edge between the cups! Voila! A finished set of bras.
It feels so nice to have new bras and matching panties which I mentioned a couple of posts ago.
If you are interested in learning how to make your own bras, Linda will be teaching a two-part Bra Making class in May at The Sewing Room. Class size limited to 3 students with social distancing. You can sign up here.
Until next Time, Happy Sewing!
xo Jennifer
