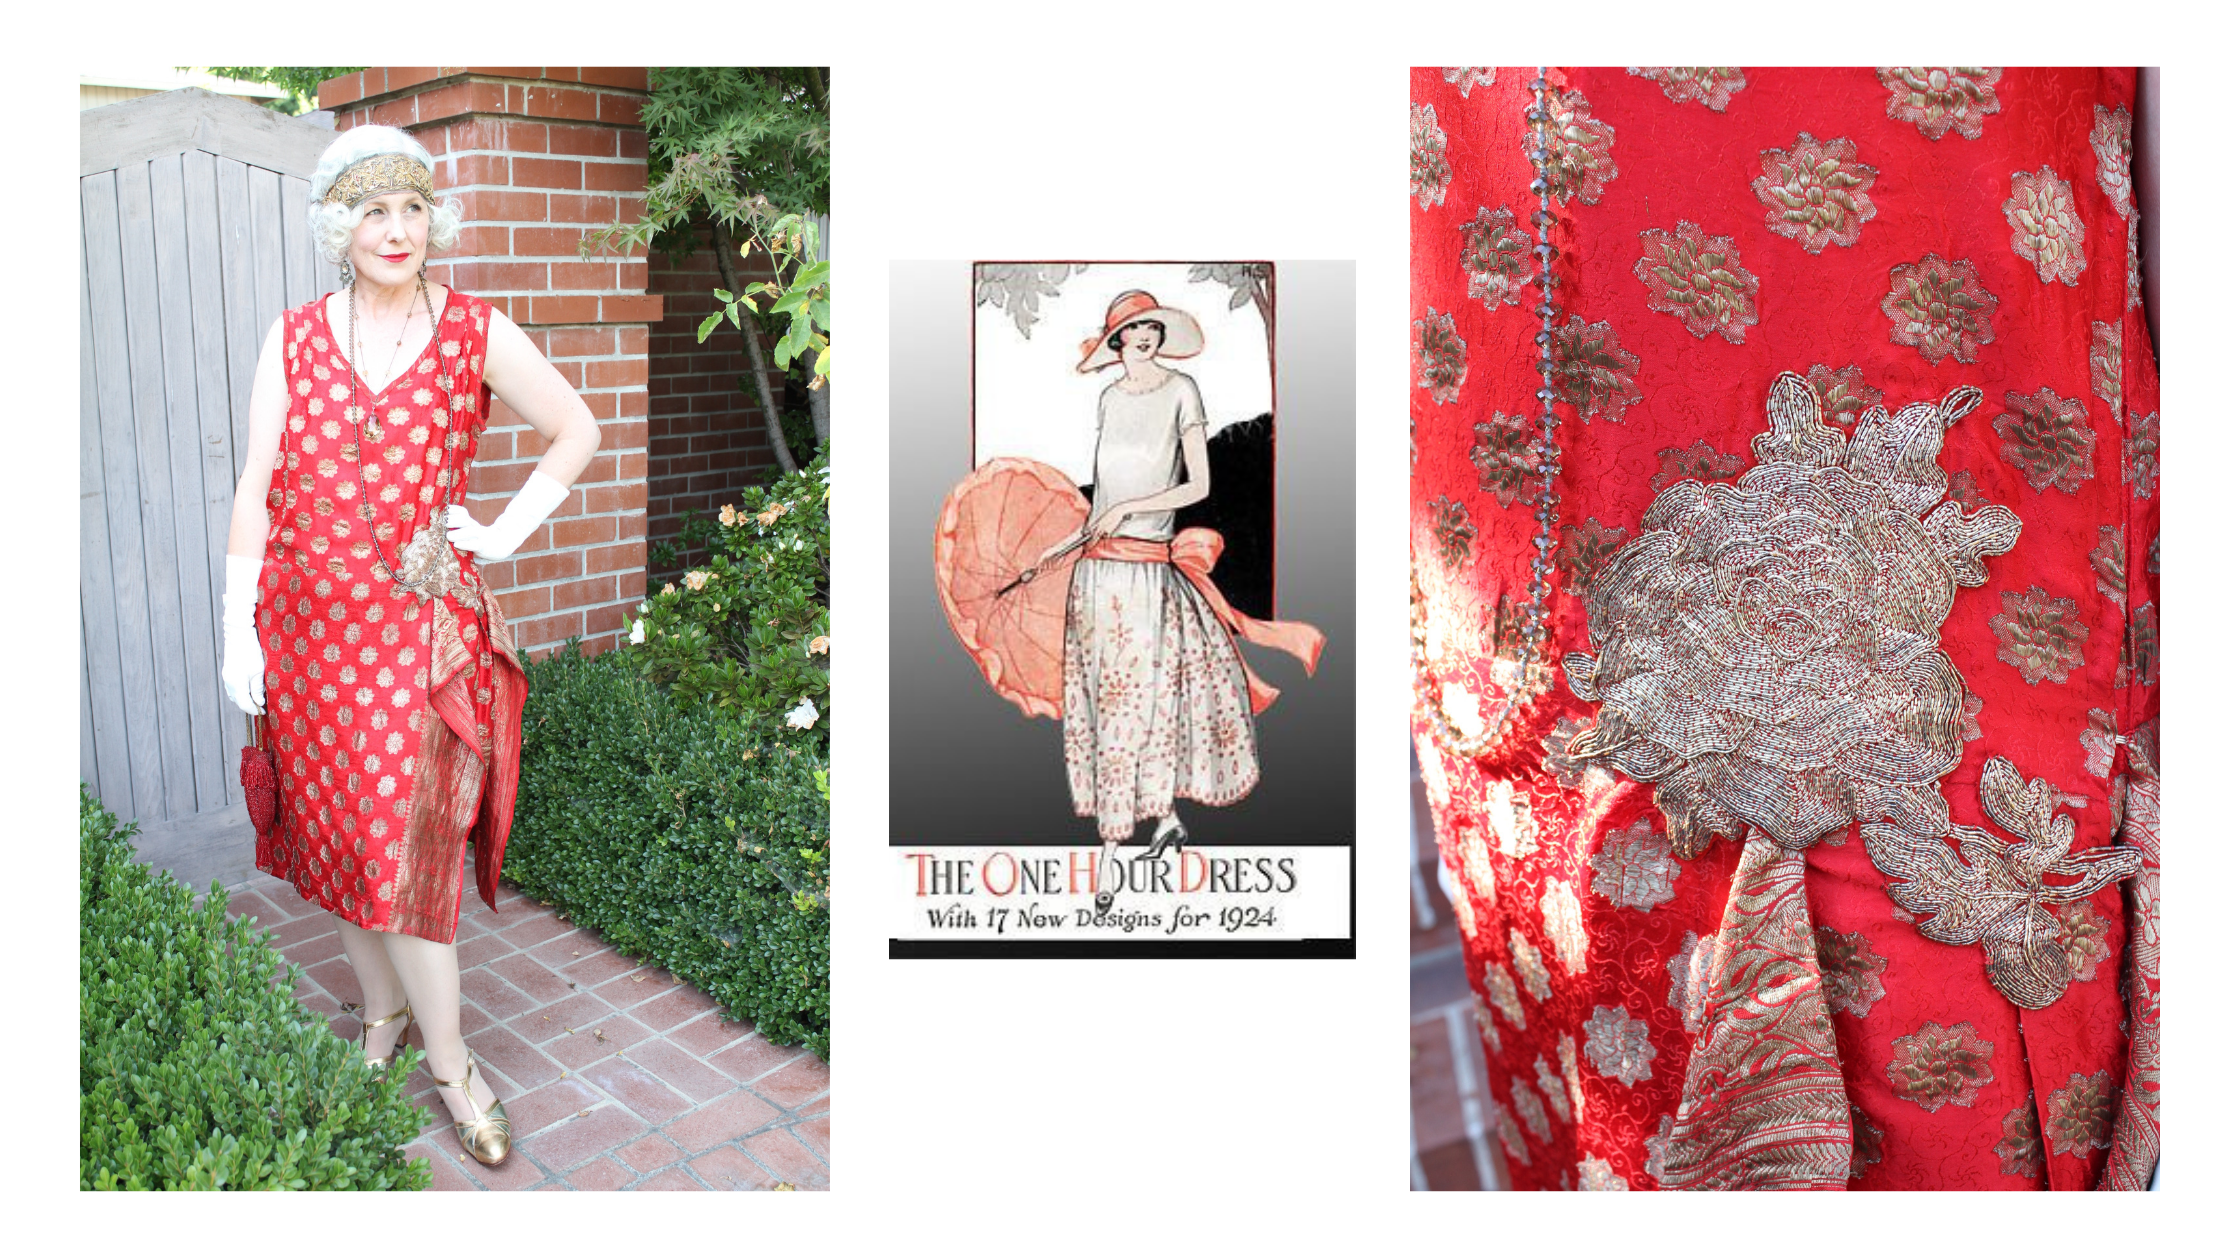
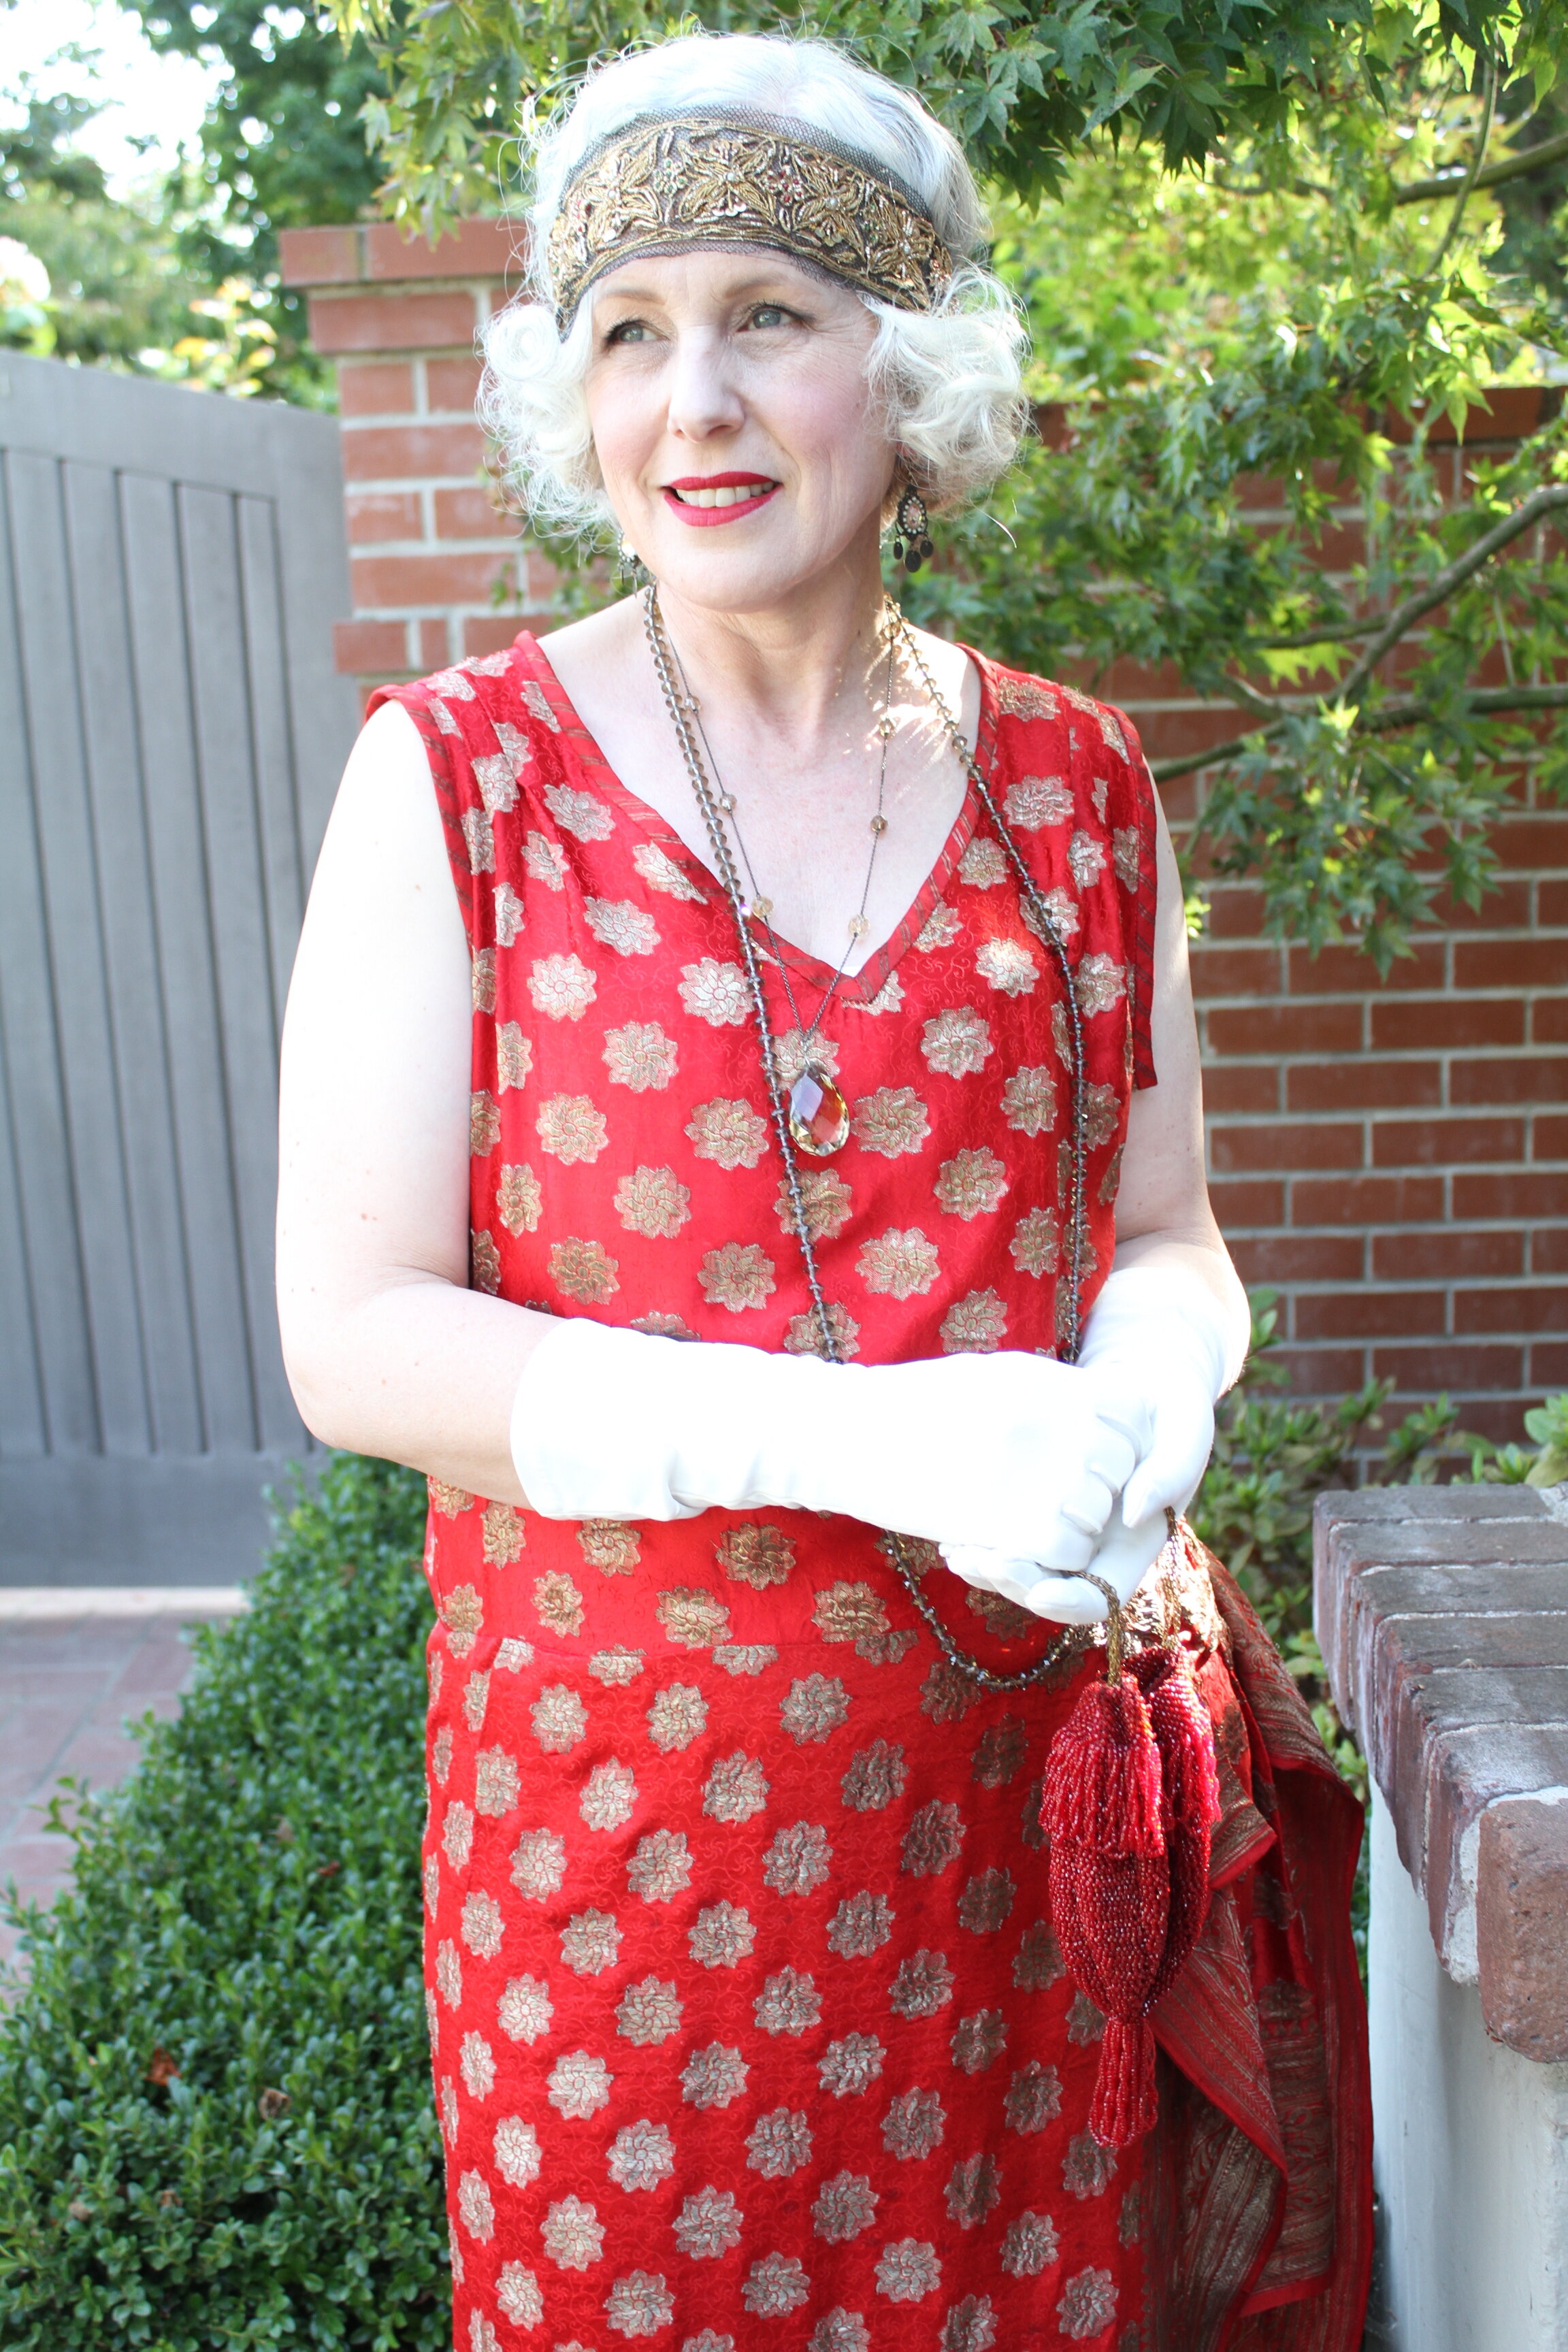
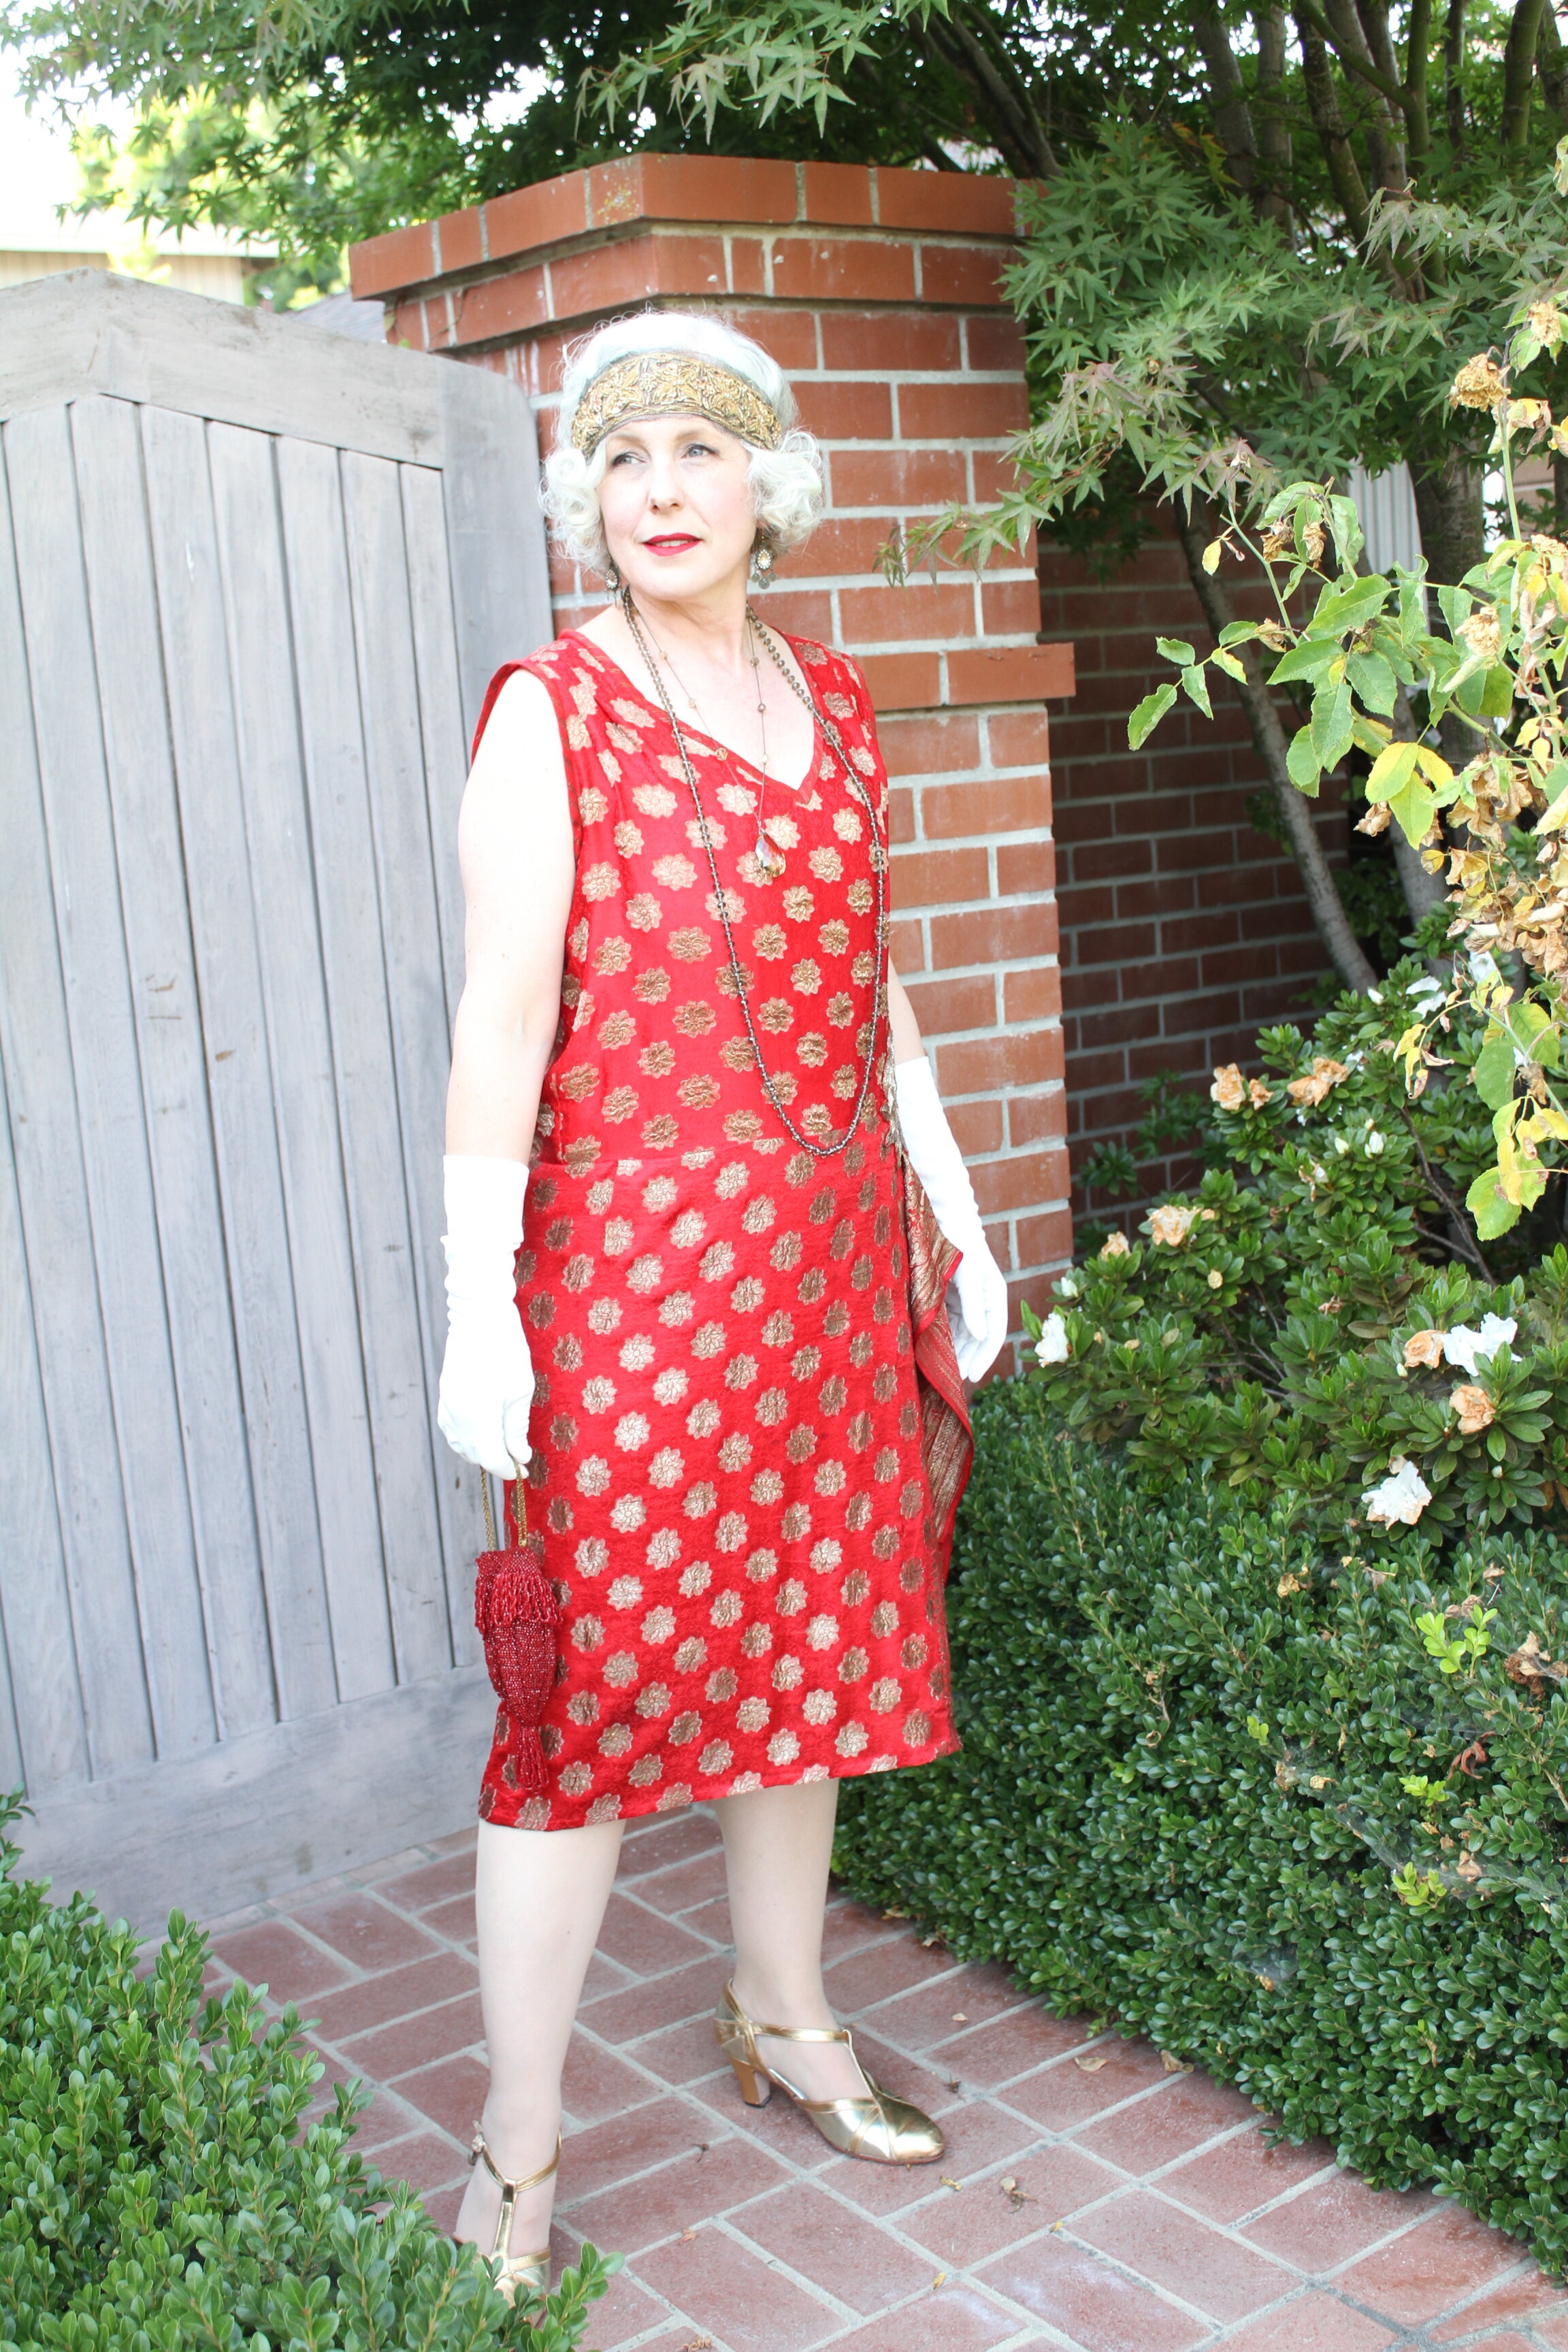
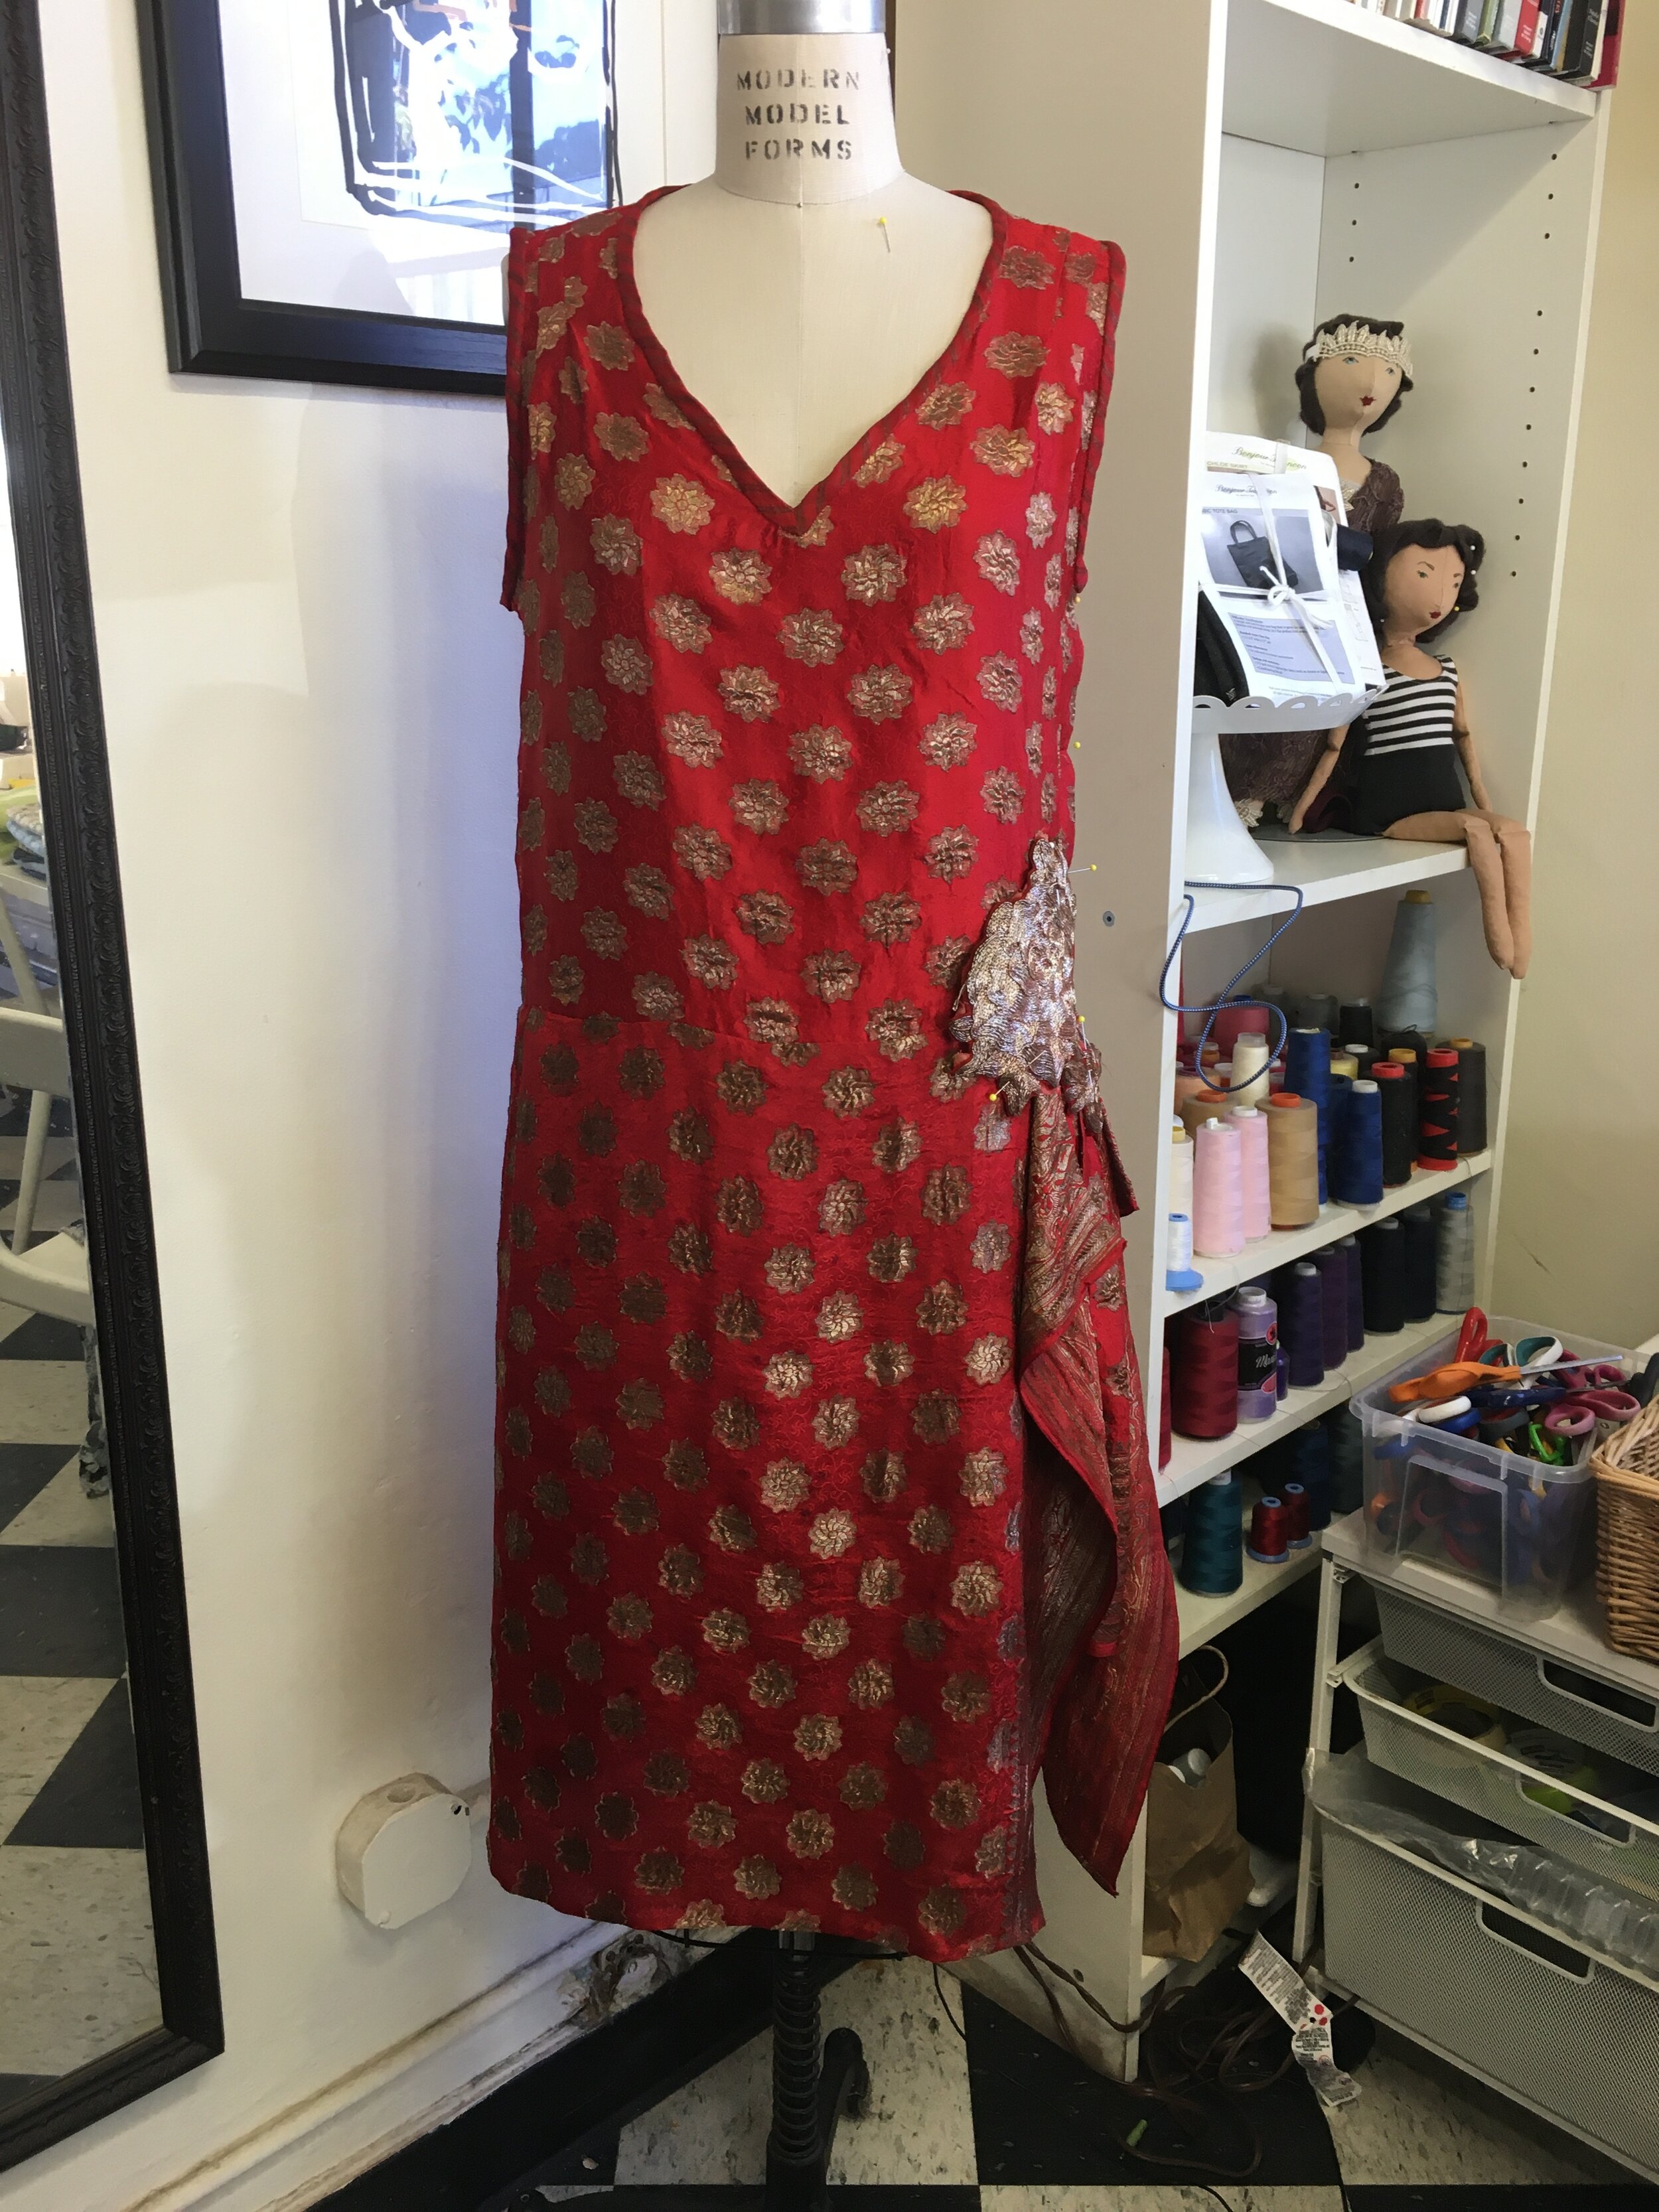
At Gatsby, I heard that the Art Deco Society would be holding the Preservation Ball this year in November. A thrilling discovery as it had been cancelled twice last year due to COVID19. With a look toward this Fall Event, I thought to make my own “One Hour Dress”. My friend Jone wore a version of this dress to Gatsby and it was created with so much ease that I thought it would be perfect done up in fancy fabric.
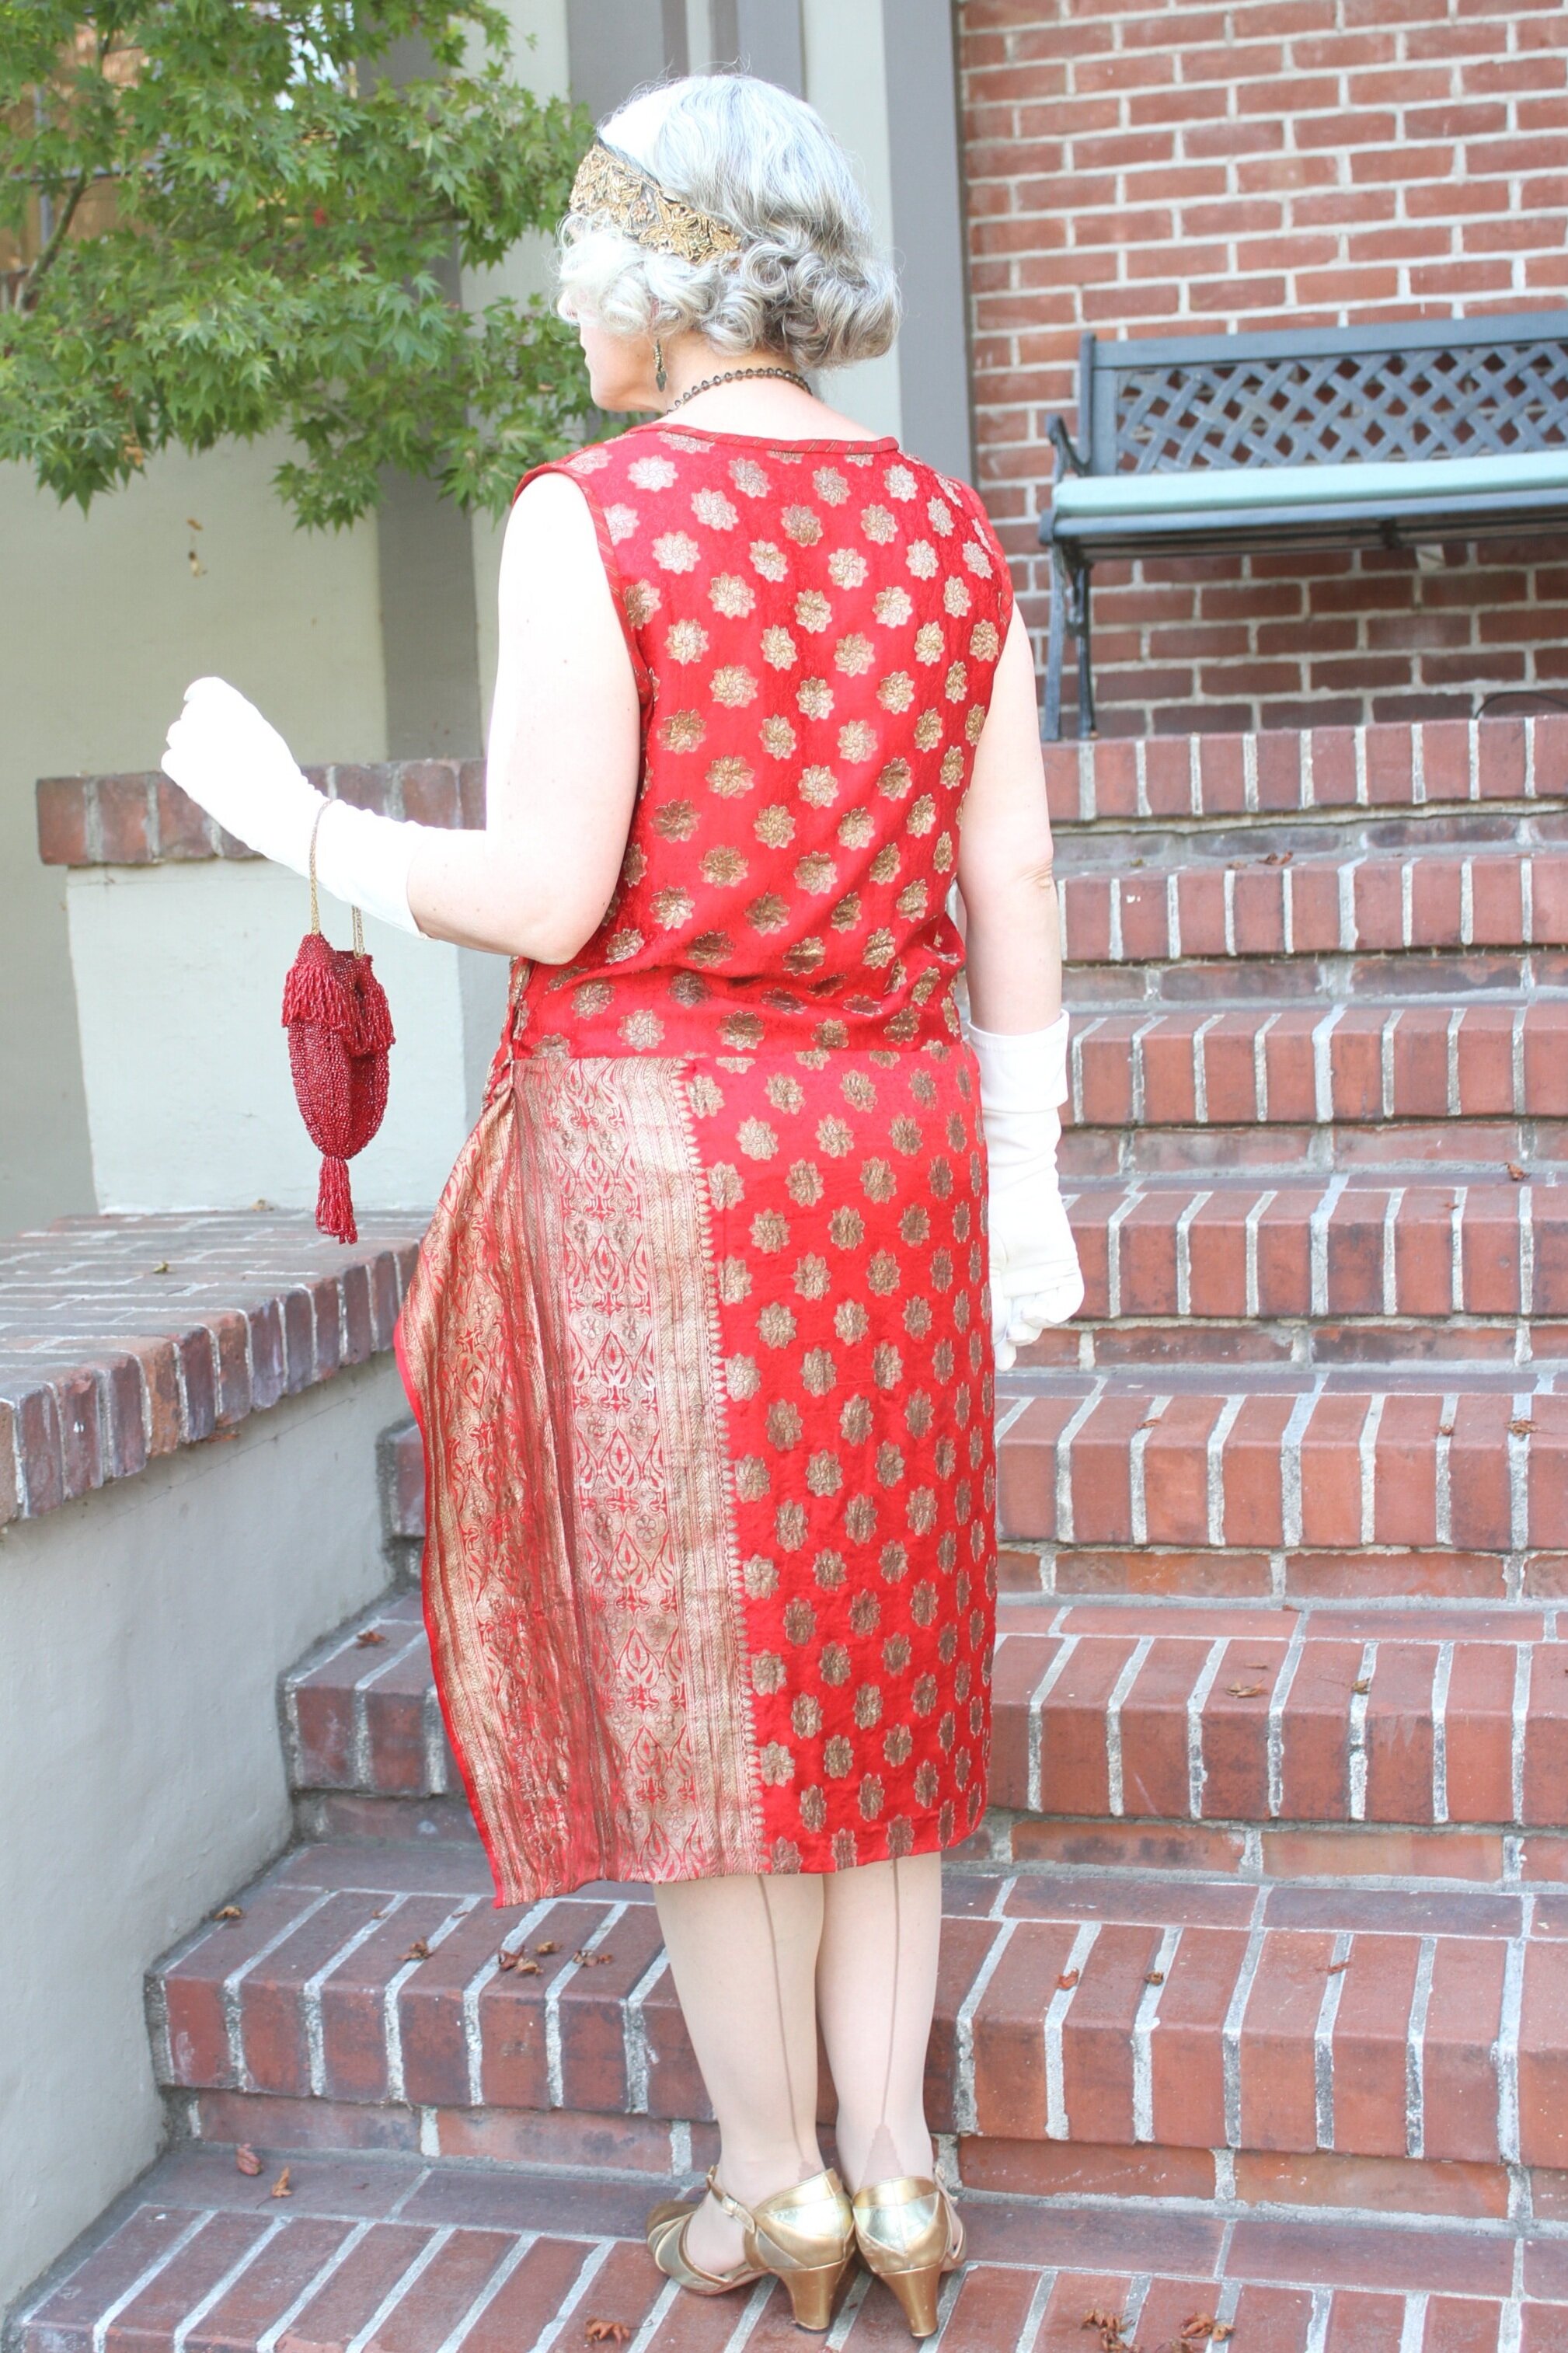
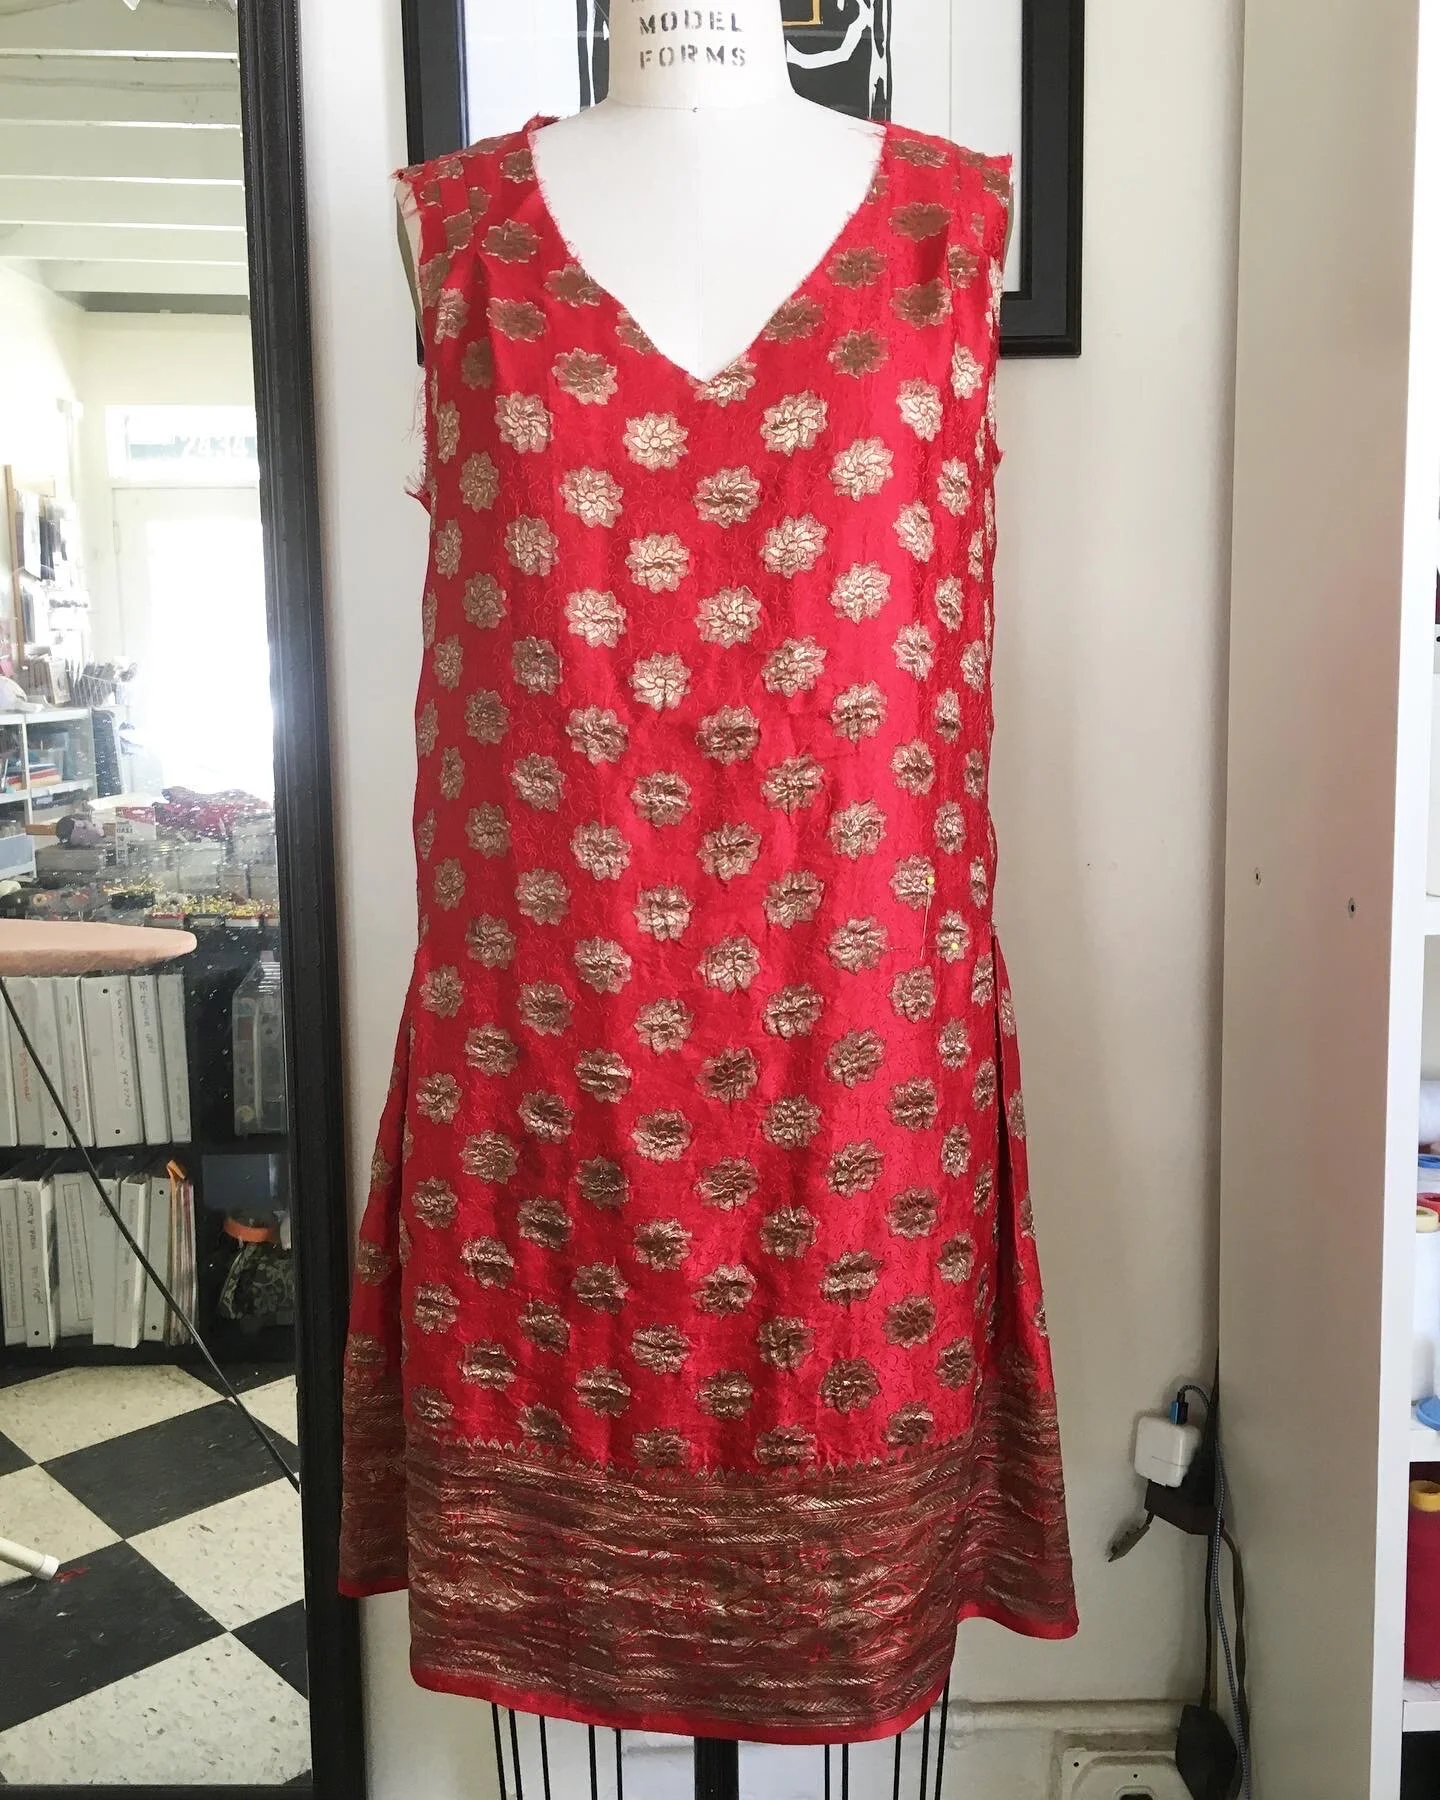
The One Hour Dress was popularized by Author, Mary Brooks Picken in the 1920's. This is a simple dress with dolman sleeves & a dropped waist which can be customized in hundreds of ways. I made mine with a “v” shaped neckline and made it sleeveless. I also added a “skirt” that wraps around the body at the dropped waist seam.
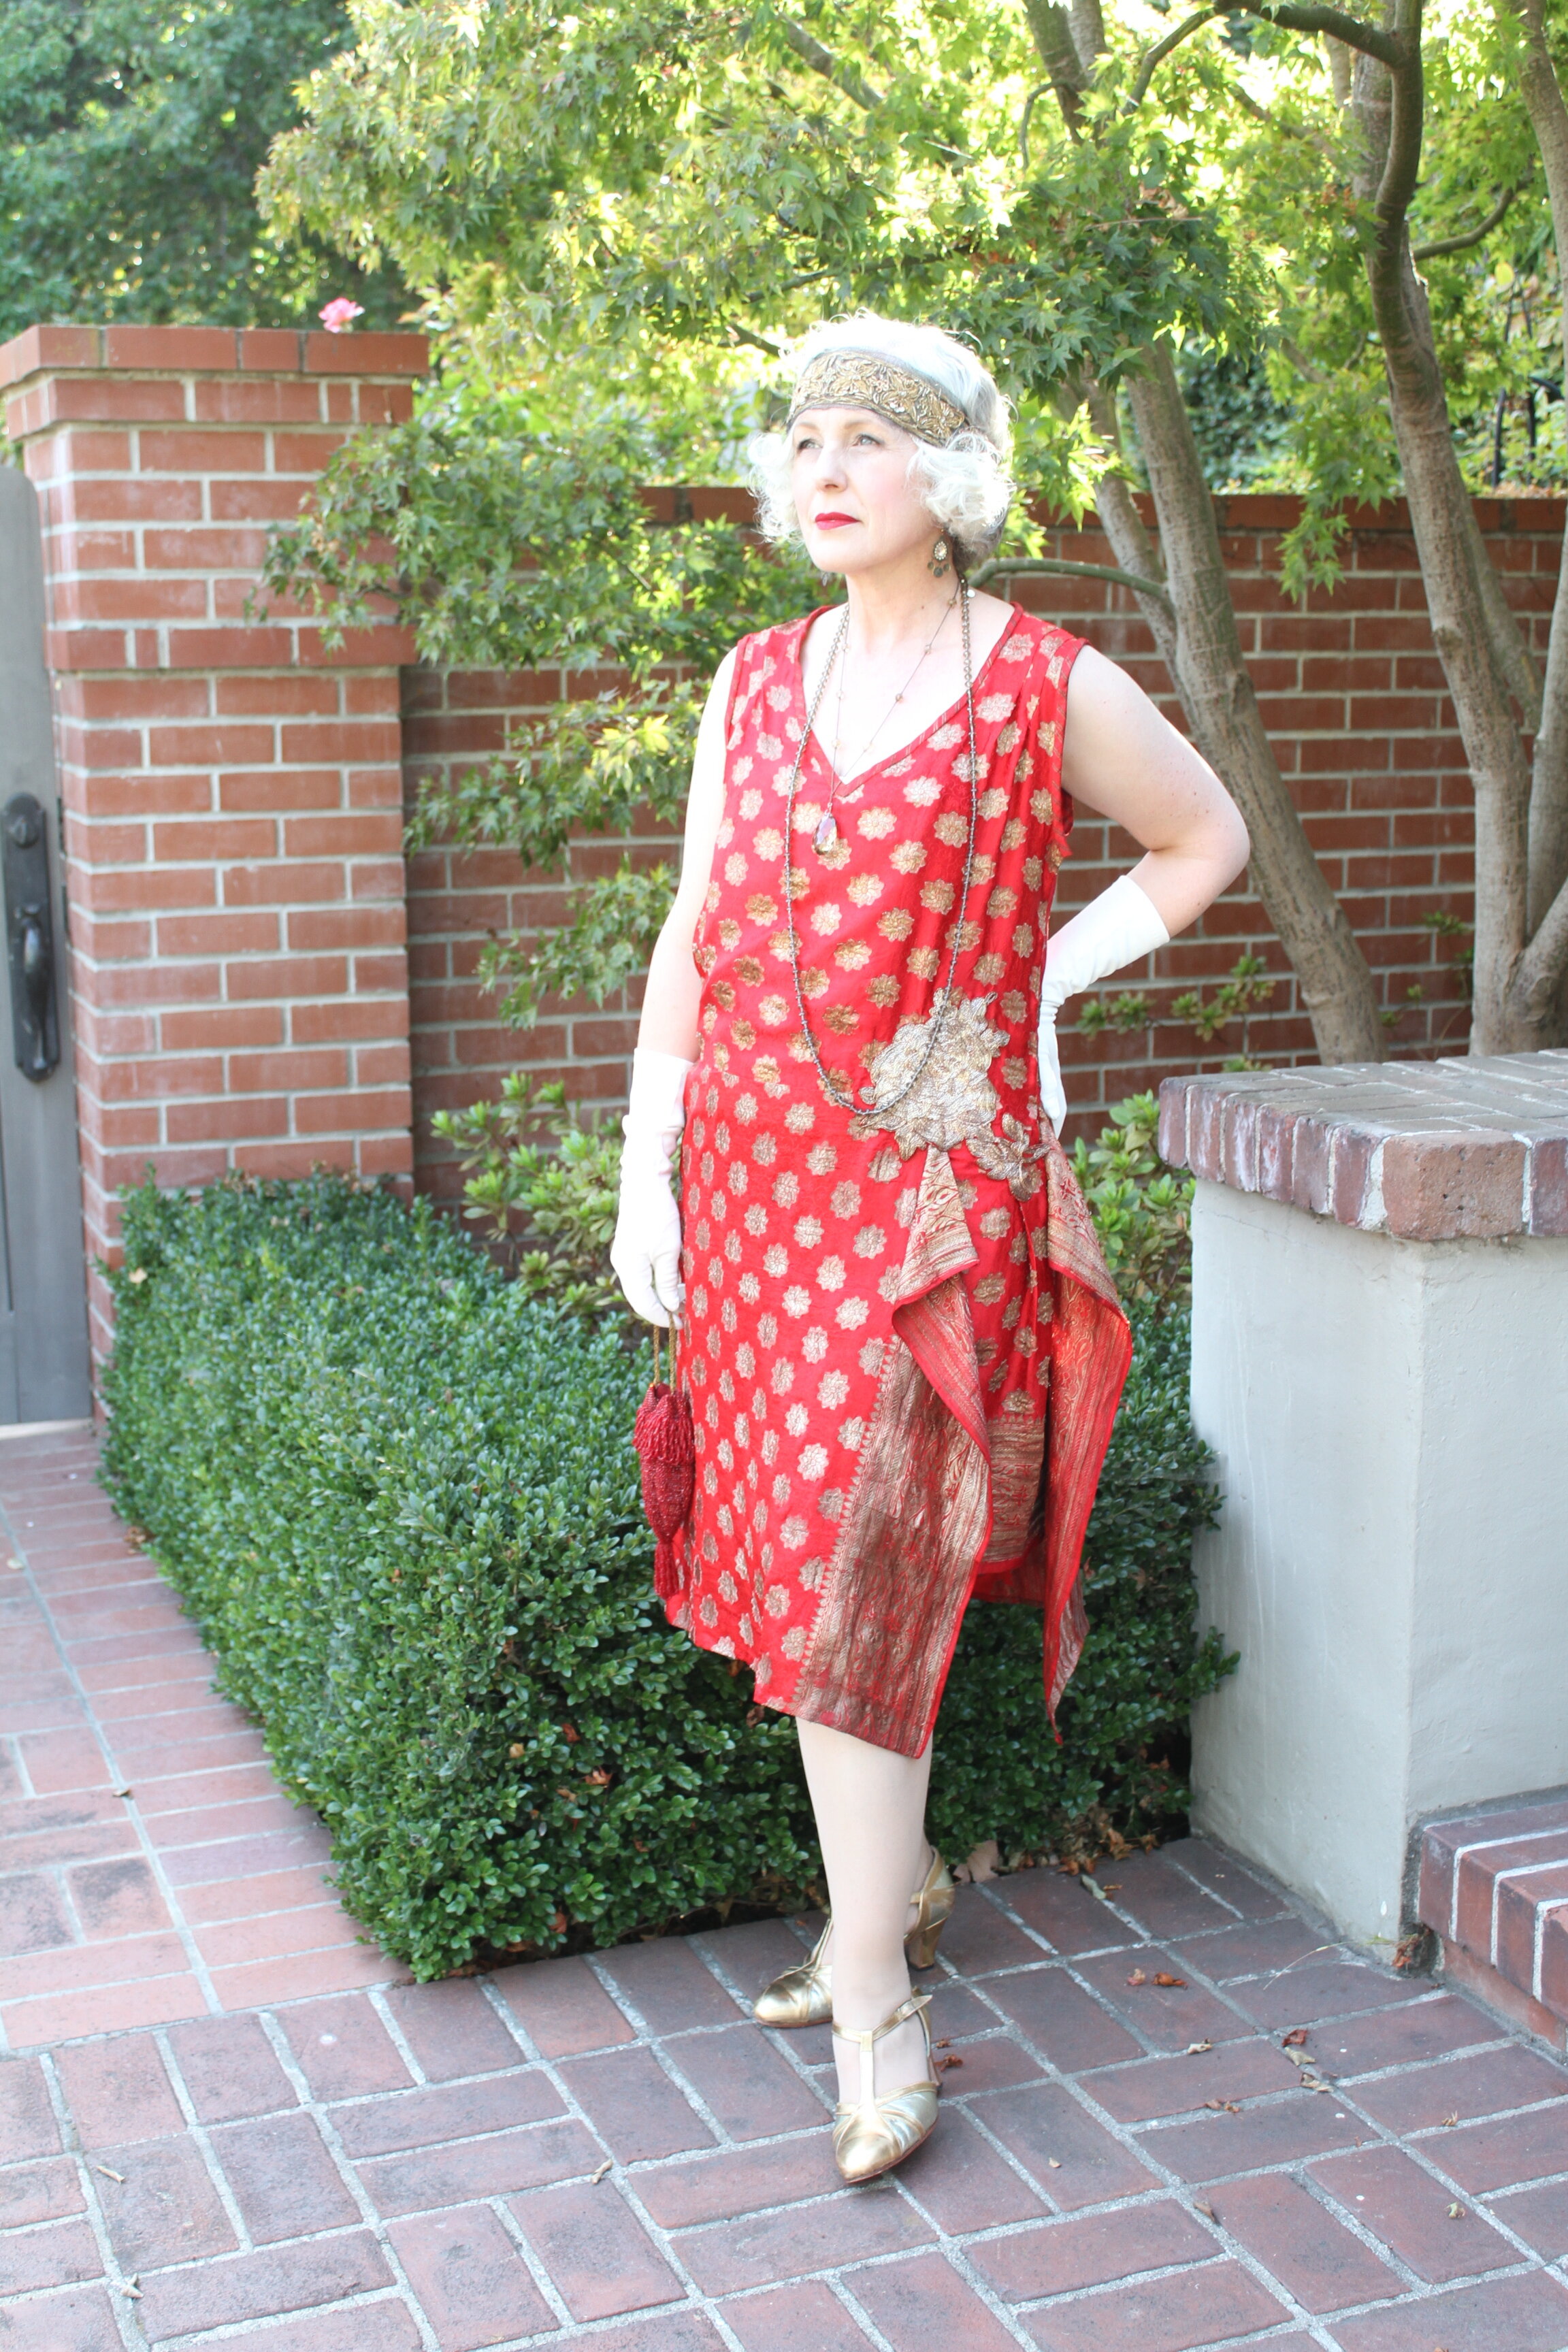
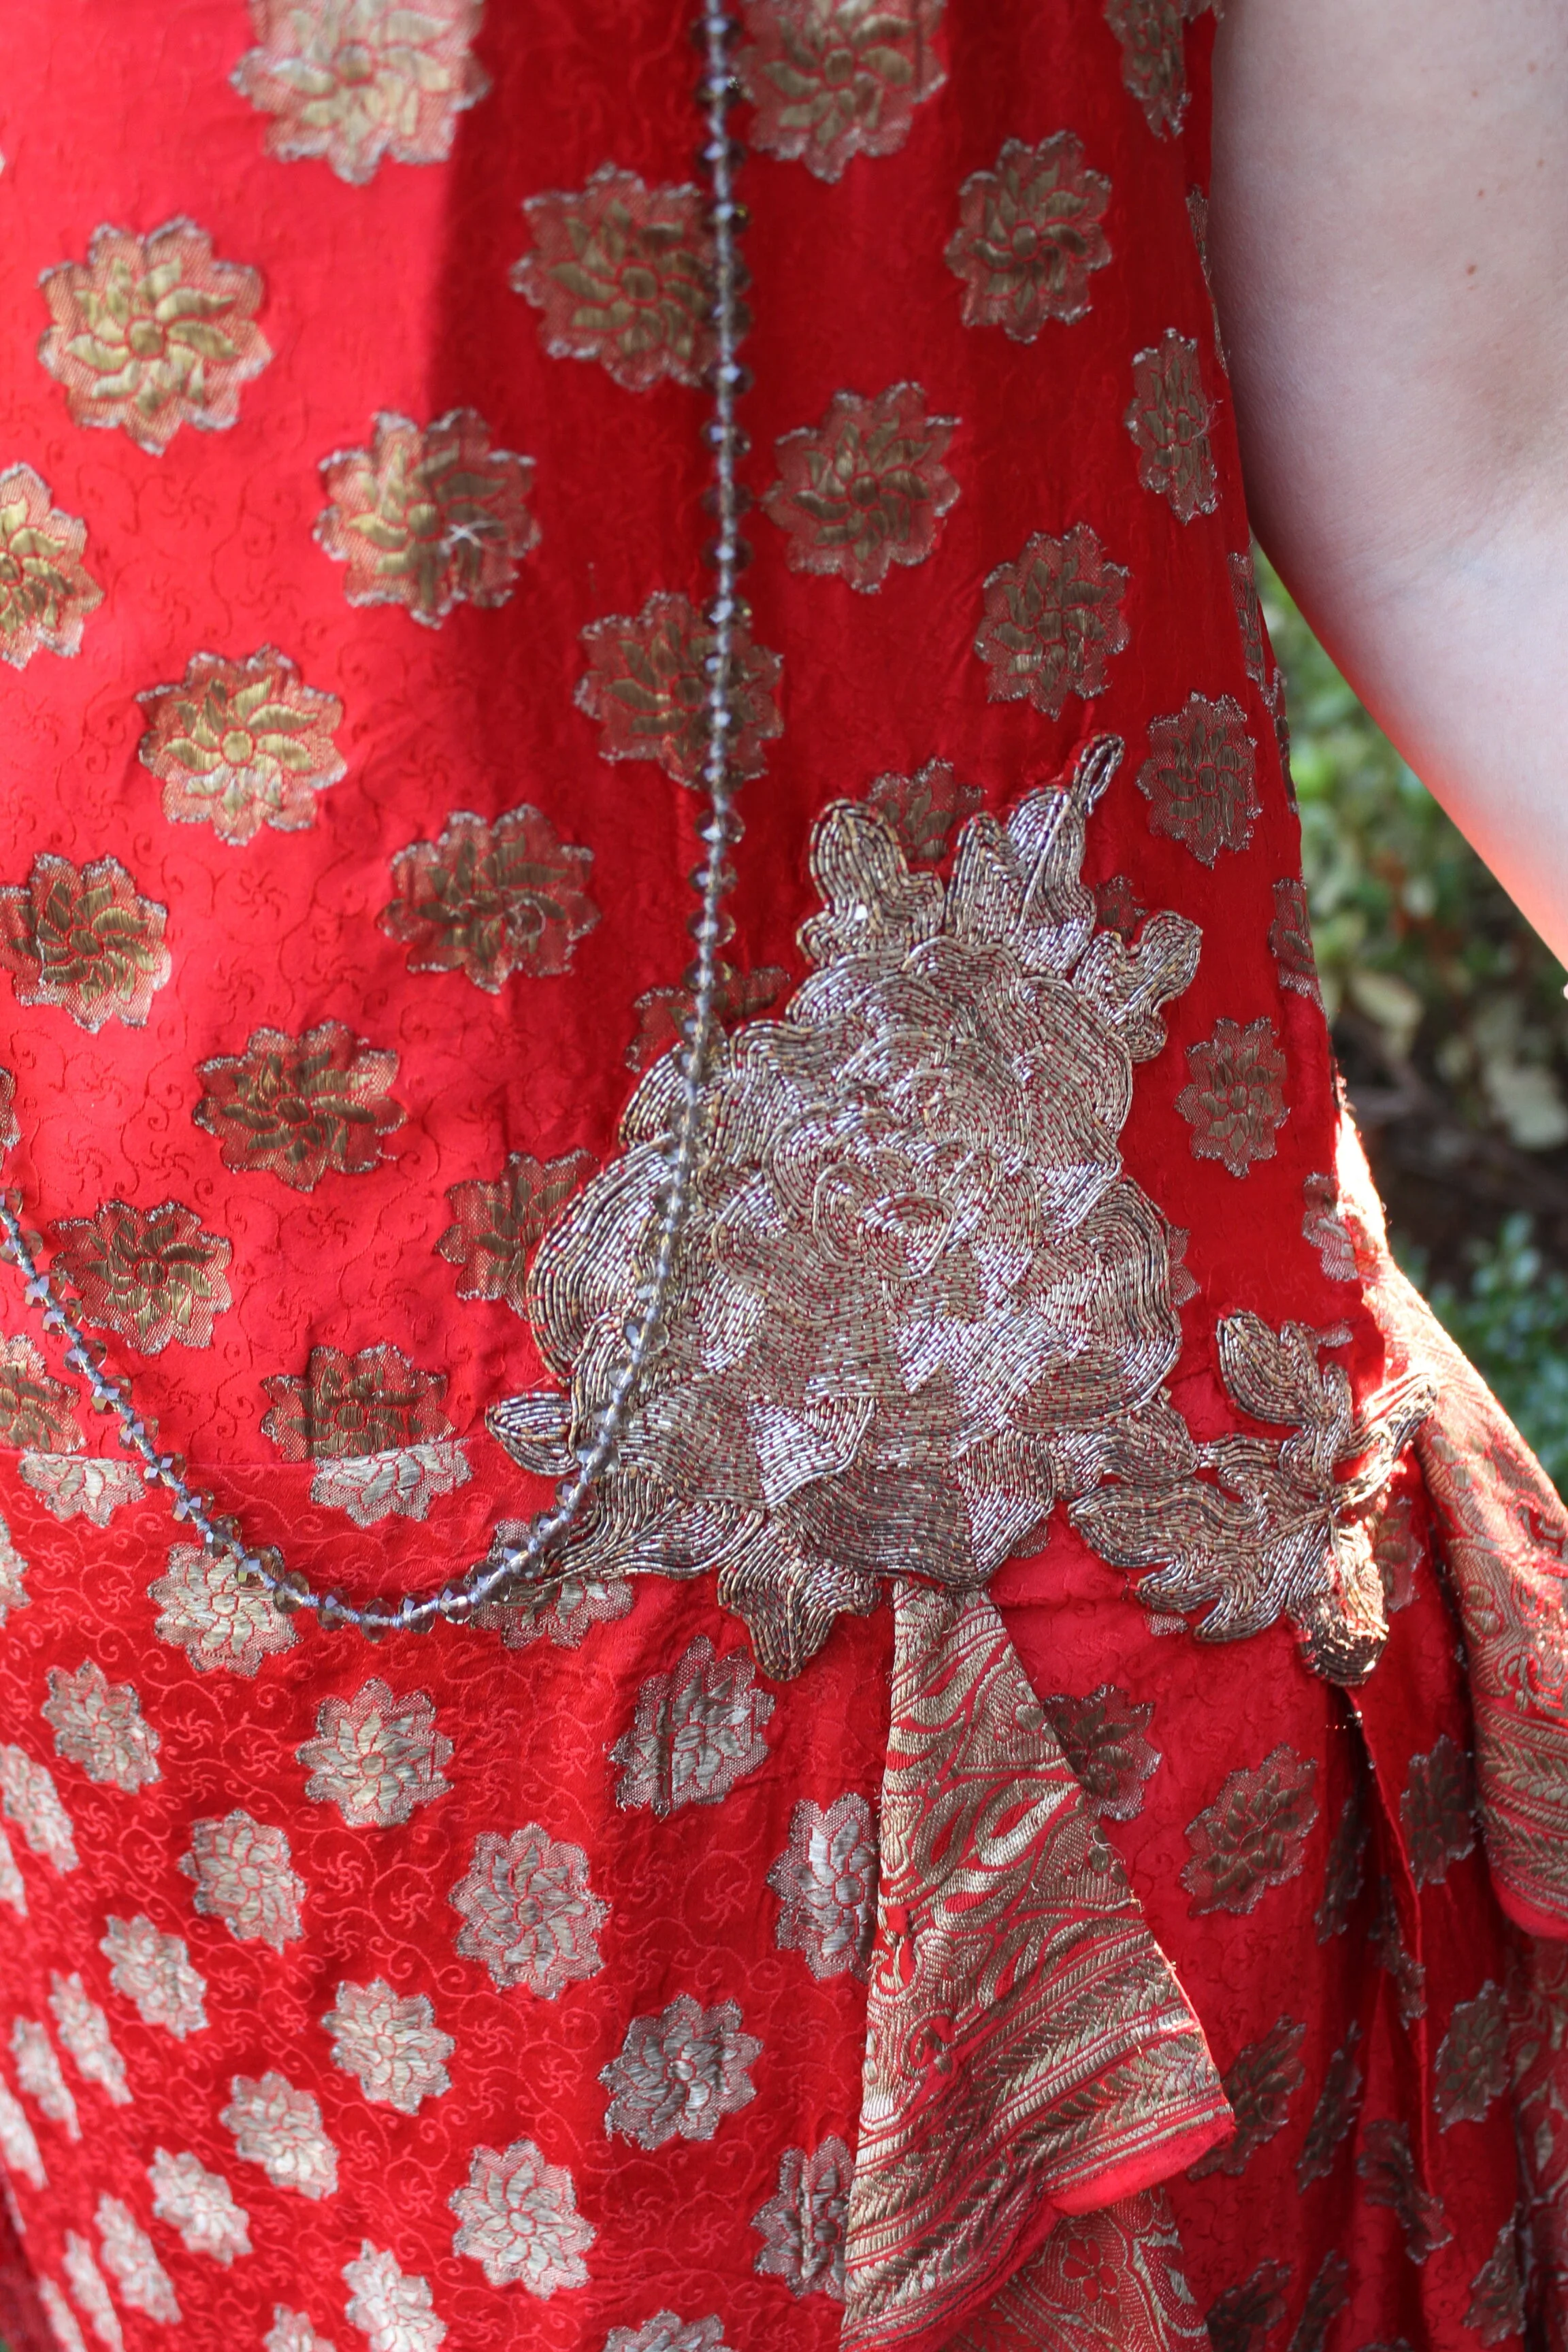
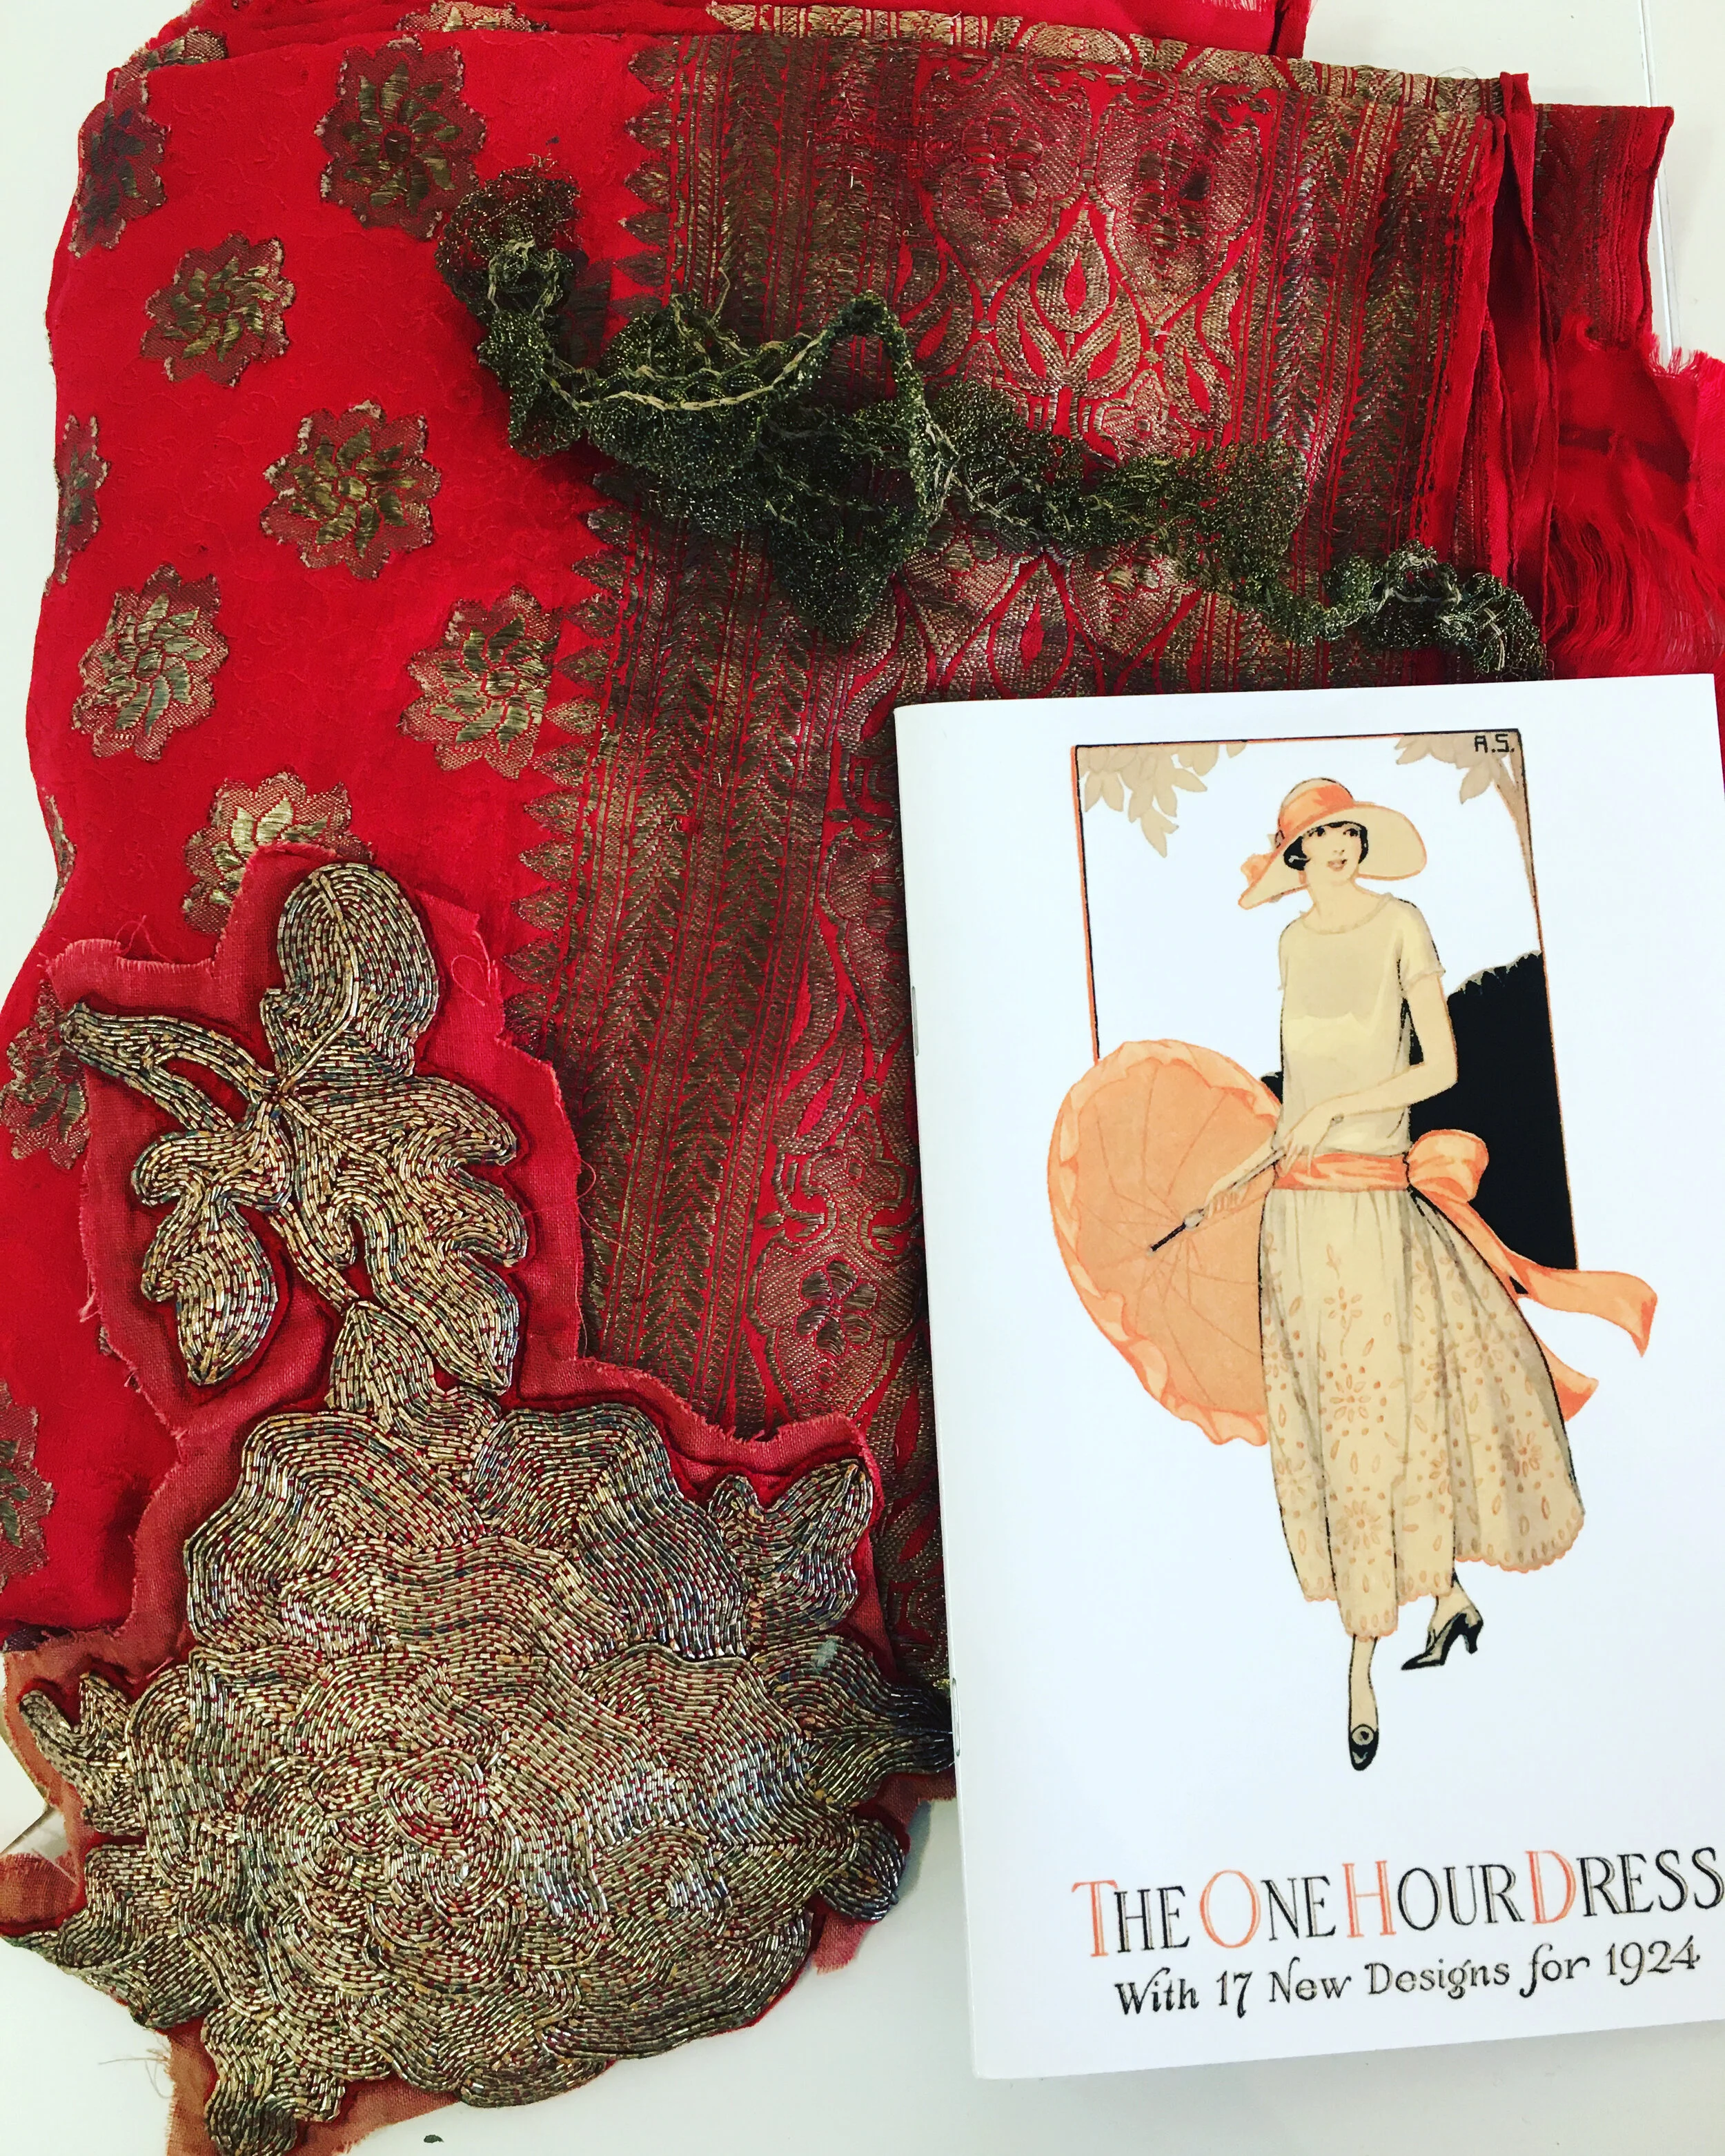
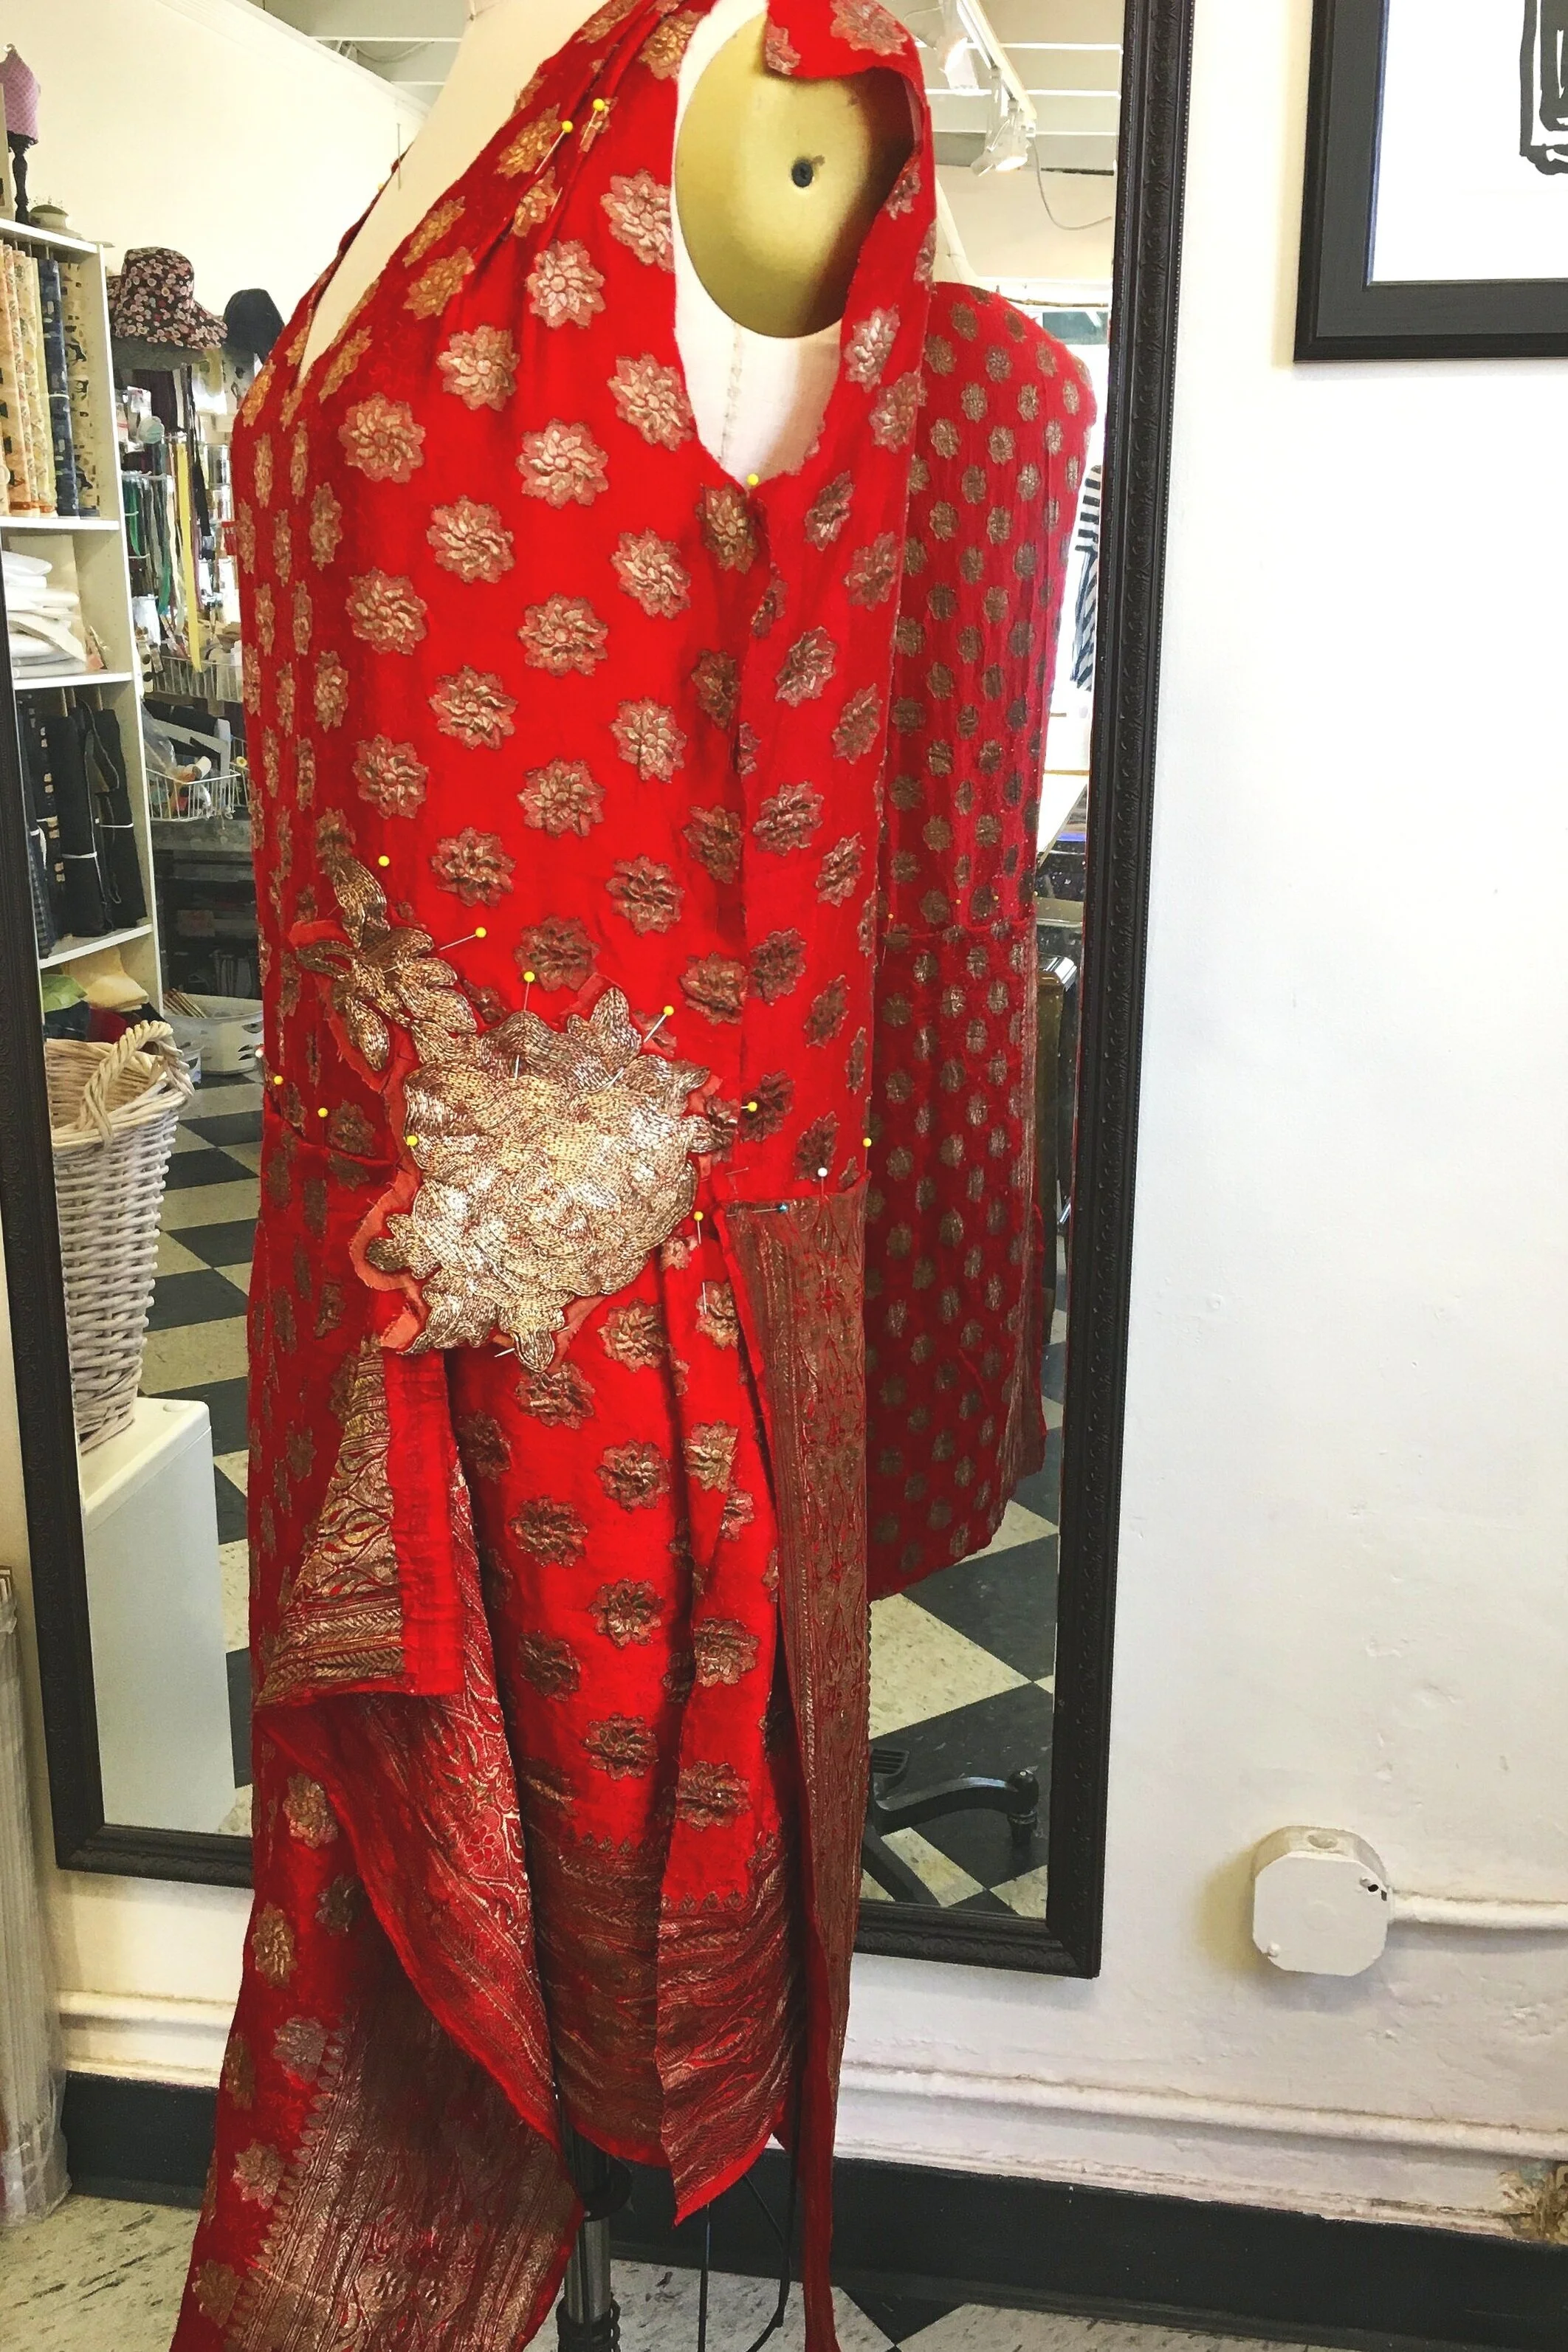
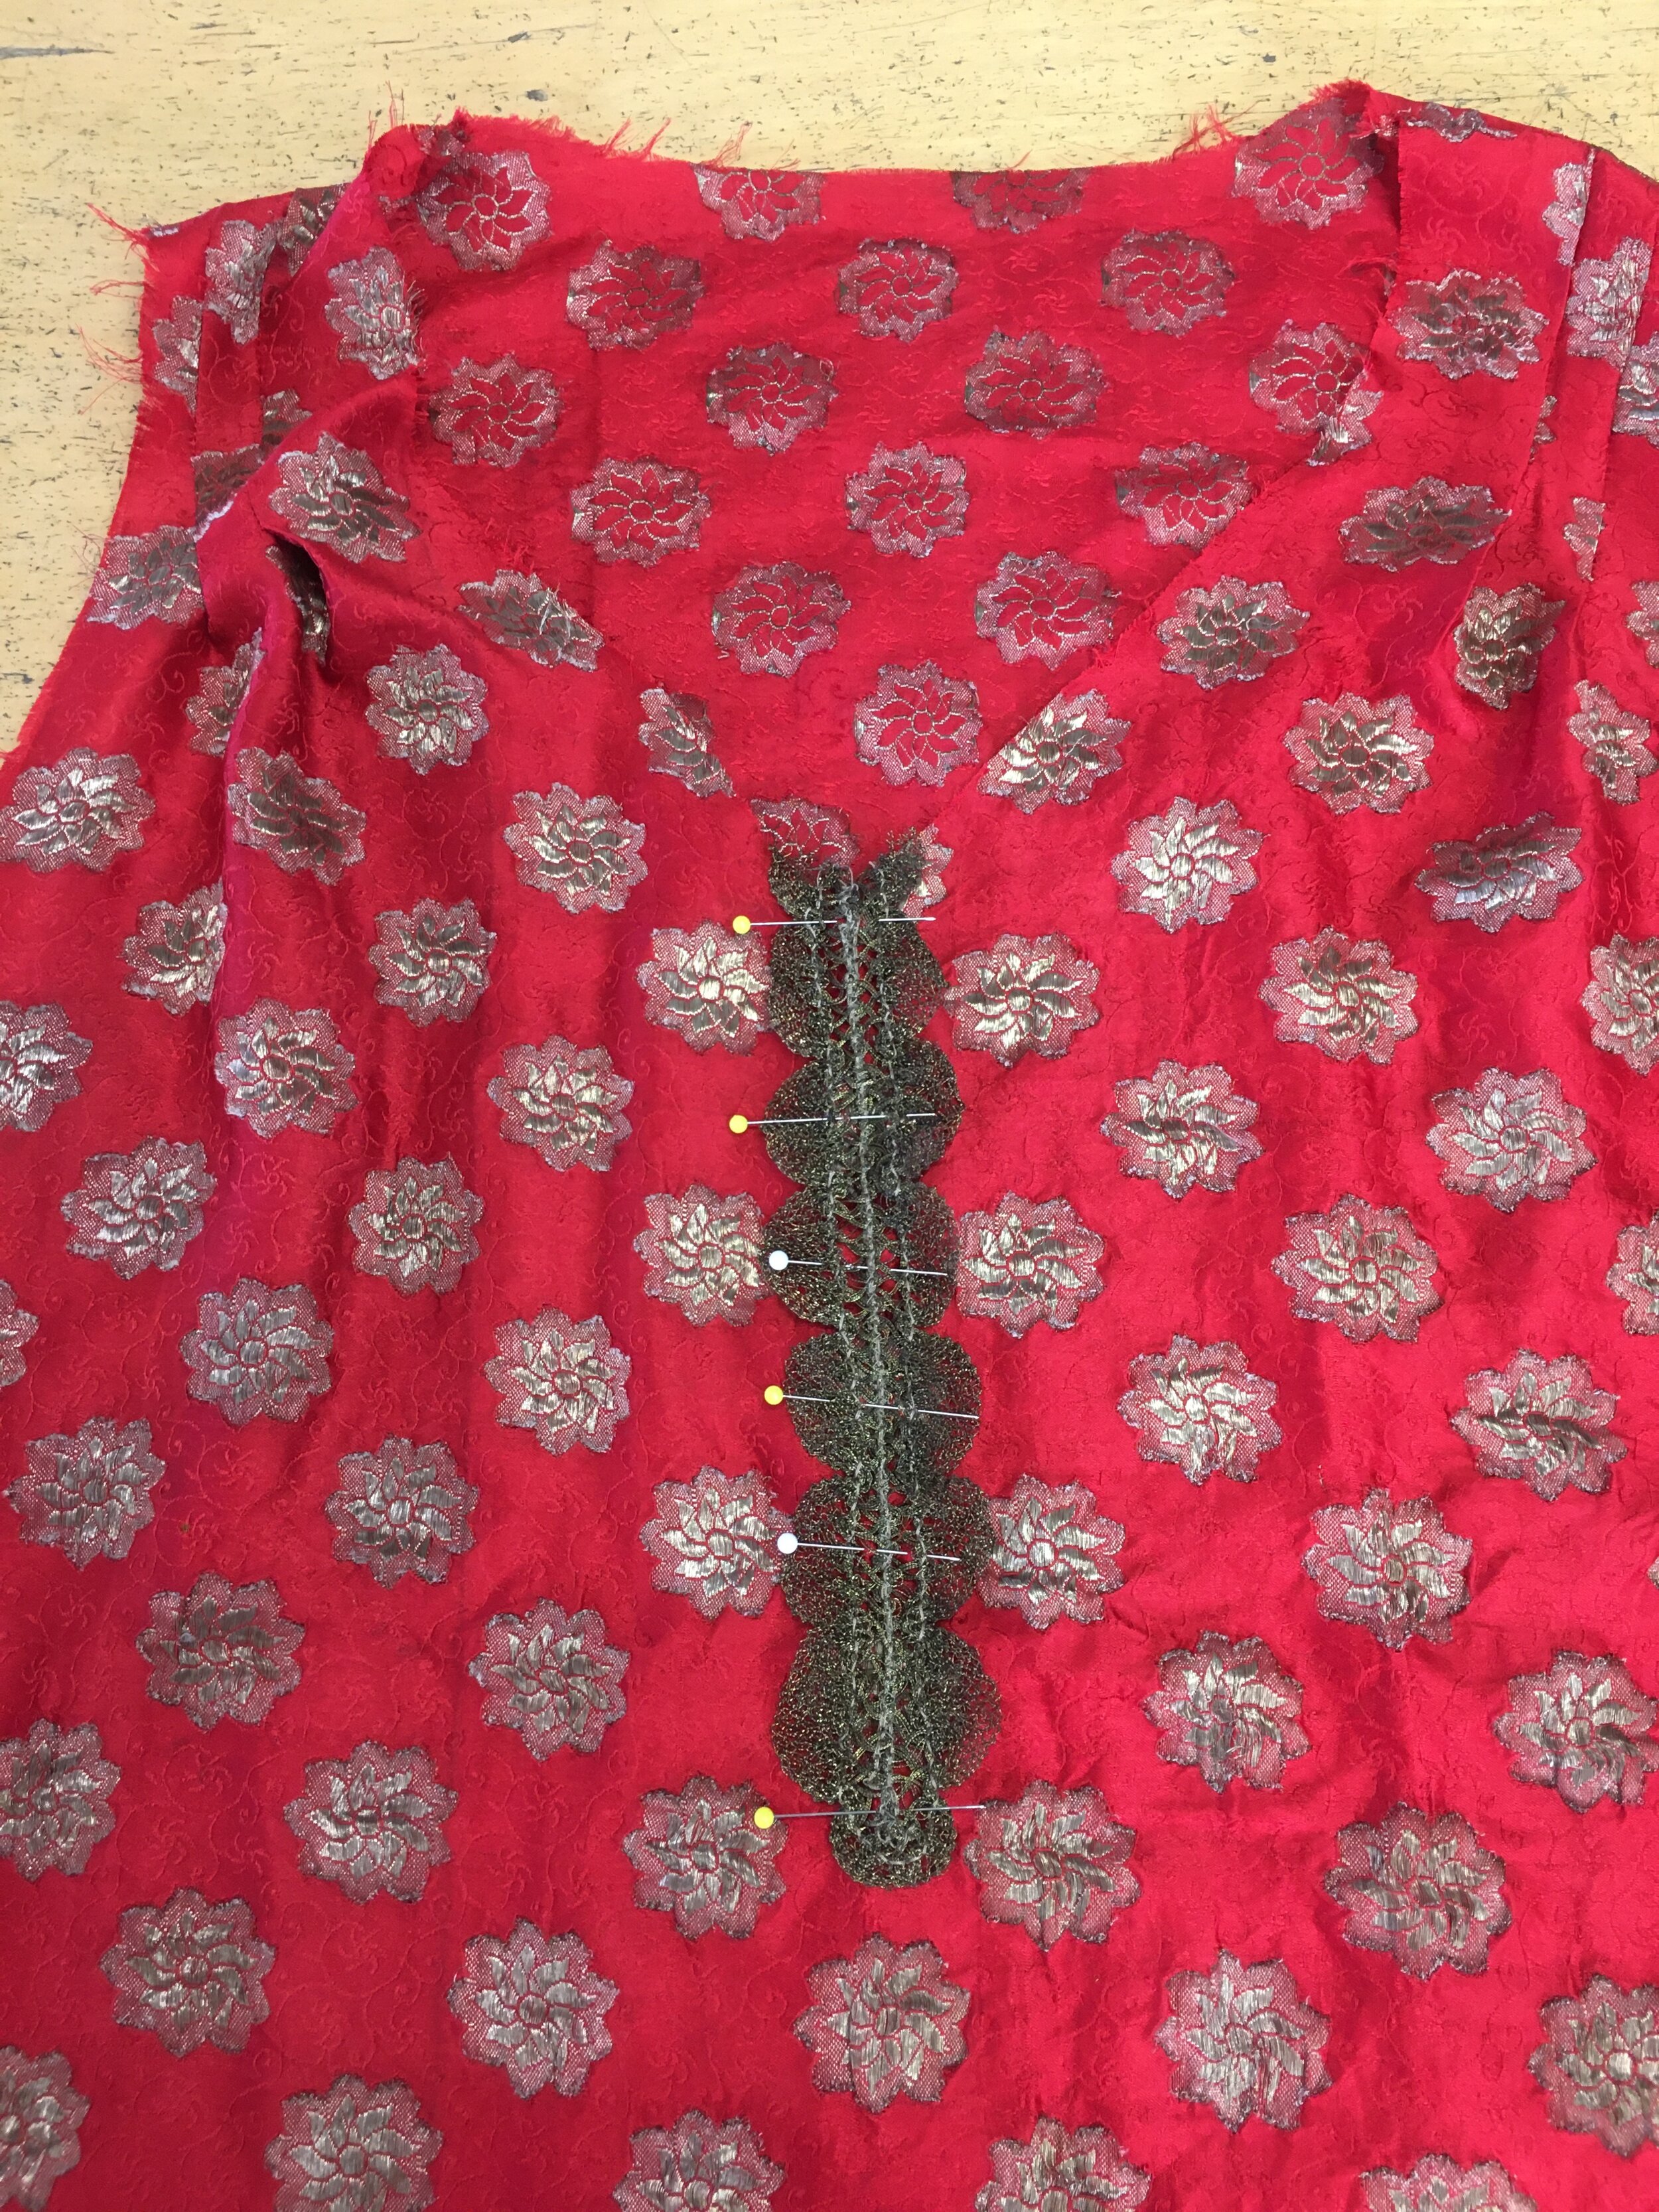
In my collection of fabrics I found a vibrant red silk sari fabric with somewhat tarnished metallic threads and a border on both sides. The fabric is stained all over with wax droplets so it was kind of a “throw-away” piece. The droplets kind of blend in with the metallic threads and apparently I can’t throw anything away , so a dress was born. Amazingly, as I looked through my collection of trims, I found metallic Rose applique in the same tone as the metallic thread of my dress. It was also sewn onto red fabric and had red stitching throughout, so I couldn’t be more pleased at how well it coordinated with my fabric.
It’s fun when the accessories you already own work with your dress! I had two smoky quartz necklaces (both vintage) Gold deco shoes and a head band that was from another dress I made for my first Preservation Ball. The beaded 20’s bag belonged to my grandmother.
The Gloves belonged to my grandmother as well. I really am so fortunate to have so many of her pieces of hers, that I can use in my newly made, vintage wardrobe.
It was so much fun making this dress, and it did come together quite quickly, but it certainly did NOT take one hour to make. The ONE HOUR is a bit of a misnomer, I think. So one shouldn’t expe. t to complete it so fast. IT is, however relatively simple to put together, as I will show you below.
To make the dress you will start with 3 1/2-4 yards of fabric.
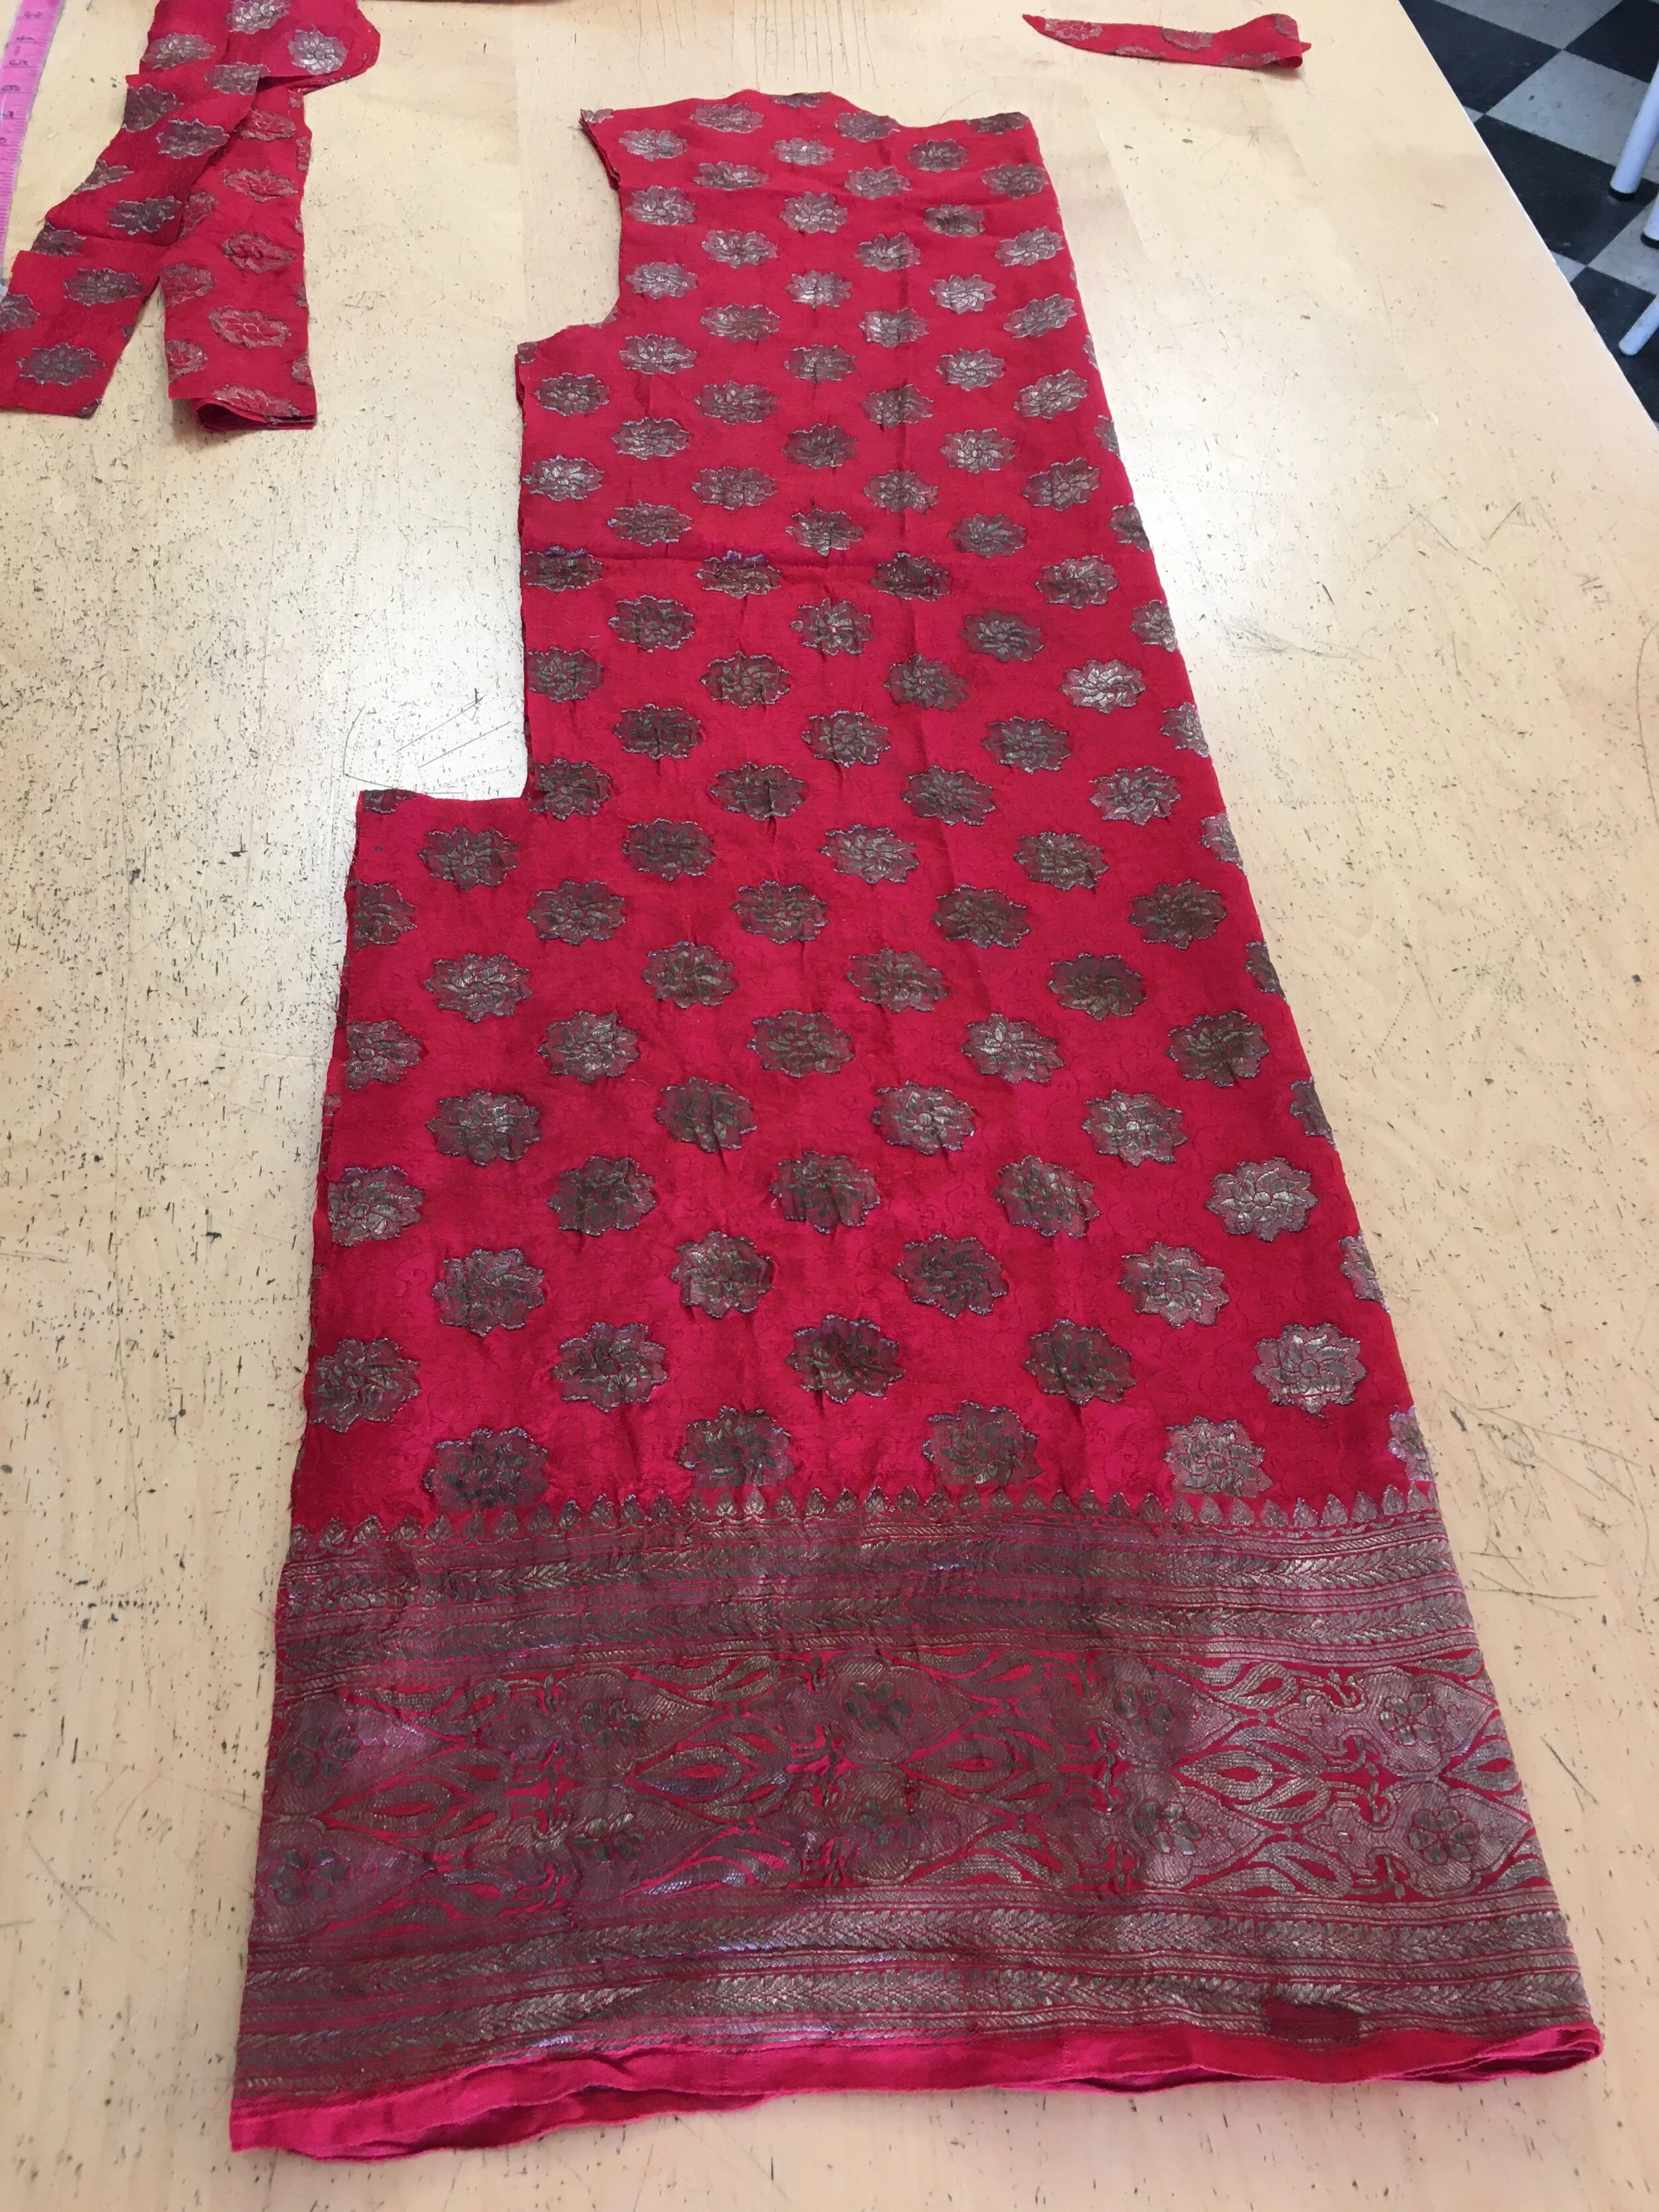
My fabric was folded in half both lengthwise and widthwise.
I then determined where to put the hip seam by measuring from my shoulder neck point to the position I thought most desirable for this seam, on my body and marked that position on my fabric.
I also determined how much fullness I wanted around my hip. This measurement was the circumference of the bottom half of the garment.
I also measured my chest and added a few inches for ease. This measurement determined the circumference of the garment from the armhole to the hip.
I then drew in my shoulder slope, armholes and side seams onto the fabric, before cutting.
Lastly I cut a hole for the neck on both front and back pieces.
Note that while doing this, you will need to add your seam allowance, otherwise, your garment will be too small.
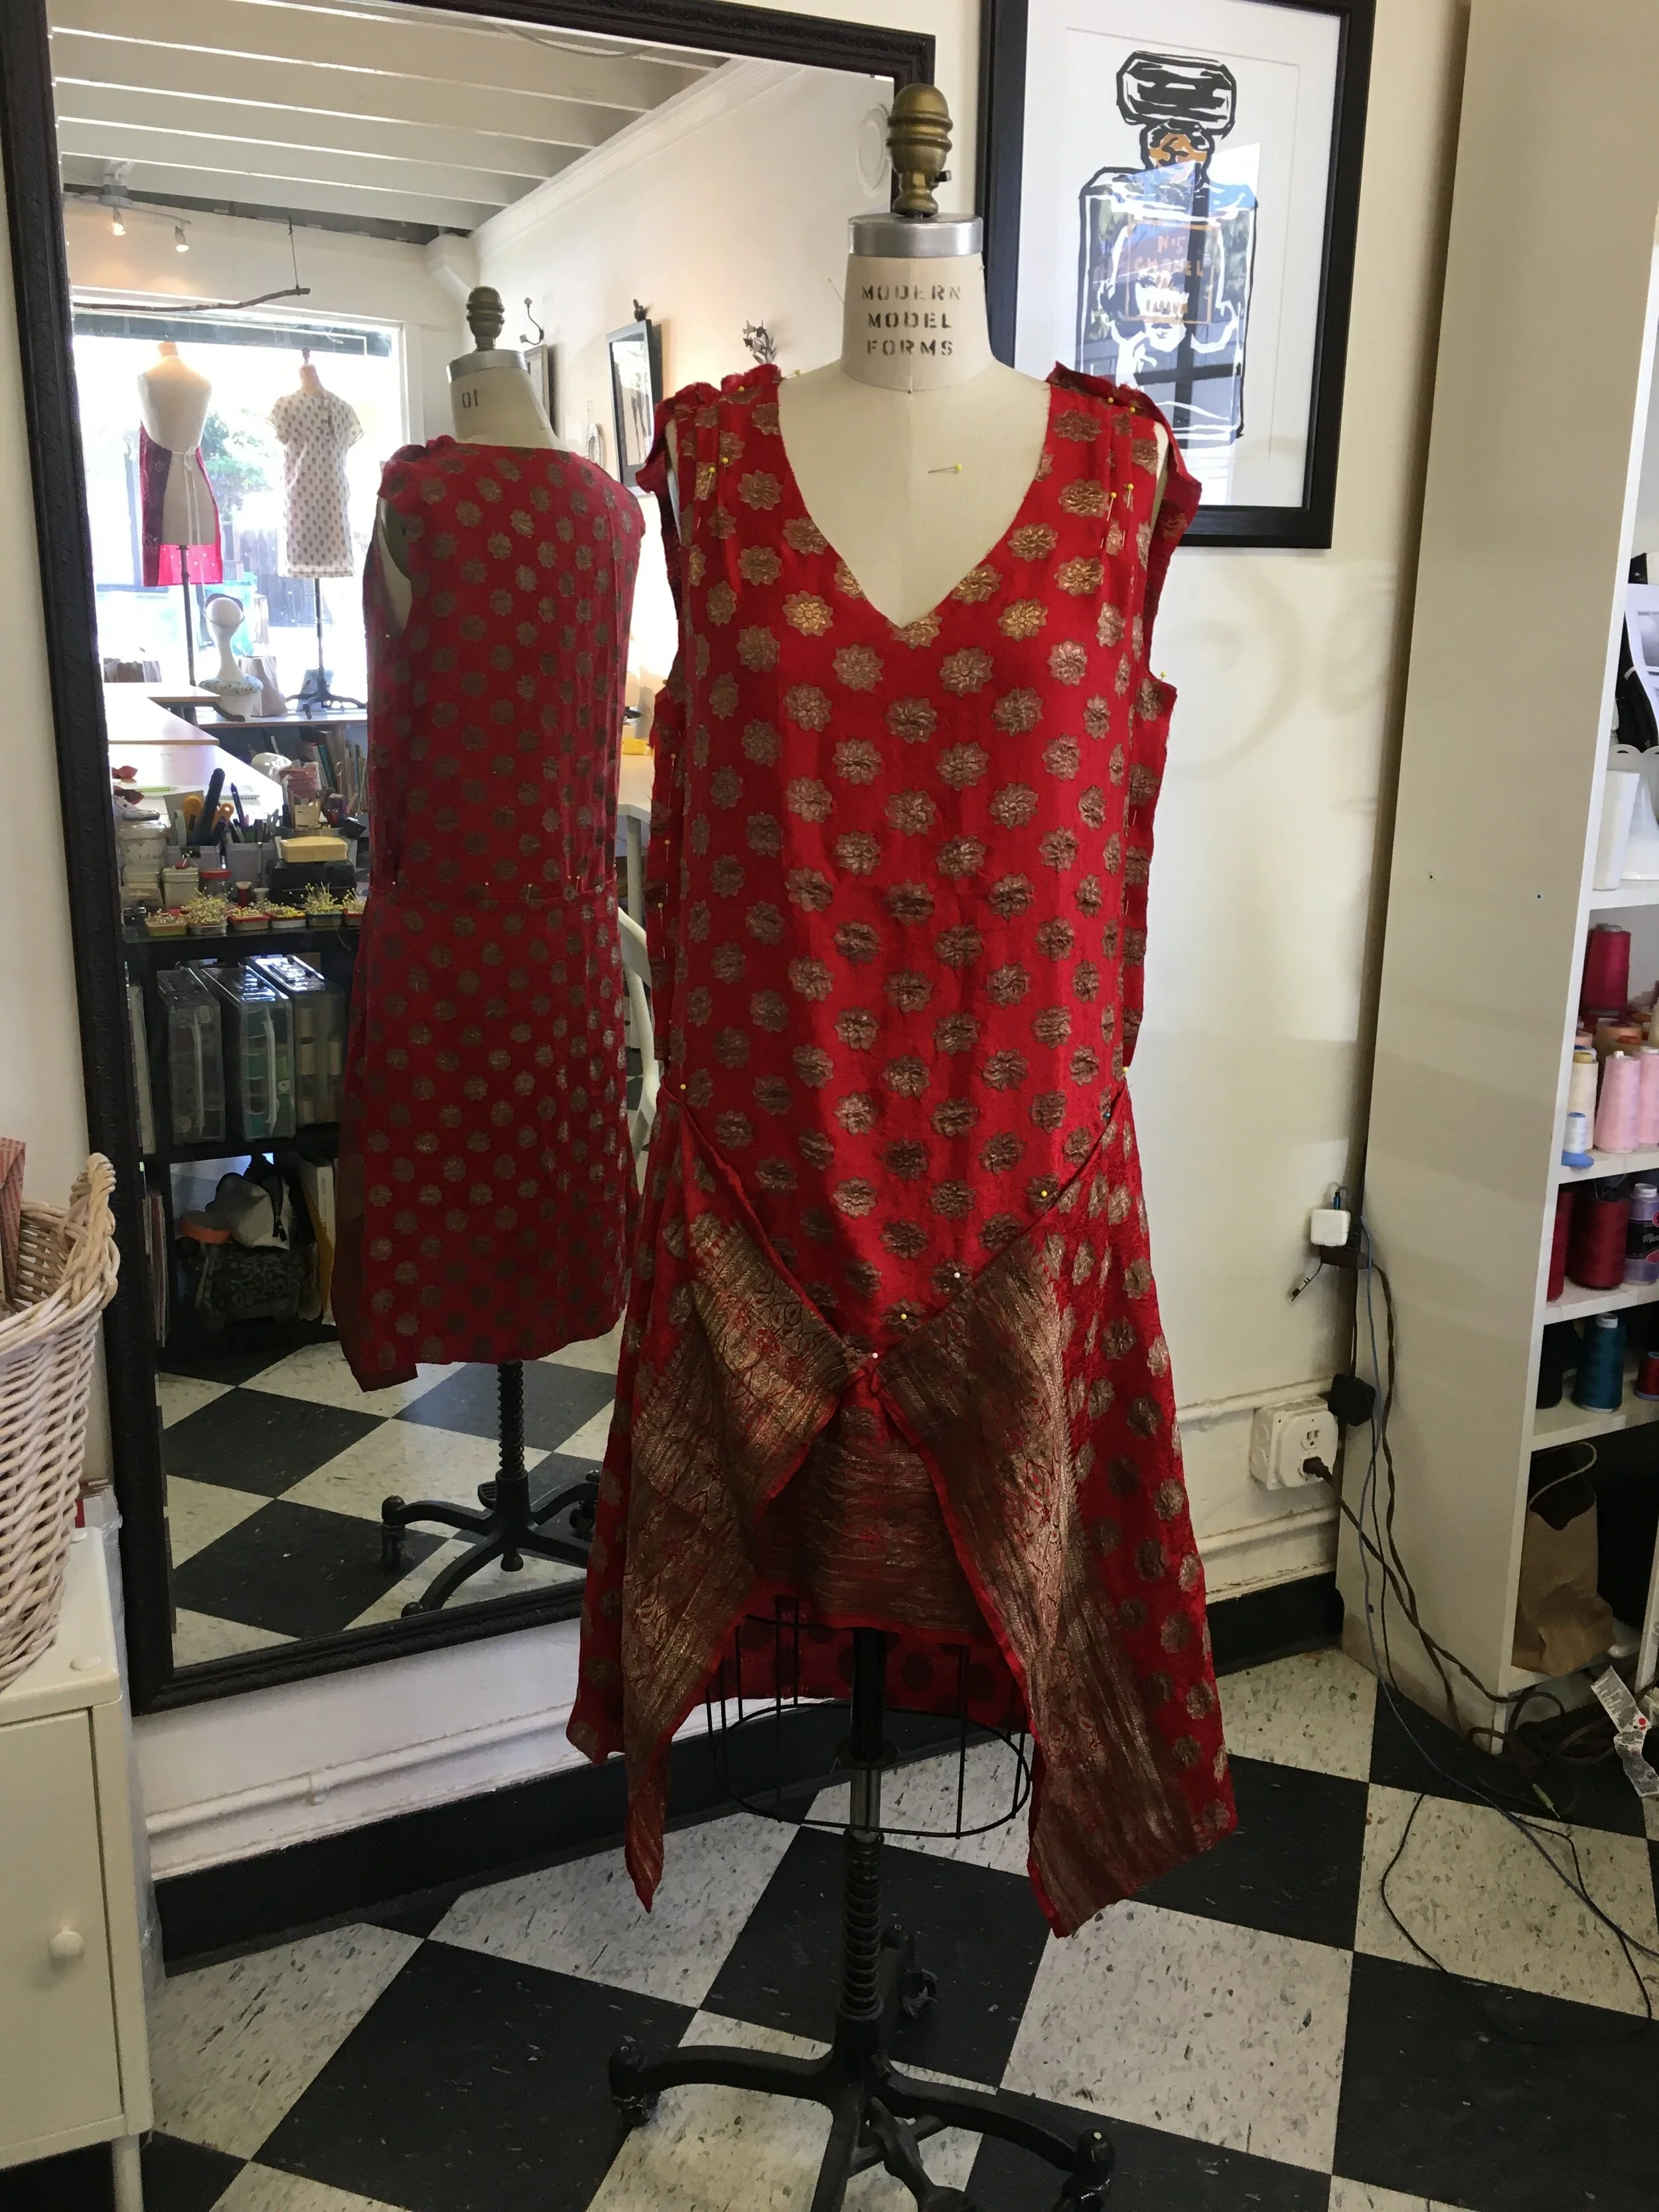
The side seams and shoulders were then pinned together and I added pleats at the front shoulders. The back shoulders and armholes were trimmed to match.
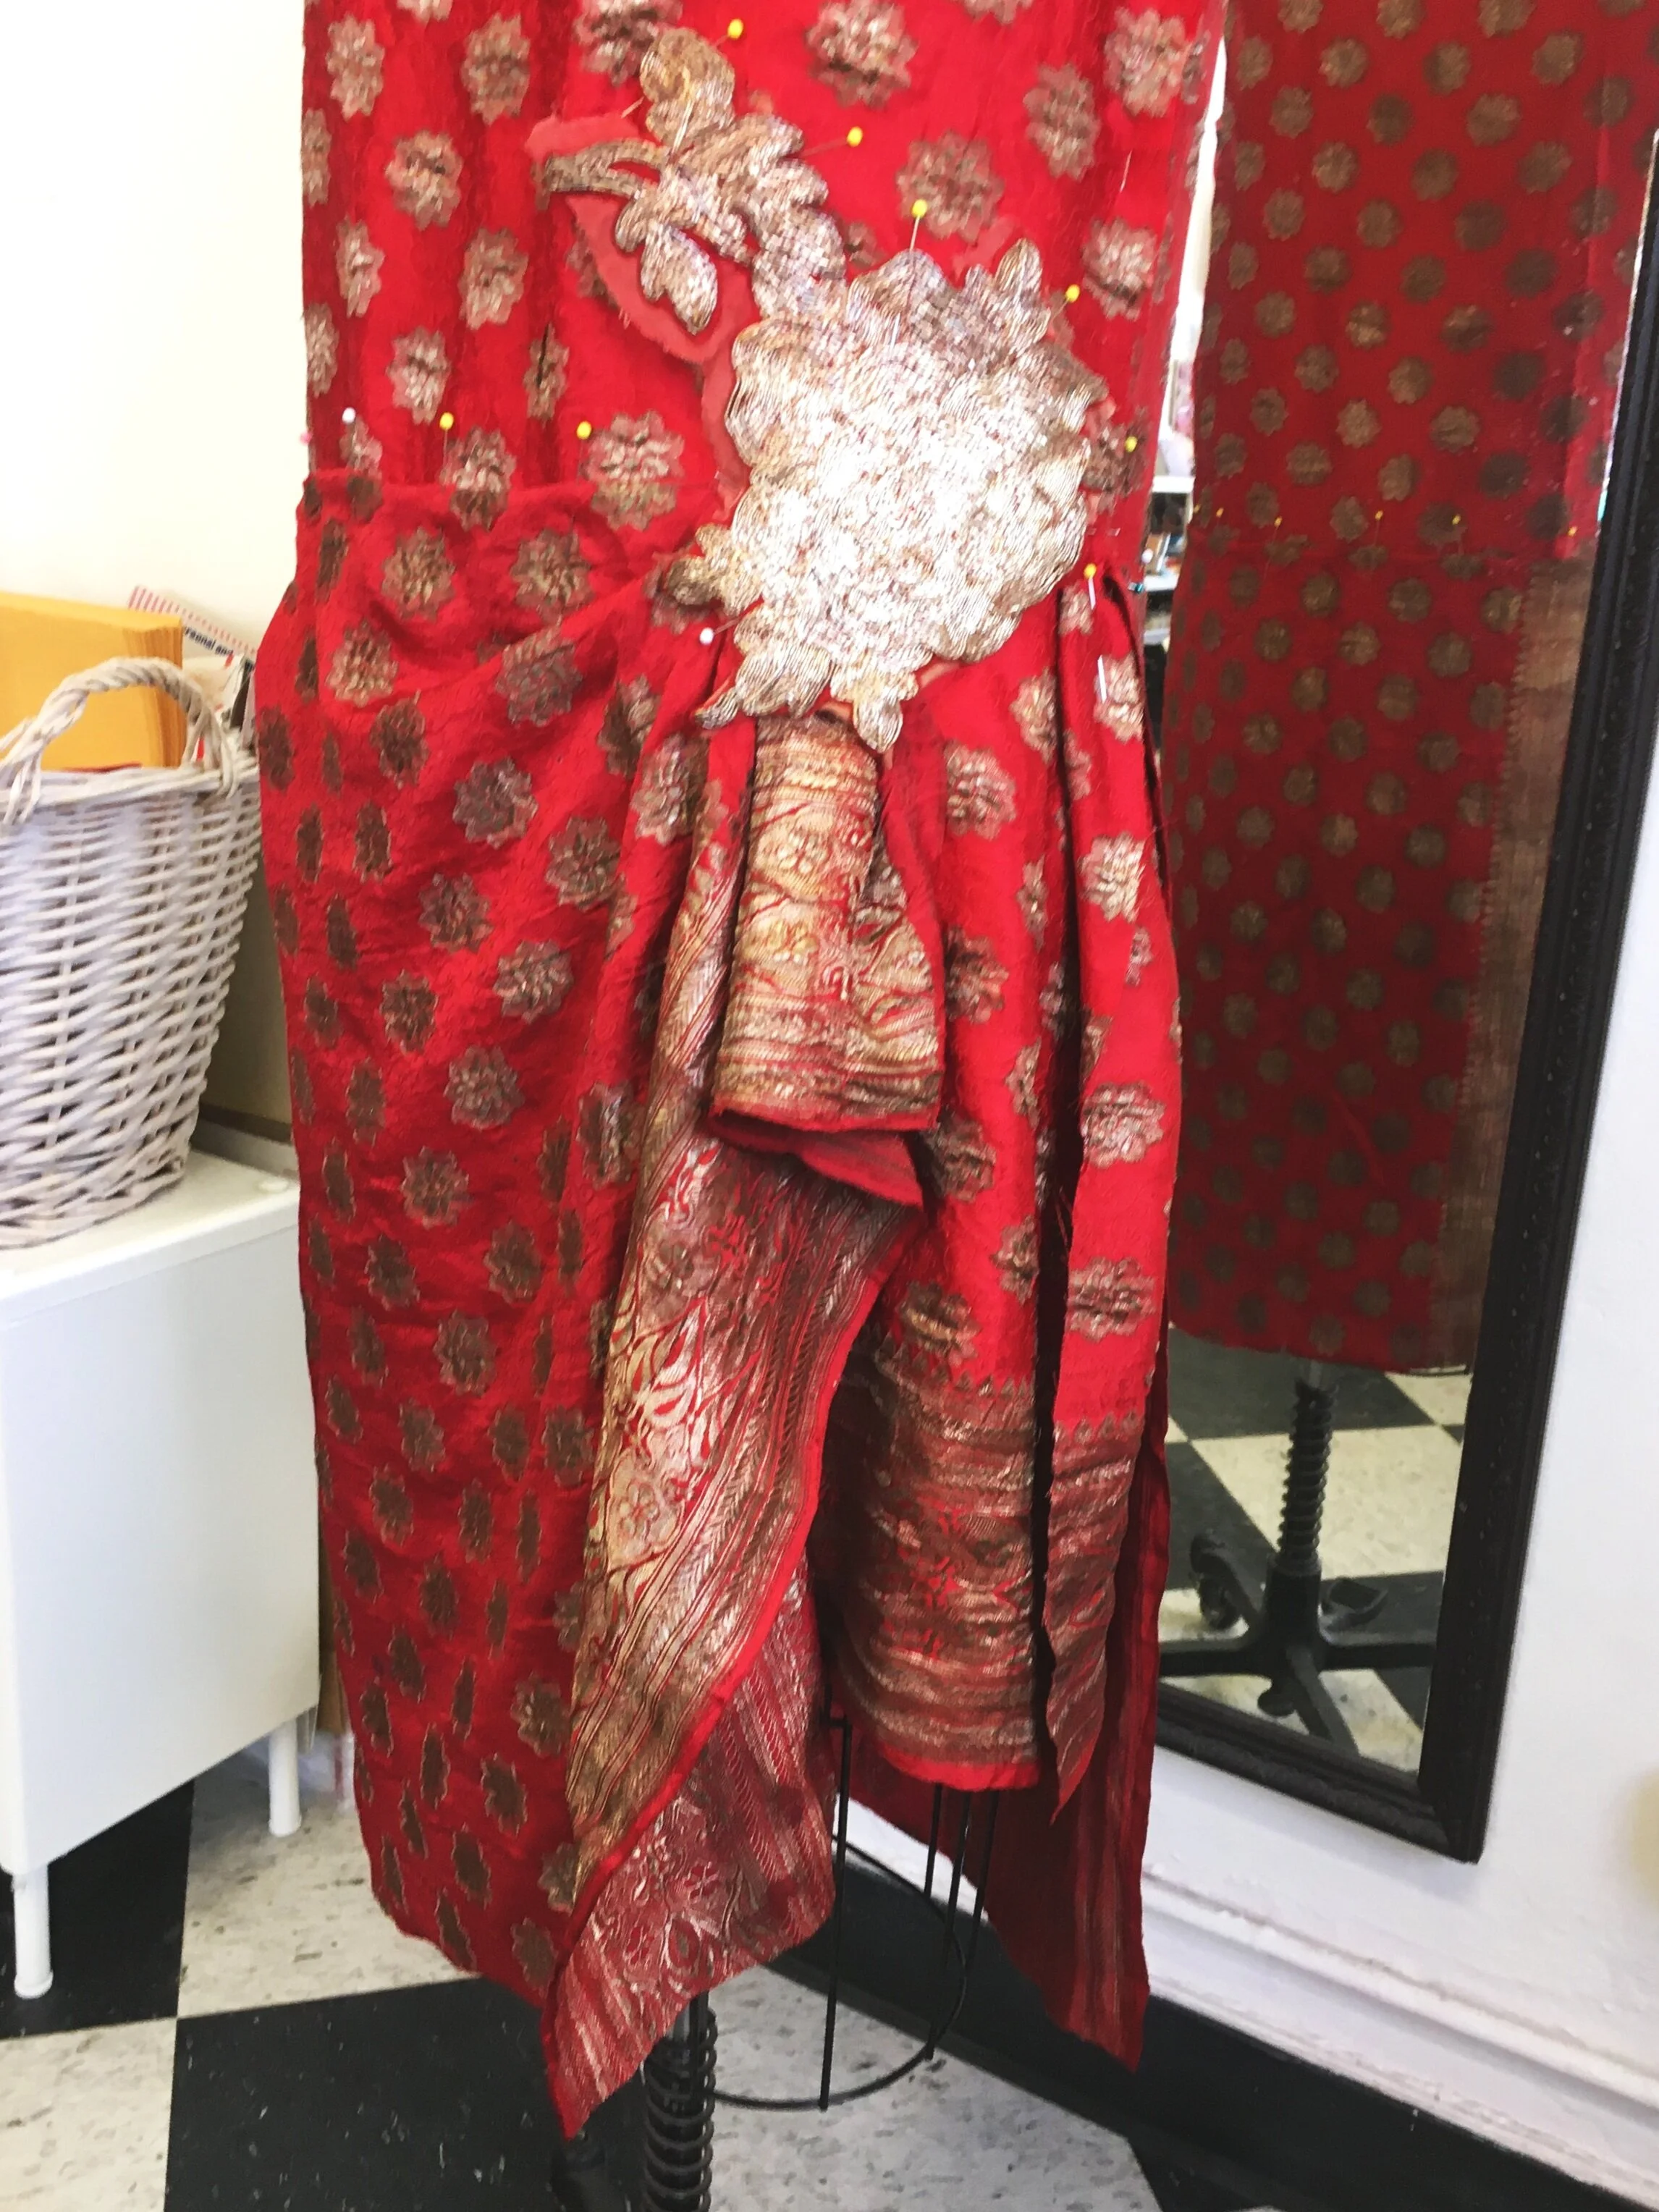
A skirt drape was pinned on and then the applique was pinned in place. All of this was done prior to sewing anything together. I really needed to see what it was doing to look like, before finalizing my idea with stitches.
The pleats on the shoulders were stitched down and then both the shoulders and the right side seam were stitched together using french seams. The seam for the top waist was created by slicing through the fabric where the lower part of the dress meets the upper part of the dress, horizontally. I only sliced into the seam on each side of the skirt on the front and the back for a few inches. Then the skirt was pleated on the sides and finished with french seams when joining the waist seam. Please note that the waist seam is only on the sides of the garment and does not go all the way around.
There were some failed attempts at design details prior to stitching. I tried draping the skirt from the back to the front but the weight of the border did not allow for a nice shape. I also had a pretty lace that was stitched below the front neck. This didn’t look right. Just too much detail, so it was removed. Lastly, I tried pleating the front skirt near the applique. In the end, it looked much better without this pleating and looked good just hanging down at the side.
Another detail that I didn’t mention above, is that a piece of the border was added to one end of the skirt drape to give it a little more length around the hips. I needed to take small tucks/pleats near in the skirt at the waist seam, to ensure that the hips were not too snug. so the piece needed to be wider and adding more border was my solution.
I’m a bit surprised at how much I like this dress. I was originally just making it as an example, but it turned out to be a very flattering dress. We shall see what becomes of it. In any case, here are the details:
Pattern - The One Hour Dress - Mary Brooks Picken 1924 - Can be found on Etsy by KrohShayAndSuch
Fabric - Donated vintage sari fabric with metallic border and wax staining
Applique - Purchased at Miss Fisher Con (I Think??)
Handbag - Vintage 1920’s inherited from my grandmother
Shoes - Gold Monica’s by Decobelles and Angels (Argentinian Dancing Shoes)
And if you are thinking you’d like a little help, I’ll be holding a class at The Sewing Room on Mondays in October. You can register for the class by clicking on the button below.
Until next time, Happy Sewing!
xo Jennifer
