My Vintage Fairy Godmother has been quite active over the last few months. In fact, I’m actually quite lucky to have friends that give me vintage pieces that they no longer want or don’t know what to do with. The story behind this ensemble, definitely falls into this category.
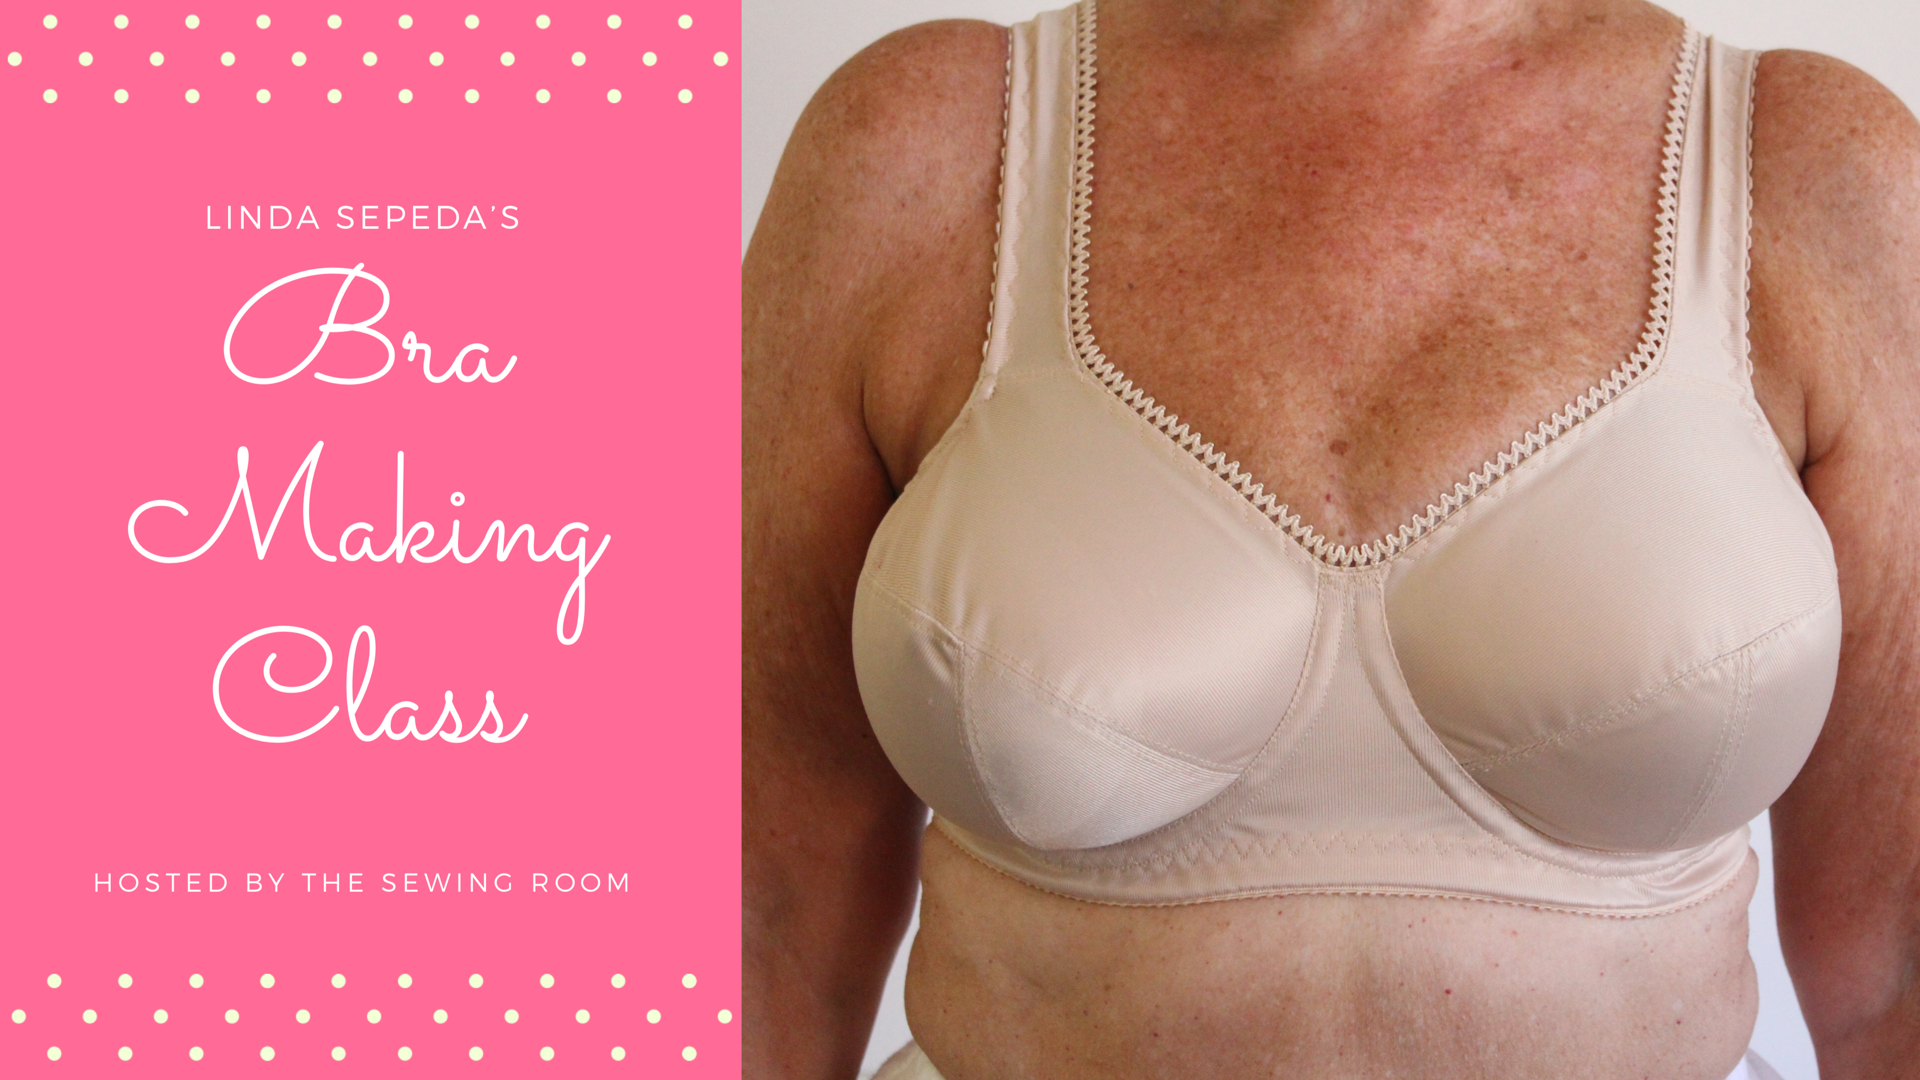
Read moreLearn How to Make Your Own Bras - With Linda Sepeda of Violet's Valentines
If you can sew a sleeve into an armhole, you can make a bra….Linda Sepeda
It shouldn't hurt to wear a bra.
Nor should wearing a bra cause "divots" in the shoulder area or the rib cage.
Many women wear the wrong size bra, and doing that can hurt for a number of reasons.
It can also affect circulation and cause numbness. The shoulders and back can hurt. Wires could constrict or poke.
A properly sized bra can alleviate many of these conditions, and might even make you look younger and slimmer.
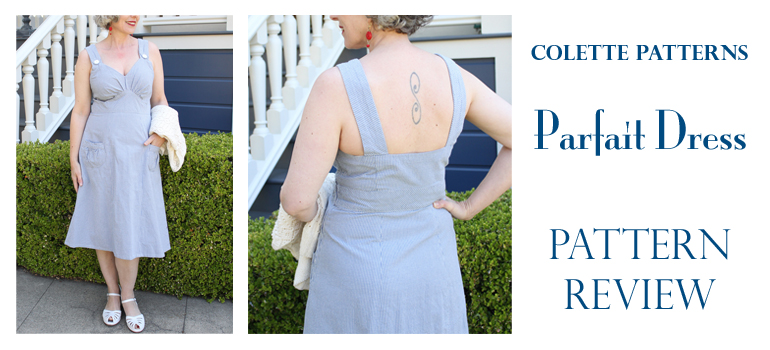
Read moreSewing Pattern Review - Colette Patterns Parfait Dress
Welcome to my favorite dress ever! Ha! I love this dress. And by this dress, I mean the Colette Patterns Parfait dress. I like it so much I’ve made 4 of them. There are only 3 pictured here because I have something planned for the 4th. It’s a little unusual and a little patch work…More on that later.
Read moreRe-Creating My Grandmother's Dress - Gatsby 2018
Every year the Art Deco Society of California puts on the The Gatsby Summer Afternoon. This Gatsby Event is the highlight of my year, as far as vintage events go, and this year was no exception. The weather was perfect (high 70 degrees and breezy), the picnics were exquisite and the company eclectic and entertaining.
For this year’s ensemble, I chose to replicate a look that my grandmother wore (see photo above) in one of her modeling photos. I’ve admired this dress for years and have not quite had the nerve to re-create it until now. That front neck detail with the capelet and ruching really had me flummoxed.
Read moreSewing a Velvet Evening Coat for Miss Fisher Con
A 1920's evening gown is not quite complete with out an evening cloak, a headpiece and the right jewels. Luckily for me, I had a lovely piece of velvet and some pink silk crepe-de-chine along with matching crepe back satin, tucked up on my fabric shelf just waiting to be used.
Read moreSewing Elegant Rag Dolls - with Ann Wood Handmade
Recently, my good friend JoAnne took at trip to Los Angeles to take an art class. What a renegade idea! If she could do it, then so could I! The opportunity arose, to do just that, when I got an email from Ann Wood Handmade back in January or February, announcing a class she would be teaching in Los Angeles, in March. I jumped at the chance, because...
Read moreSewing Wardrobe Basics - A Camisole & Wide Leg Pants
I've started working on my "Miss Fisher" wardrobe for the Miss Fisher Convention in June. Very exciting! The first step was determining some wardrobe basics. After analyzing her wardrobe in the show (Miss Fisher's Murder Mysteries), over all the seasons, I have broken down her DAY outfits to include the following:
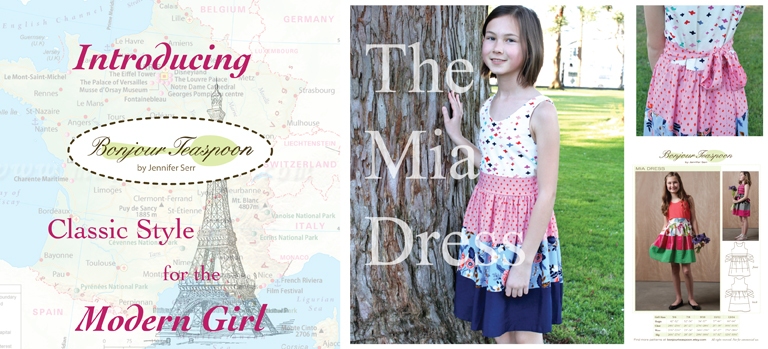
Read moreBonjour Teaspoon Sewing Patterns - The Mia Dress for Tweens
For those of you who don't already know, along with teaching sewing and fashion at The Sewing Room, I've designed a collection of Sewing Patterns. It is comprised of 3 hats, 4 dresses, 1 pair of shorts, a blouse, a skirt, 2 tote bags, a vest, a set of aprons, a relaxation kit and 1 jacket - Am I forgetting anything? Most (but not all) of our patterns are made for the "TWEEN" girl, and some are sized for adults as well.
Read moreFashion Styling for American Girls
What is Fashion Styling ? Those who master it, become our style Icons. It's how you put outfits together or how you make something look a certain way for a photo shoot. Styling gives the observer a visual reference and creates stories around design. It's how it all comes together to create a cohesive idea. Styling comes down to how you assemble a "look", making the end result more exciting than the sum of it's parts.
Read moreThe Classic Breton T-Shirt - Learn to Make Your Own
Anyone who knows me, knows I LIVE in striped T's. I made the one pictured as a sample for some upcoming classes that I'll be teaching. It has long sleeves, a Bateau neck with a button shoulder/sleeve vents with grosgrain trim and side vents at the bottom opening. It's made from a beautiful navy blue and white synthetic yarn dyed striped (the stripe is knitted into the fabric as opposed to printing on top of the fabric) double knit, purchased from Piedmont Fabric. The gold nautical star buttons and vintage striped rayon grosgrain ribbon at the neck and sleeve vents were acquired from the ReCrafting Co. I made the pattern for this Breton Striped T-Shirt, using my body measurements. I'm fairly happy with the fit. I would only make the armhole and bicep a little smaller to match the slim fit of the body. I'll make those changes on the next one I make up.
Read moreVintage Coat Crusade - Re-Fashion & Restoring my Vintage Coat Collection
I've amassed a bit of a coat collection over the last year. Two of these beautiful coats were given to me, one was purchased at a Vintage Fashion Faire and I even made two myself - a Black 1920's Straight Coat & a Red 1930's long swing coat. For the coats, I didn't make some of my favorite acquisitions needed a little freshening up and/or restoration.
Read moreMy Sewing (& Knitting) Plans for 2018
What are your Sewing Plans for the New Year? I already have a long list of things I would like to accomplish with the knowledge that there probably won't be time for everything on my list. In any regard, I'm very excited to get started. Take a look below at some of the things in the works....
Read moreSmooth Sailing Sports Togs- A Pattern Review
Pictured here is a 1940's (or late 1930's) outfit that I sewed up using the Wearing History Smooth Sailing Sport Togs Shirt and Trousers pattern. LOVE, LOVE, LOVE!!!! This pattern is great. The blouse needs a little work in the armhole, but otherwise...
Read moreGet Crafty for the Holidays - Make a Vintage Style Advent Calendar
In the 1970's my aunt Sharon made our family an Advent Calendar. It's crafted almost entirely of acrylic felt and quite a testament to the crafting movement of the era. I'm very sentimental about it, even though we were not particularly religious, growing up. I just remember waking up each day, excited to put another ornament on the tree. Thankfully, my mom kept it around for the years after I left home and then gave it to me later on. We carry on this tradition at home today and my 14 year old daughter feels as sentimental about it as I do.
This is the "Vintage" Advent Calendar that we use for Christmas every Year
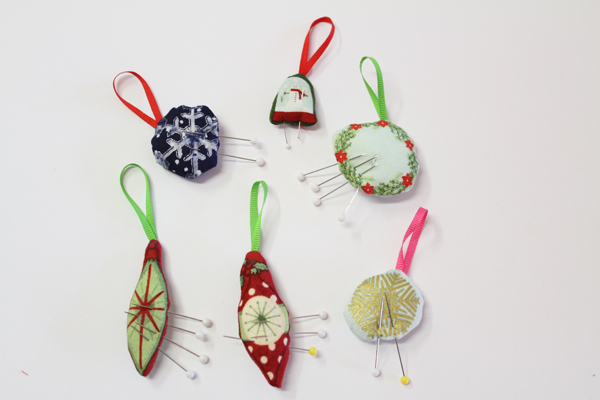
Here are some of the ornaments that hide in the pockets of the calendar.
A few months ago, one of my dear Bridal clients (from when I did that) dropped by to donate some sewing materials her son acquired from an estate sale. Inside were these tiny little ornaments, exquisitely and painstakingly beaded. I knew they would come into some use, when I saw that they were all Christmas themed. So that is what led me to re-make this wonderful holiday craft. I've put together 6 kits that we are selling ($50 each) with either a mustard or Aqua background. You can buy them from me, or make your own using the directions below. Either way, I hope you enjoy! And Happy Holidays to you and your families!
Directions for Advent Calendar:
Materials list -
- Craft Felt - Wool or acrylic in multiple colors - 1 rectangle measuring 36 1/2" long x 17" wide, 3 rectangles measuring 2 1/2" long x 17" wide (for pockets) in the same background color, 3/4 yard green for the tree and misc. felt squares for the ornaments.
- Ribbon or cord for the ornaments - 2 yards narrow width (1/8" or smaller)
- Cotton holiday print fabric for ornaments - I bought several fat quarters and then cut out the shapes as they were the perfect size. Note: You may have to do some hunting around to find the right fabric, or just make more ornaments out of felt. Our calendar has little pieces of holiday cards with ribbon hangers glued on in addition to the felt ornaments.
- Various additional tiny ornaments that are small enough to put in the pockets - I bought these from a craft store. note: you need 24 ornaments in all, so it's nice to have a few that are already made.
- A small amount of polyester or cotton fiberfill for stuffing the ornaments.
- 1 package of large red sequins - I think ours were 8mm and you will need 24 total.
- 24 small glass beads - these are used in combination with the sequins and the ornaments will hang from these
- (1) 3/8" diameter wooden dowel 18" long - I had an 1/8" whole drilled 1/2" away from each end.
- 36" of narrow (1/16") cording for the hanger.
- Misc. beads and sequins for decorating the ornaments.
- Thread, sewing machine, waxy tracing paper (for transferring numbers), tracing wheel and all your standard sewing tools.
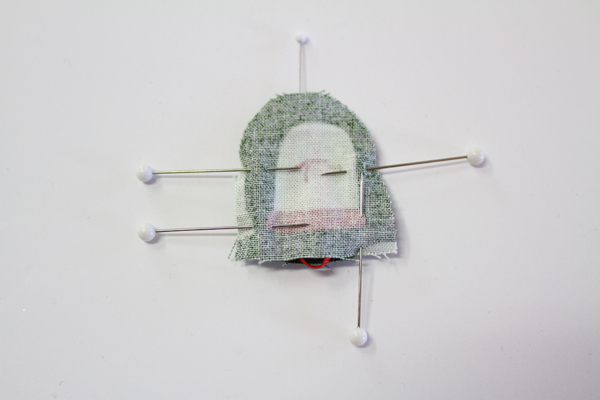
STEP ONE making the fabric ornaments -
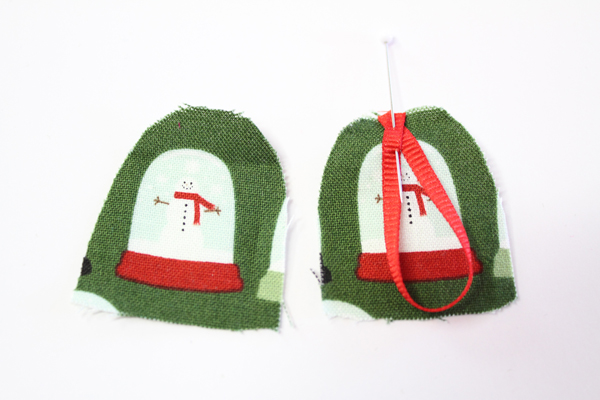
- Cut around shapes leaving 1/8"-1/4" seam allowance. You will need two for each ornament.
- Cut a 3" piece of narrow ribbon or cord for the hanger and pin in place as indicated in the photo.
- Place right sides together and pin around outer edge.
- Stitch around outside edge, leaving small space along the bottom, to turn right side out.
- Turn ornament right side out and stuff with a little bit of fiberfill.
- Fold seam allowances to inside and pin in place. Hand stitch closed, using a slip stitch or ladder stitch.
STEP TWO - Making the Felt Ornaments
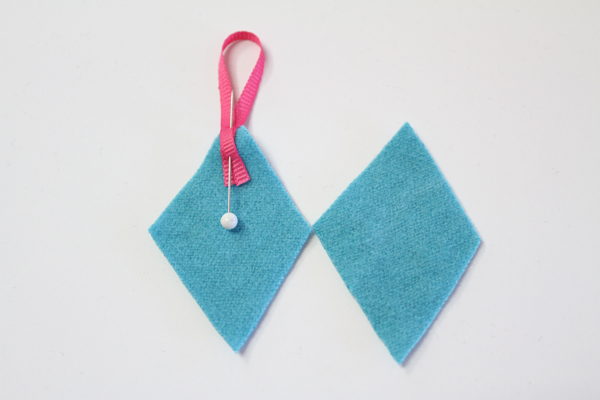
- Cut two pieces of felt in the shape you want (we have a diamond shape and a rectangle pictured).
- Cut 3" long piece of narrow ribbon or cord and pin to wrong side of felt at top of ornament, as indicated in the photo.
- Place a small amount of fiberfill on wrong side of one piece and place the other side of the ornament with wrong sides together.
- Pin around outside edge then stitch together around entire outside, making sure to catch the hanger in your stitches.
- Decorate your ornaments with top stitching or beads as you desire.
STEP THREE - Prepping the pocket rectangles
- Sew a decorative stitch across the top edge (on long edge) of each pocket rectangle. I use this same stitch for all the decorative stitching on the back ground pieces and the pockets, but feel free to change it if you want to use more of the stitches your machine offers. Note: you do not want to use stitches that will be wider than 1/4" as this will make the pockets too small.
- Trim the rectangles to fit the background width.
STEP FOUR - Transferring the numbers to the pockets.
- In my kit, I've created a template for the numbers. If you are doing this on your own, you will need to create a template. It's easy to do in Microsoft Word or Google docs. You will just need to create a TABLE with columns measuring 2" wide x 2 1/2" tall with 1/8" wide columns in between. Find a font you like and type in numbers 1-24 in each of the larger cells. Pick a font size that works so that the numbers fill up the box.
- Print and cut out, your numbers, then tape them together in 3 rows: 1-8, 9-16 & 17-24. Make sure they fit within the 17" width with 1/4" space on the outer edges.
- Transfer the numbers to the pocket rectangles using tracing paper and a smooth edged tracing wheel.
- Filling in the Numbers - I stitched on the transferred numbers using a machine straight stitch and had to go over them a few times. You can also hand embroider the numbers or use fabric paint. The original calendar was done using fabric paint.
STEP FIVE - Creating the dowel casing
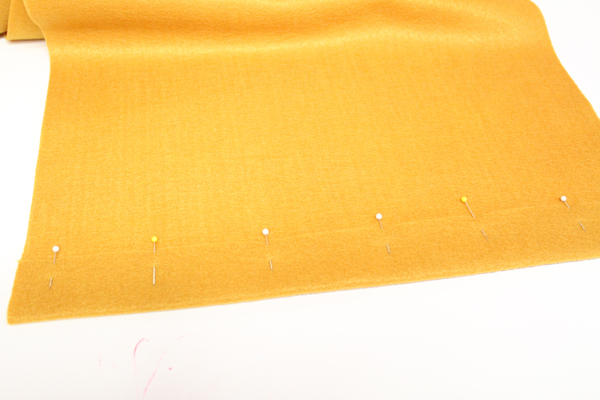
- Fold top edge of calendar rectangle (background) to back side 1 3/4" & pin in place.
- Using a decorative stitch, sew a line of stitching across the top edge using 1/2" seam allowance.
- Using the same decorative stitch, sew another line of stitching across the top edge using 1" or 1 1/4" seam allowance. There should be at least a 3/4" space between the stitch lines.
STEP SIX - Finishing the Pockets
- Place the finished pocket rectangles at the bottom of the background rectangle on the front side. The rectangles should be flush to the sides and bottom edge and 1/2" apart. Pin in place.
- Using a decorative stitch, stitch around the outside edge of background rectangle, starting and ending at the lower dowel casing stitch line,You do NOT want to stitch through your casing. Also, make sure your decorative stitch lands about 1/8" away from outer edge.
- Mark vertical lines, either with chalk or a steam away pen, between the numbers. Then, stitch between the numbers, vertically, along those lines, using your decorative stitch.
STEP SEVEN - Attaching the Tree
- In my kit, the trees have been pre-cut . If you are making this on your own, you will need to create a tree pattern. Ours measures 20" long x 16" at the widest point. There are 5 branch points on each side tapering in fullness from bottom to top.
- Place your tree evenly between the two sides and between the pockets and the bottom edge of dowel casing. Pin Trunk in place.
- Using a decorative stitch, stitch trunk in place, around it's three edges.
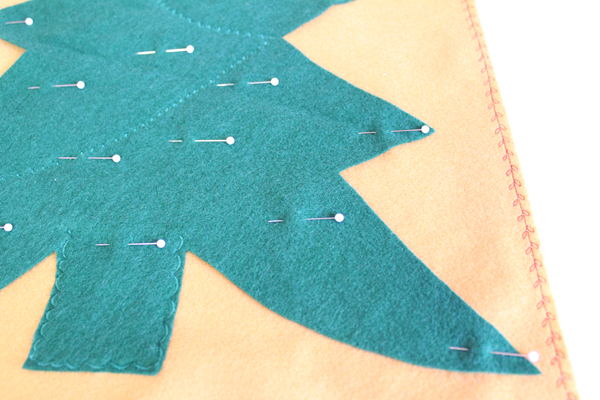
- Pin tree in place so it won't move and, using a decorative stitch, stitch swags diagonally across tree.
- Note: the original calendar had the tree glued in place in various spots. I chose not to clue, but to sew, in order to secure the tree in place.
- Mark the spots of your sequins by placing 24 pins through the tree in an organized fashion. Take a look at the finished tree for general placement.
STEP EIGHT - Sewing on the sequins (ornament holders)
- Divide a strand of embroidery floss into sections. Mine has 6 plies and I divided into two strands of 3 plies each.
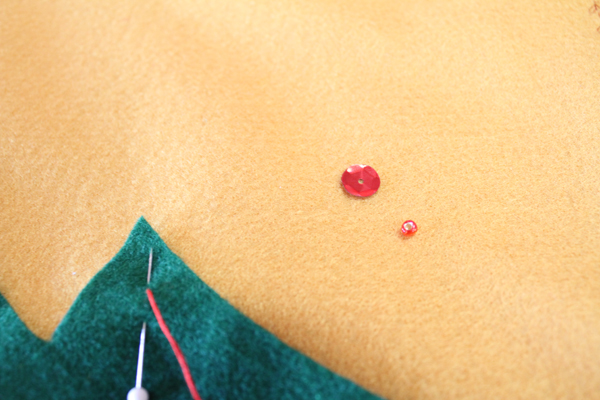
- Thread a needle with your floss and, from the back side, pock through the tree at one of the pinned positions. Leaving about 1 1/2" of thread on the back side, load a Sequin (curved edges up) and a bead onto the needle. Push the sequin and pin down the thread to the tree.
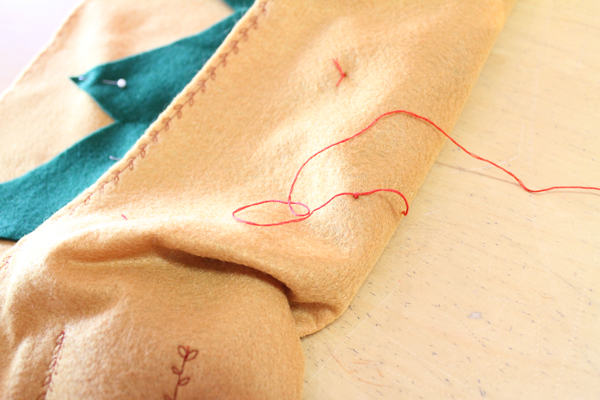
- Now, put your needle through the sequin again and back through the tree to the back side of the calendar. The sewn bead will secure the sequin in place.
- Using both ends of your floss tie a double knot to finish securing the bead and sequin in place.
- Trim your thread, and repeat for the other 23 sequin/bead ornament holders.
STEP NINE - Dowel & Hanger
- Push dowel through casing at top edge of calendar, leaving 1/2" exposed on each end.
- Using a 36" long piece of 1/16" diameter cording, thread through holes on each end of dowel. (Ends of cording should exit holes toward bottom of calendar. )
- Double or triple knot cording ends on each side, to prevent from exiting holes.
- Note: if you do not have a drill to make 1/8" holes in dowel, just make a slip knot loop at each end of cording and slip on to dowel ends.
You are All Done! Just place ornaments in pockets and hang on the wall on December 1st.
Until next time, Happy Sewing!
xo
Jennifer
A Tweed Skirt Story - Comparing Body Measurements to Pattern Measurements
In this post, two recently finished projects will be highlighted, but will the main focus will be on MEASURING. The Bay Area Sewists met up at The Sewing Room a couple of weeks ago to talk with me about pattern measuring.
Read moreMy French Couture Jacket - It's Done!!!!!
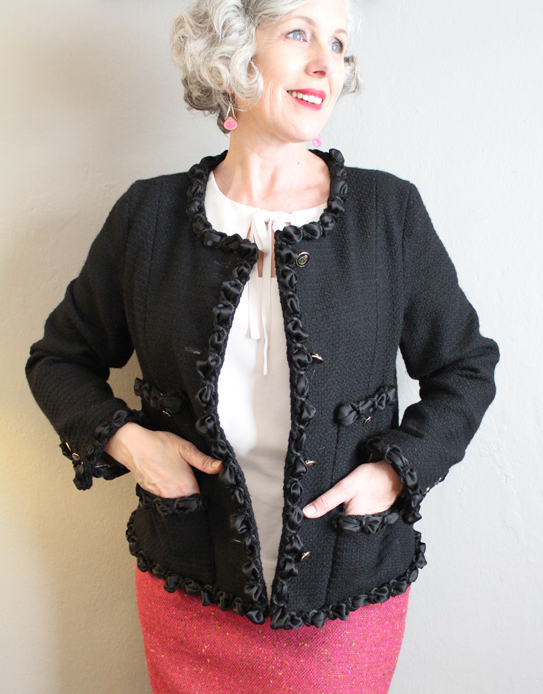
Well, it's done and I have to say, I'm very pleased/relieved. This jacket was an enormous amount of work and so easy to become distracted away from because of it. It's been a serious commitment to get it finished this month before staring any new projects. AND, has definitely been a practice in patience for sure. I must have done at least 20 hours of hand work, last week alone, in the push to get it finished. My hands are a little broken, but they can rest for a little while while I do some decision making about future projects....
Read moreFrench Jacket Progress - Ces Maudites Poches (those damned pockets)!
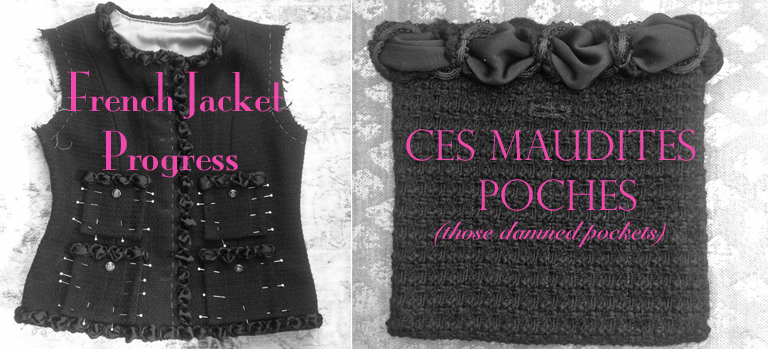
One of the things that has been so daunting about completing my French Couture Jacket are all the buttonholes. There are 14 total - 4 on the front, 3 on each sleeve and one on each of the 4 pockets. Each buttonhole requires multiple steps. First you stitch a little rectangle (with your machine) using really tiny stitches, then you cut a slit and then proceed to hand finish this with lots of tiny blanket stitches around the entire hole. If this weren't enough....
Read moreMy Couture French Jacket - Progress Report no. 1
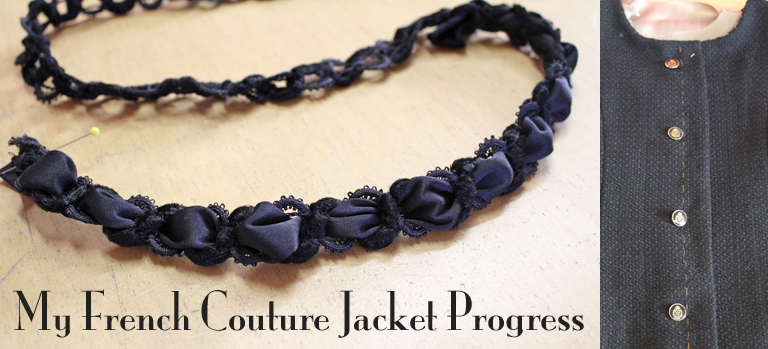
Progress has begun on the re-start of my Chanel-Style jacket. It's been in the works for several years now. I don't even remember when I started but I do remember buying fabric at the Mill Ends store in Portland, OR in November many years ago, and giving myself the fabric + trims for Christmas that year. Maybe my friend Angie remembers....???
Read moreSewing Camp Power - You can teach kids to sew too! →
As Some of you may or may not know, I've taught an online class about how to run your own Sewing Camps through Pixie Faire (where I sell my doll patterns), for the last two years. I built the course so that other people could have success teaching kids how to sew. And over the last couple of years, I've learned a LOT about the whole process.....
Read moreThe Couture French (Chanel) Jacket - An Interview with Susan Khalje
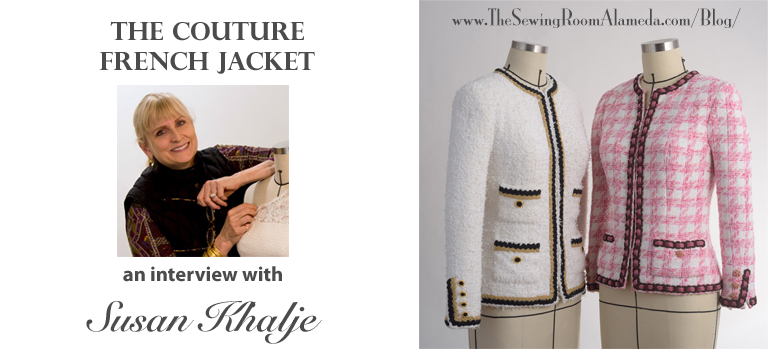
I've been looking to finish my own "French (Chanel inspired) Jacket" this year so I turned to an expert for some inspiration and encouragement in doing so. Susan Khalje is THE expert and has been making, teaching how to make and writing about making these Iconic pieces for many years. She is also my own Couture instructor
Read more

