My Home and all the UFO’s are making me feel like I’m living in the X-Files of Project-land. Over the last year, it’s been a bit hard to keep my focus and I seem to get distracted with new ideas and projects at every turn. I’ve not finished much of anything lately, so I thought I would give you all a taste of the UnFinished Objects (aka projects) that are currently in the queue at HOME. These do not include the projects at my SHOP, some of which are mine and also some left behind by students. I’ll leave those for another post. Oh, and there are also those imagined (but un-started) projects lingering in the tubs of fabric - Ha! another post perhaps. In the meantime, this is what I have currently underway.
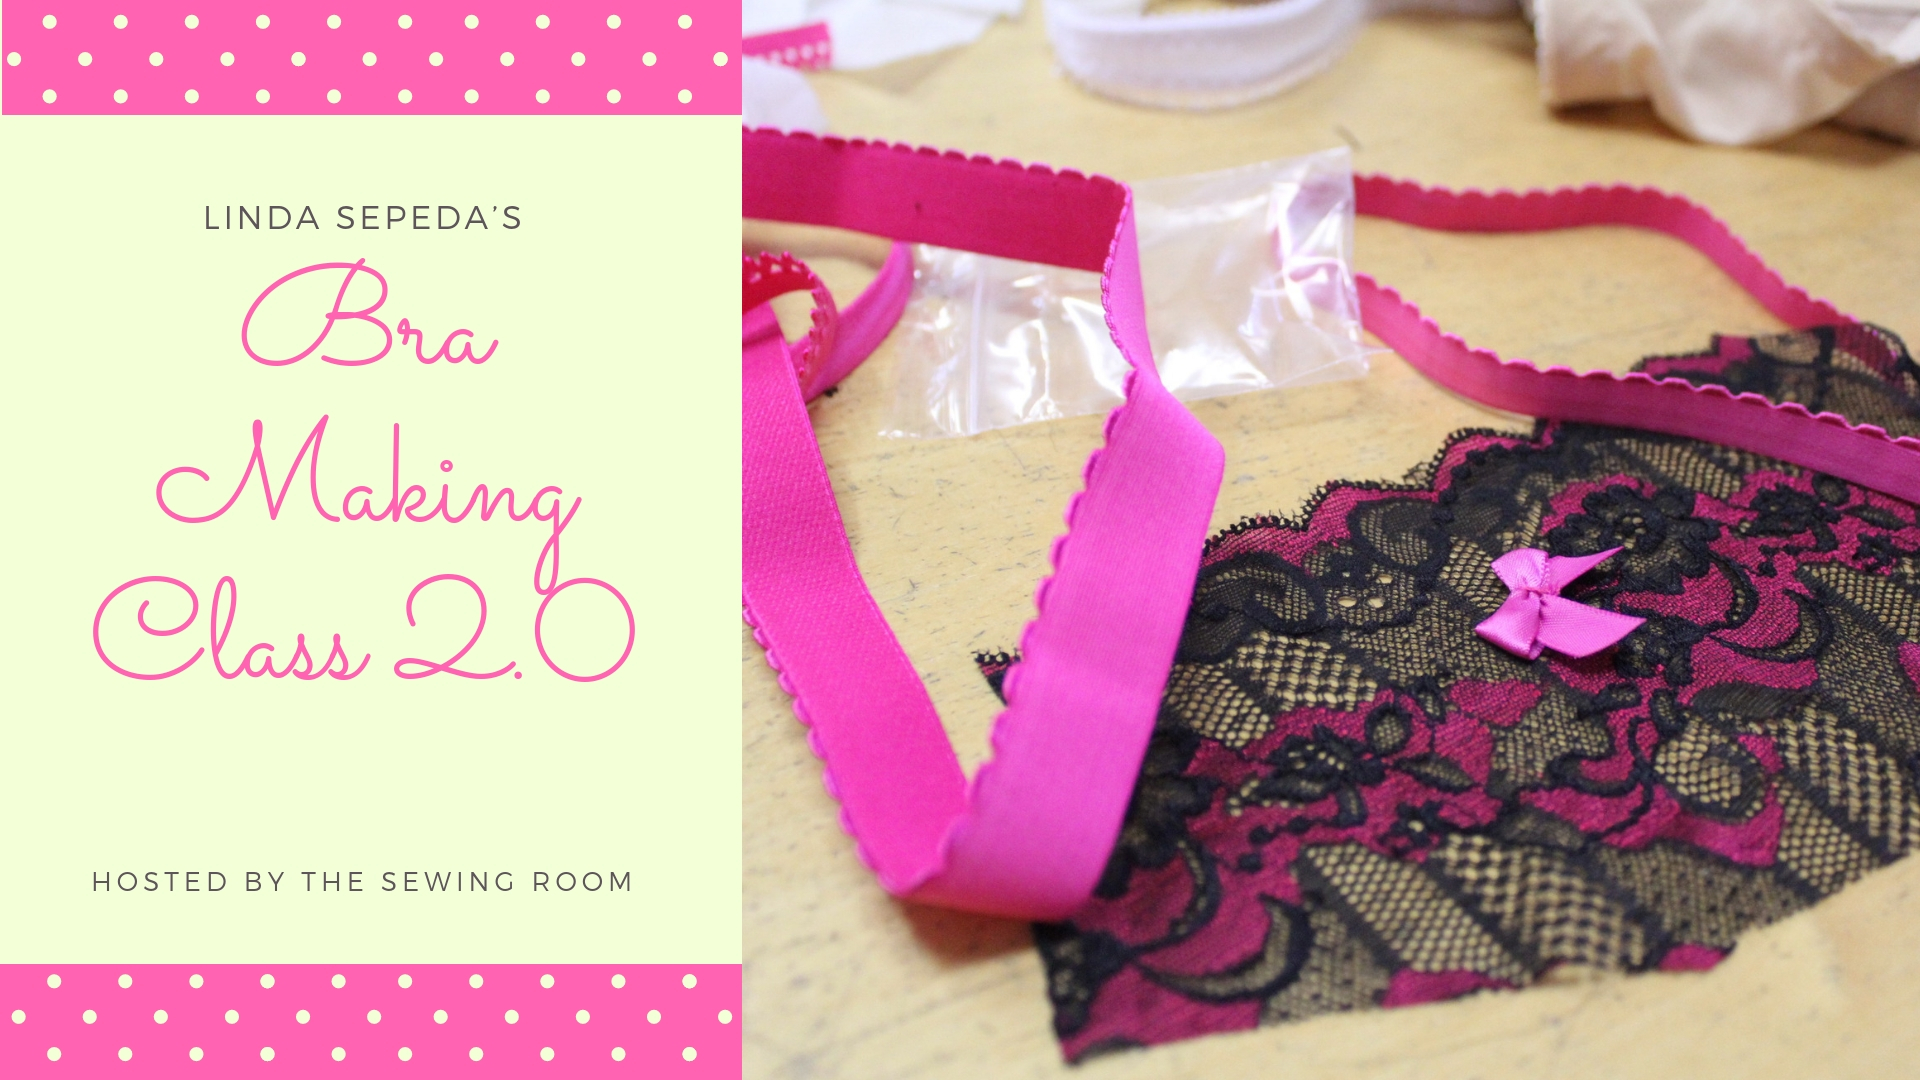
Read moreBra Making 2.0 - Inside our Bra Making Class with Linda Sepeda
I can’t say enough good things about our recent Bra Making class at The Sewing Room. Linda Sepeda was a fantastic instructor and she really helped us to get the best fit possible.
Read moreCreating a Miss Fisher style hat by Upcycling a Vintage 1970's hat
This was a fun and quick upcycle to create a 1920's style cloche like the ones that Miss Fisher wears in the series, Miss Fisher's Murder Mysteries. While not totally period correct, the style similar to some of the hats Phryne wears on the show, designed by Australian Milliner, Mandy Murphy.
Read moreGoing to Miss Fisher Con 2018 - my favorite moments
It's been almost two months since I attended the 2nd annual Miss Fisher Convention. If you don't know about Miss Fisher, she is the main character in a series of books by author, Kerry Greenwood. The books inspired an Australian TV Series called Miss Fisher's Murder Mysteries. A quite liberated lady detective, Miss Fisher, lives in 1929 Melborne, Australia. The Convention, celebrated everything "Miss Fisher". If you haven't seen it, you should. Fantastic show and books and her snappy dressing (ie. beautiful costume design) inspired me to create a whole wardrobe and rope my friends into coming along for the ride.
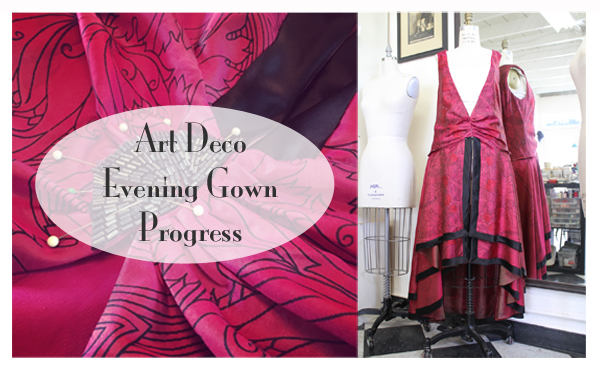
Read moreMiss Fisher Con or Bust - Fitting my Art Deco Inspired Evening Gown
Miss Fisher Con is less than a week away and my wardrobe is getting the finishing touches (even as you read this!). Here is a little sneak peak into the fitting of the evening gown I'll be wearing to the masquerade on the Saturday Evening of the Con.
Read moreA Year in Review - My best Sewing Projects of 2017
It's truly amazing how fast this year has gone and I when I look at this image it seems crazy that I made so many things. I've virtually created a brand new (but vintage inspired) wardrobe. It's been so fun making things for myself and a long time coming. I haven't really done anything like this since High School. Since then, sewing has meant mostly business - pattern making, fashion education and custom design work with a little bit of sewing for the home or for friends on the side.
Read moreMiss Fisher Wardrobe: Antique Faire HATS to UPCYCLE & Trim
Last Saturday, I had planned a field trip to SF for some super vintage trim and ribbon shopping. As it turned out, time was short for everyone, and none of us could make it in the end. The silver lining turned out to be a trip to the Alameda Antique Faire on Sunday. Our main shopping stop on the field trip was to visit the showroom of Jennifer Osner who is a collector and dealer of antique textiles and ribbons. Guess what? She had a booth at the Antique Faire. This was so fantastic, because I REALLY wanted to knuckle down on my hats for the 2018 Miss Fisher Convention.
Read moreGet Crafty for the Holidays - Make a Vintage Style Advent Calendar
In the 1970's my aunt Sharon made our family an Advent Calendar. It's crafted almost entirely of acrylic felt and quite a testament to the crafting movement of the era. I'm very sentimental about it, even though we were not particularly religious, growing up. I just remember waking up each day, excited to put another ornament on the tree. Thankfully, my mom kept it around for the years after I left home and then gave it to me later on. We carry on this tradition at home today and my 14 year old daughter feels as sentimental about it as I do.
This is the "Vintage" Advent Calendar that we use for Christmas every Year
Here are some of the ornaments that hide in the pockets of the calendar.
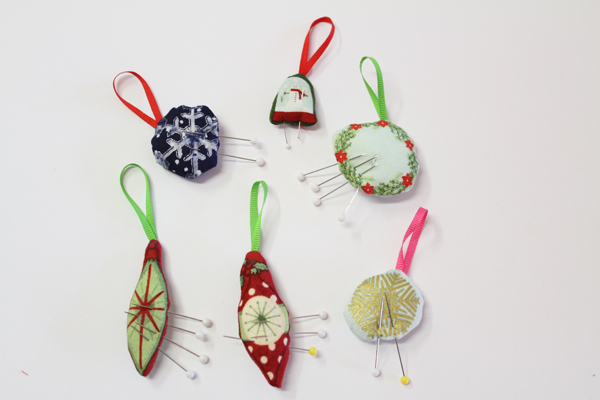
A few months ago, one of my dear Bridal clients (from when I did that) dropped by to donate some sewing materials her son acquired from an estate sale. Inside were these tiny little ornaments, exquisitely and painstakingly beaded. I knew they would come into some use, when I saw that they were all Christmas themed. So that is what led me to re-make this wonderful holiday craft. I've put together 6 kits that we are selling ($50 each) with either a mustard or Aqua background. You can buy them from me, or make your own using the directions below. Either way, I hope you enjoy! And Happy Holidays to you and your families!
Directions for Advent Calendar:
Materials list -
- Craft Felt - Wool or acrylic in multiple colors - 1 rectangle measuring 36 1/2" long x 17" wide, 3 rectangles measuring 2 1/2" long x 17" wide (for pockets) in the same background color, 3/4 yard green for the tree and misc. felt squares for the ornaments.
- Ribbon or cord for the ornaments - 2 yards narrow width (1/8" or smaller)
- Cotton holiday print fabric for ornaments - I bought several fat quarters and then cut out the shapes as they were the perfect size. Note: You may have to do some hunting around to find the right fabric, or just make more ornaments out of felt. Our calendar has little pieces of holiday cards with ribbon hangers glued on in addition to the felt ornaments.
- Various additional tiny ornaments that are small enough to put in the pockets - I bought these from a craft store. note: you need 24 ornaments in all, so it's nice to have a few that are already made.
- A small amount of polyester or cotton fiberfill for stuffing the ornaments.
- 1 package of large red sequins - I think ours were 8mm and you will need 24 total.
- 24 small glass beads - these are used in combination with the sequins and the ornaments will hang from these
- (1) 3/8" diameter wooden dowel 18" long - I had an 1/8" whole drilled 1/2" away from each end.
- 36" of narrow (1/16") cording for the hanger.
- Misc. beads and sequins for decorating the ornaments.
- Thread, sewing machine, waxy tracing paper (for transferring numbers), tracing wheel and all your standard sewing tools.
STEP ONE making the fabric ornaments -
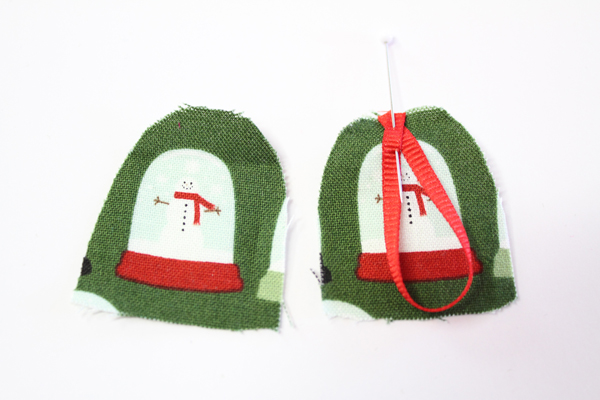
- Cut around shapes leaving 1/8"-1/4" seam allowance. You will need two for each ornament.
- Cut a 3" piece of narrow ribbon or cord for the hanger and pin in place as indicated in the photo.
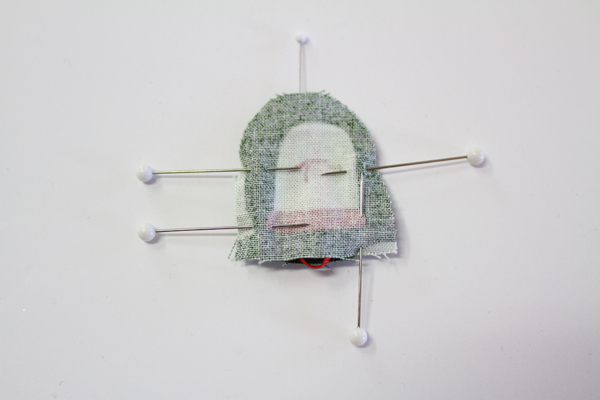
- Place right sides together and pin around outer edge.
- Stitch around outside edge, leaving small space along the bottom, to turn right side out.
- Turn ornament right side out and stuff with a little bit of fiberfill.
- Fold seam allowances to inside and pin in place. Hand stitch closed, using a slip stitch or ladder stitch.
STEP TWO - Making the Felt Ornaments
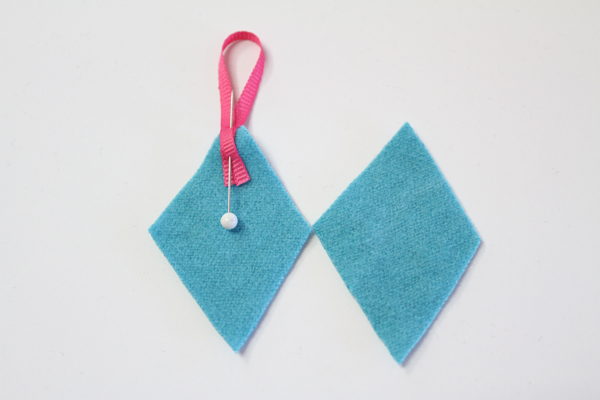
- Cut two pieces of felt in the shape you want (we have a diamond shape and a rectangle pictured).
- Cut 3" long piece of narrow ribbon or cord and pin to wrong side of felt at top of ornament, as indicated in the photo.
- Place a small amount of fiberfill on wrong side of one piece and place the other side of the ornament with wrong sides together.
- Pin around outside edge then stitch together around entire outside, making sure to catch the hanger in your stitches.
- Decorate your ornaments with top stitching or beads as you desire.
STEP THREE - Prepping the pocket rectangles
- Sew a decorative stitch across the top edge (on long edge) of each pocket rectangle. I use this same stitch for all the decorative stitching on the back ground pieces and the pockets, but feel free to change it if you want to use more of the stitches your machine offers. Note: you do not want to use stitches that will be wider than 1/4" as this will make the pockets too small.
- Trim the rectangles to fit the background width.
STEP FOUR - Transferring the numbers to the pockets.
- In my kit, I've created a template for the numbers. If you are doing this on your own, you will need to create a template. It's easy to do in Microsoft Word or Google docs. You will just need to create a TABLE with columns measuring 2" wide x 2 1/2" tall with 1/8" wide columns in between. Find a font you like and type in numbers 1-24 in each of the larger cells. Pick a font size that works so that the numbers fill up the box.
- Print and cut out, your numbers, then tape them together in 3 rows: 1-8, 9-16 & 17-24. Make sure they fit within the 17" width with 1/4" space on the outer edges.
- Transfer the numbers to the pocket rectangles using tracing paper and a smooth edged tracing wheel.
- Filling in the Numbers - I stitched on the transferred numbers using a machine straight stitch and had to go over them a few times. You can also hand embroider the numbers or use fabric paint. The original calendar was done using fabric paint.
STEP FIVE - Creating the dowel casing
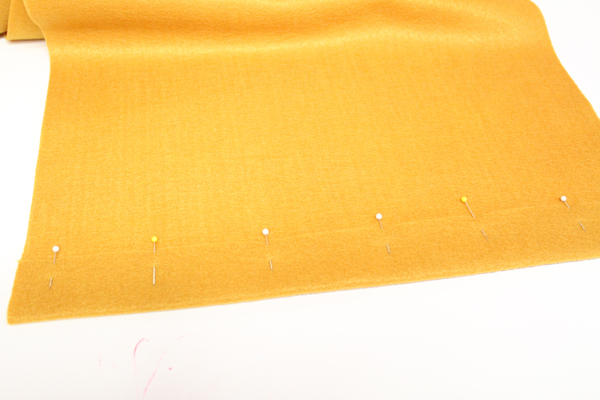
- Fold top edge of calendar rectangle (background) to back side 1 3/4" & pin in place.
- Using a decorative stitch, sew a line of stitching across the top edge using 1/2" seam allowance.
- Using the same decorative stitch, sew another line of stitching across the top edge using 1" or 1 1/4" seam allowance. There should be at least a 3/4" space between the stitch lines.
STEP SIX - Finishing the Pockets
- Place the finished pocket rectangles at the bottom of the background rectangle on the front side. The rectangles should be flush to the sides and bottom edge and 1/2" apart. Pin in place.
- Using a decorative stitch, stitch around the outside edge of background rectangle, starting and ending at the lower dowel casing stitch line,You do NOT want to stitch through your casing. Also, make sure your decorative stitch lands about 1/8" away from outer edge.
- Mark vertical lines, either with chalk or a steam away pen, between the numbers. Then, stitch between the numbers, vertically, along those lines, using your decorative stitch.
STEP SEVEN - Attaching the Tree
- In my kit, the trees have been pre-cut . If you are making this on your own, you will need to create a tree pattern. Ours measures 20" long x 16" at the widest point. There are 5 branch points on each side tapering in fullness from bottom to top.
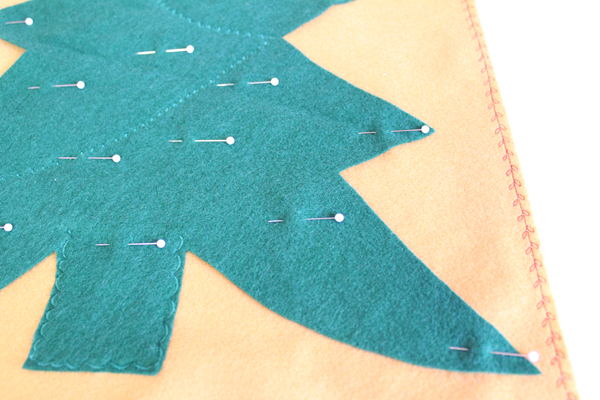
- Place your tree evenly between the two sides and between the pockets and the bottom edge of dowel casing. Pin Trunk in place.
- Using a decorative stitch, stitch trunk in place, around it's three edges.
- Pin tree in place so it won't move and, using a decorative stitch, stitch swags diagonally across tree.
- Note: the original calendar had the tree glued in place in various spots. I chose not to clue, but to sew, in order to secure the tree in place.
- Mark the spots of your sequins by placing 24 pins through the tree in an organized fashion. Take a look at the finished tree for general placement.
STEP EIGHT - Sewing on the sequins (ornament holders)
- Divide a strand of embroidery floss into sections. Mine has 6 plies and I divided into two strands of 3 plies each.
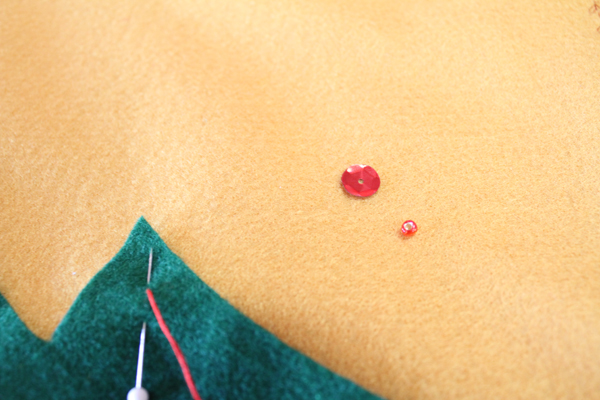
- Thread a needle with your floss and, from the back side, pock through the tree at one of the pinned positions. Leaving about 1 1/2" of thread on the back side, load a Sequin (curved edges up) and a bead onto the needle. Push the sequin and pin down the thread to the tree.
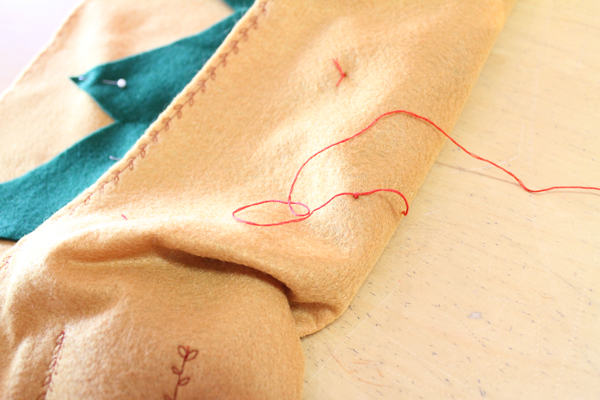
- Now, put your needle through the sequin again and back through the tree to the back side of the calendar. The sewn bead will secure the sequin in place.
- Using both ends of your floss tie a double knot to finish securing the bead and sequin in place.
- Trim your thread, and repeat for the other 23 sequin/bead ornament holders.
STEP NINE - Dowel & Hanger
- Push dowel through casing at top edge of calendar, leaving 1/2" exposed on each end.
- Using a 36" long piece of 1/16" diameter cording, thread through holes on each end of dowel. (Ends of cording should exit holes toward bottom of calendar. )
- Double or triple knot cording ends on each side, to prevent from exiting holes.
- Note: if you do not have a drill to make 1/8" holes in dowel, just make a slip knot loop at each end of cording and slip on to dowel ends.
You are All Done! Just place ornaments in pockets and hang on the wall on December 1st.
Until next time, Happy Sewing!
xo
Jennifer
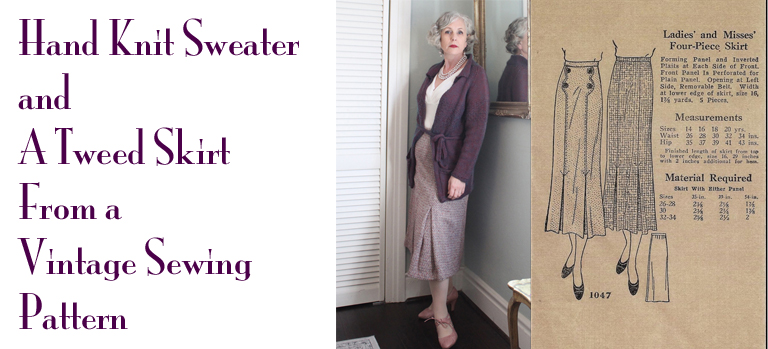
A Tweed Skirt Story - Comparing Body Measurements to Pattern Measurements
In this post, two recently finished projects will be highlighted, but will the main focus will be on MEASURING. The Bay Area Sewists met up at The Sewing Room a couple of weeks ago to talk with me about pattern measuring.
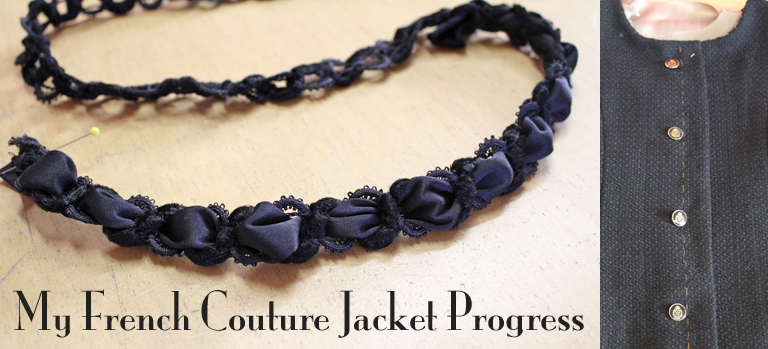
Read moreMy French Couture Jacket - It's Done!!!!!
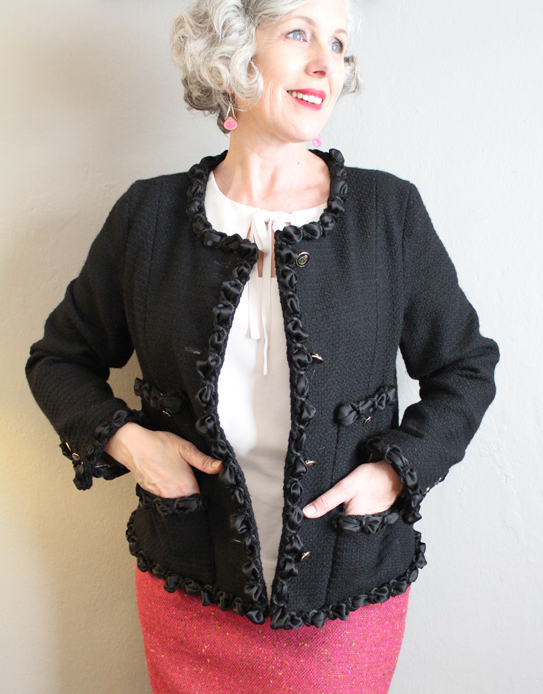
Well, it's done and I have to say, I'm very pleased/relieved. This jacket was an enormous amount of work and so easy to become distracted away from because of it. It's been a serious commitment to get it finished this month before staring any new projects. AND, has definitely been a practice in patience for sure. I must have done at least 20 hours of hand work, last week alone, in the push to get it finished. My hands are a little broken, but they can rest for a little while while I do some decision making about future projects....
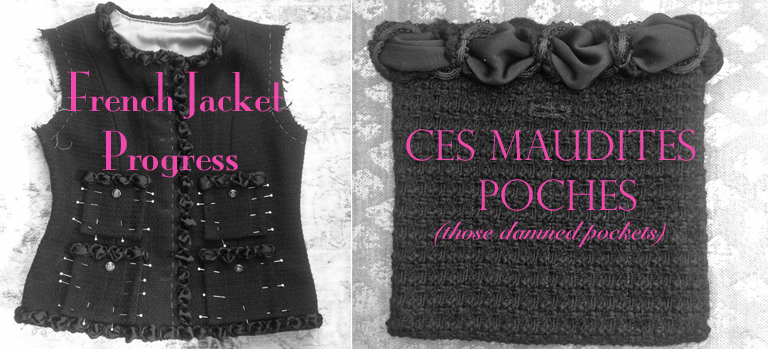
Read moreFrench Jacket Progress - Ces Maudites Poches (those damned pockets)!
One of the things that has been so daunting about completing my French Couture Jacket are all the buttonholes. There are 14 total - 4 on the front, 3 on each sleeve and one on each of the 4 pockets. Each buttonhole requires multiple steps. First you stitch a little rectangle (with your machine) using really tiny stitches, then you cut a slit and then proceed to hand finish this with lots of tiny blanket stitches around the entire hole. If this weren't enough....
Read moreMy Couture French Jacket - Progress Report no. 1
Progress has begun on the re-start of my Chanel-Style jacket. It's been in the works for several years now. I don't even remember when I started but I do remember buying fabric at the Mill Ends store in Portland, OR in November many years ago, and giving myself the fabric + trims for Christmas that year. Maybe my friend Angie remembers....???
Read moreTaking a Sashiko Class with Carol Ziogas - Summer Hand Stitching
Summer is my busiest time of year so I only work on projects I can pick up and put down easily and those that travel well. That usually translates into hand sewing or knitting. So, when The Recrafting co., my local (crafting) consignment shop, had a posting a few weeks ago for a Sashiko Sewing class, I could not pass it up.
Read more

